Configure SCIM Provisioning for a Custom Developer Portal with Okta
This guide explains how to enable SCIM (System for Cross-domain Identity Management) provisioning for a custom Developer Portal based on API7 Developer Portal Boilerplate. By integrating Okta, you can automatically synchronize developer accounts into your portal.
This guide covers the code-level changes needed in the custom portal application so it can expose the SCIM endpoint and handle provisioning requests.
Prerequisites
- Your custom Developer Portal is deployed from the API7 Developer Portal Boilerplate.
- You have already configured the portal and can access its authentication routes.
- You have an Okta account with administrative privileges.
For the basic Developer Portal SCIM setting, see Configure the Developer Portal.
Step 1: Create a SCIM Application in Okta
Before modifying portal code, create a SCIM application in Okta.
- Log in to the Okta Admin Console.
- Go to Applications -> Applications.
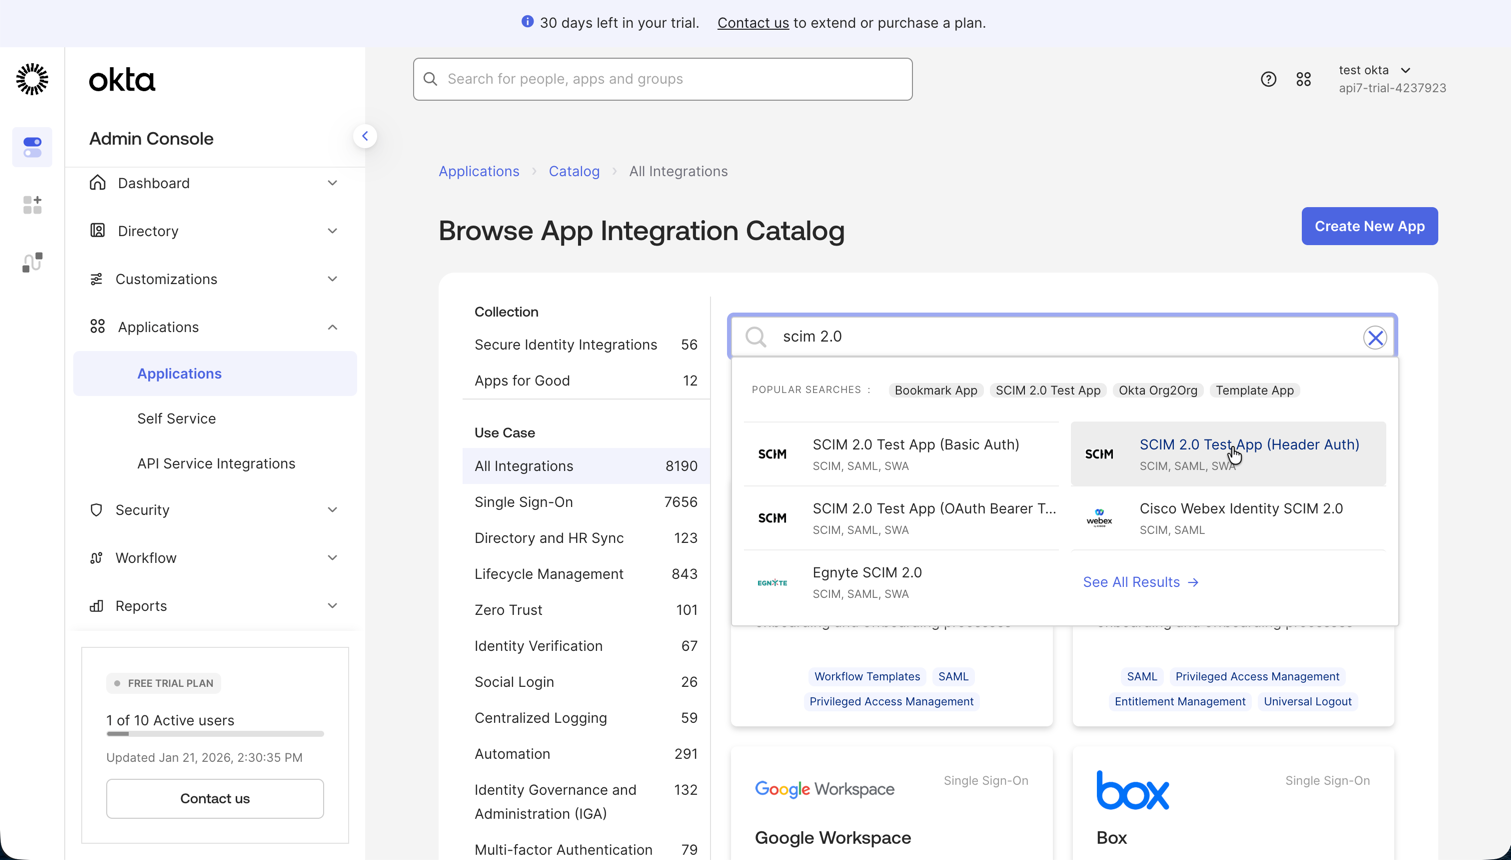
- Click Browse App Catalog.
- Search for
SCIM. - Select SCIM 2.0 Test App (Header Auth).
- Click Add Integration.
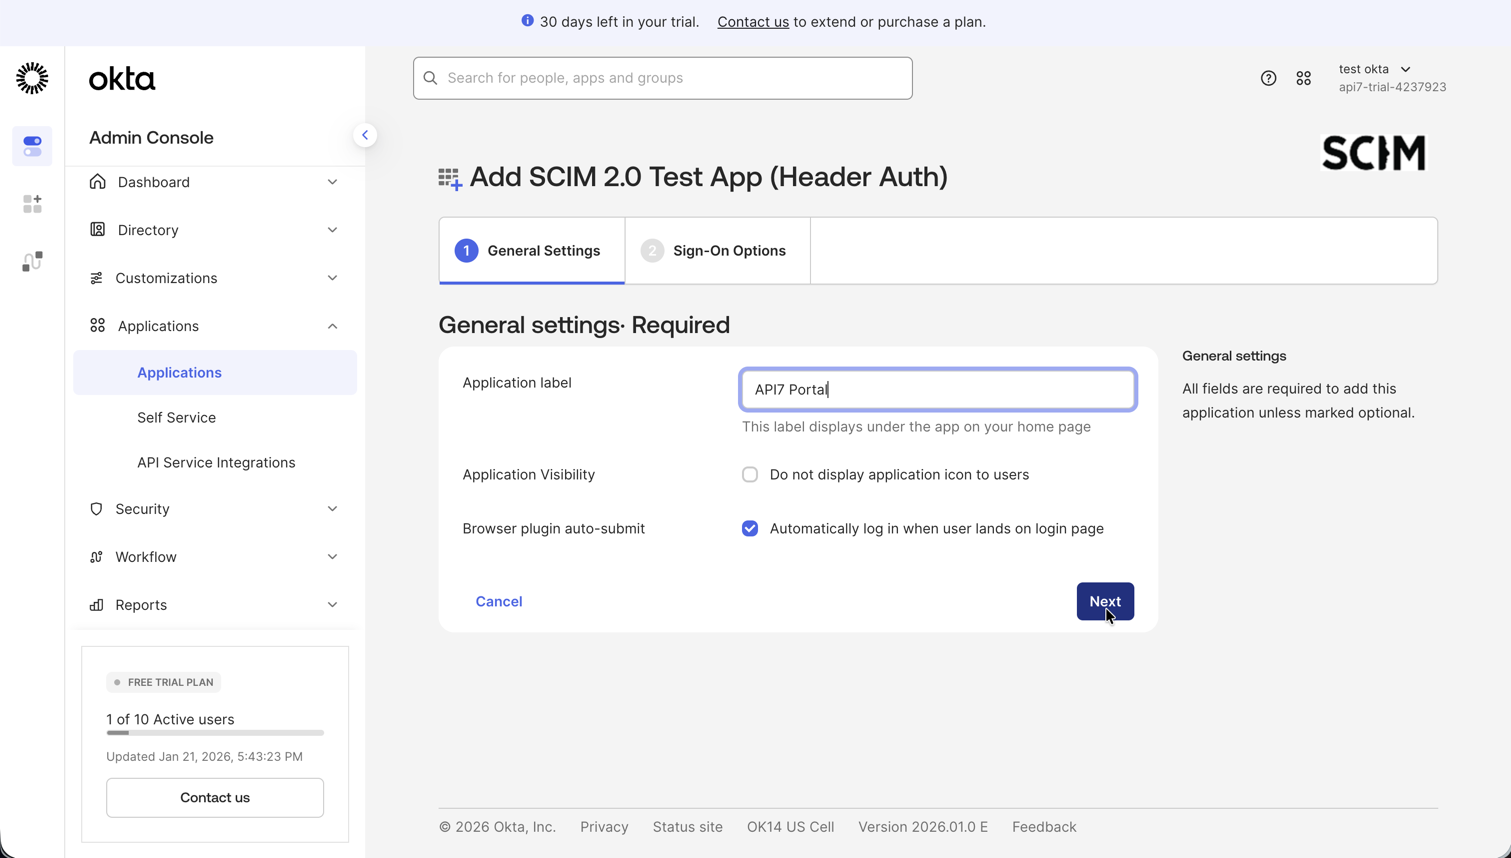
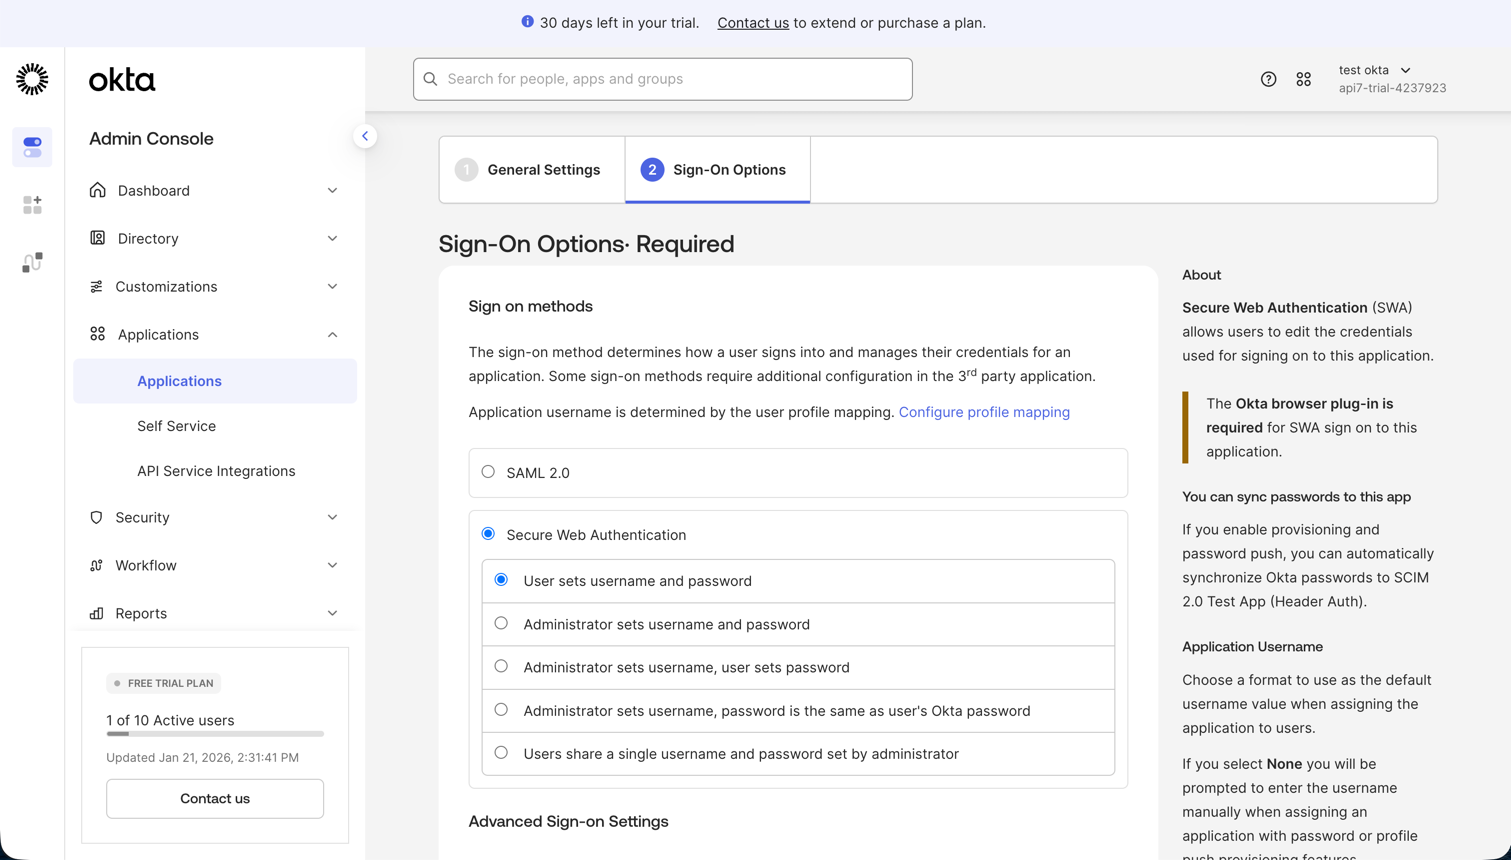
- In General Settings, name the application, such as
API7 Portal. - In Sign-On Options, select Secure Web Authentication (SWA).
- Click Done.
Step 2: Install the SCIM Plugin
In your project root or apps/site directory, install the Better Auth SCIM plugin. Make sure the version matches your better-auth version.
pnpm add @better-auth/scim@1.4.10
Step 3: Register the Plugin in the Portal Code
Update the server and client auth code to register SCIM support.
import {
  organization,
  openAPI,
} from 'better-auth/plugins';
import { scim } from '@better-auth/scim';

export const auth = betterAuth({
  plugins: [
    nextCookies(),
    organization(),
    openAPI(),
    scim(),
    ...getTestingConfig(),
  ],
});
import {
  genericOAuthClient,
} from 'better-auth/client/plugins';
import { scimClient } from '@better-auth/scim/client';

export const authClient = createAuthClient({
  basePath: AUTH_BASE_PATH,
  plugins: [
    organizationClient(),
    magicLinkClient(),
    genericOAuthClient(),
    scimClient(),
  ],
});
Step 4: Update the Route Handler
SCIM requires additional HTTP methods for provisioning operations. Update the auth route handler accordingly.
export const { GET, POST, PUT, PATCH, DELETE } = toNextJsHandler(auth.handler);
Step 5: Apply Database Migrations
The SCIM plugin requires additional database tables.
cd apps/site
pnpm db:generate-schema
pnpm db:generate
pnpm db:migrate
You should see migration output indicating that the schema changes were applied successfully.
Step 6: Generate a SCIM Token
Create a temporary script to generate a SCIM token for Okta integration.
import { auth } from '@/lib/auth/server';

async function main() {
  const loginRes = await auth.api.signInEmail({
    returnHeaders: true,
    body: {
      email: 'admin@example.com',
      password: 'password1234',
    },
  });

  const headers = {
    cookie: loginRes.headers.get('set-cookie') || '',
  };

  const res = await auth.api.generateSCIMToken({
    body: {
      providerId: 'okta',
    },
    headers,
  });

  console.log('SCIM Token:', res.scimToken);
}

main().catch((err) => console.trace(err));
Run the script:
pnpm dlx tsx ./scripts/get-scim-token.ts
Copy the generated token for the next step.
Step 7: Configure Okta API Integration
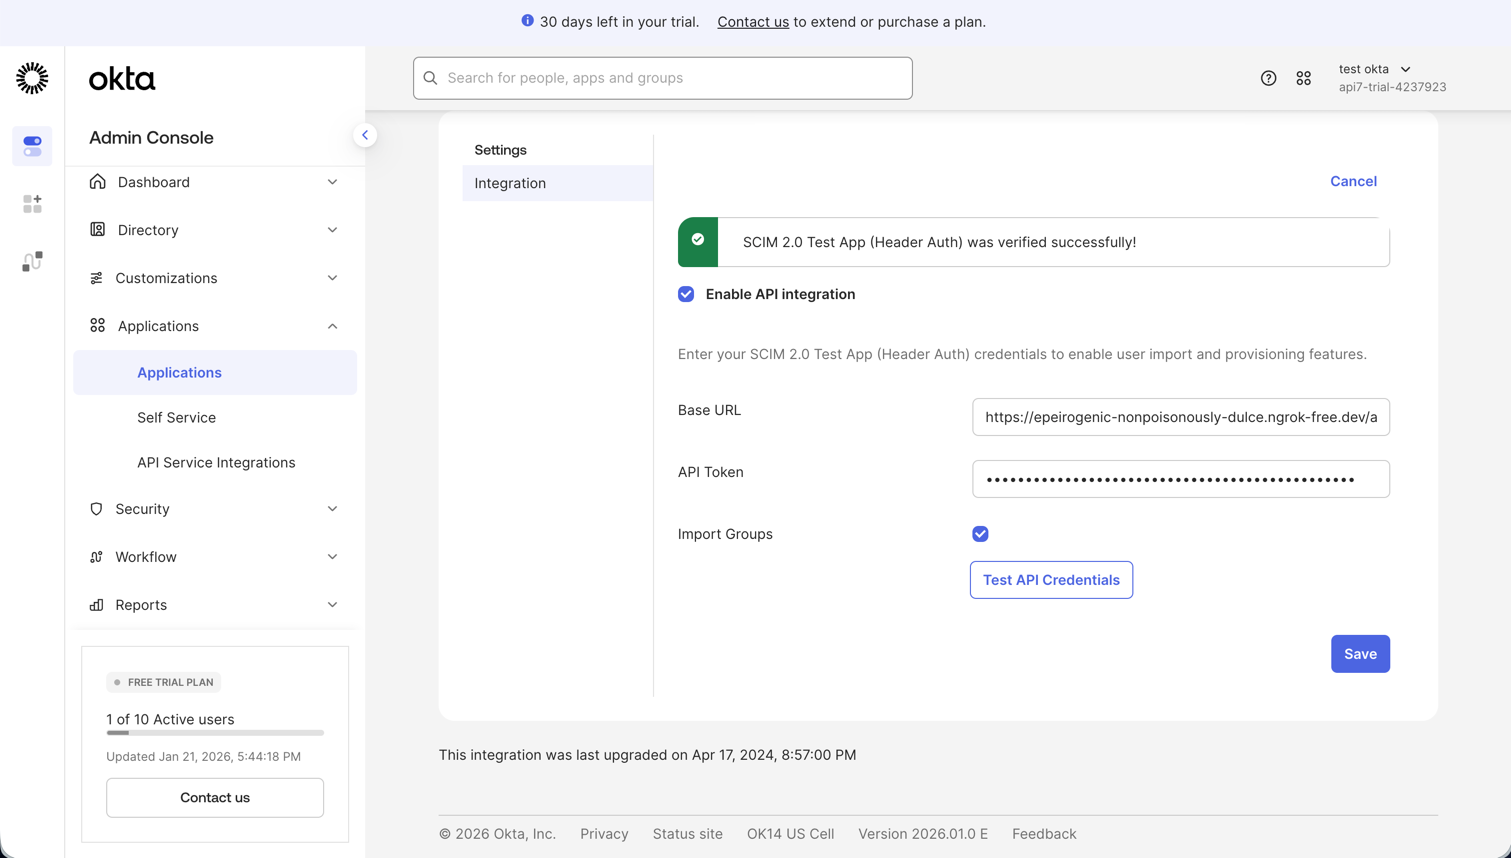
- In Okta, open the Provisioning tab of your SCIM application.
- Click Configure API Integration.
- Enable API integration.
- Set:
- SCIM 2.0 Base URL to
https://<YOUR_PORTAL_DOMAIN>/api/auth/scim/v2 - API Token to
Bearer <YOUR_SCIM_TOKEN>
- SCIM 2.0 Base URL to
- Click Test API Credentials.
- If the test succeeds, click Save.
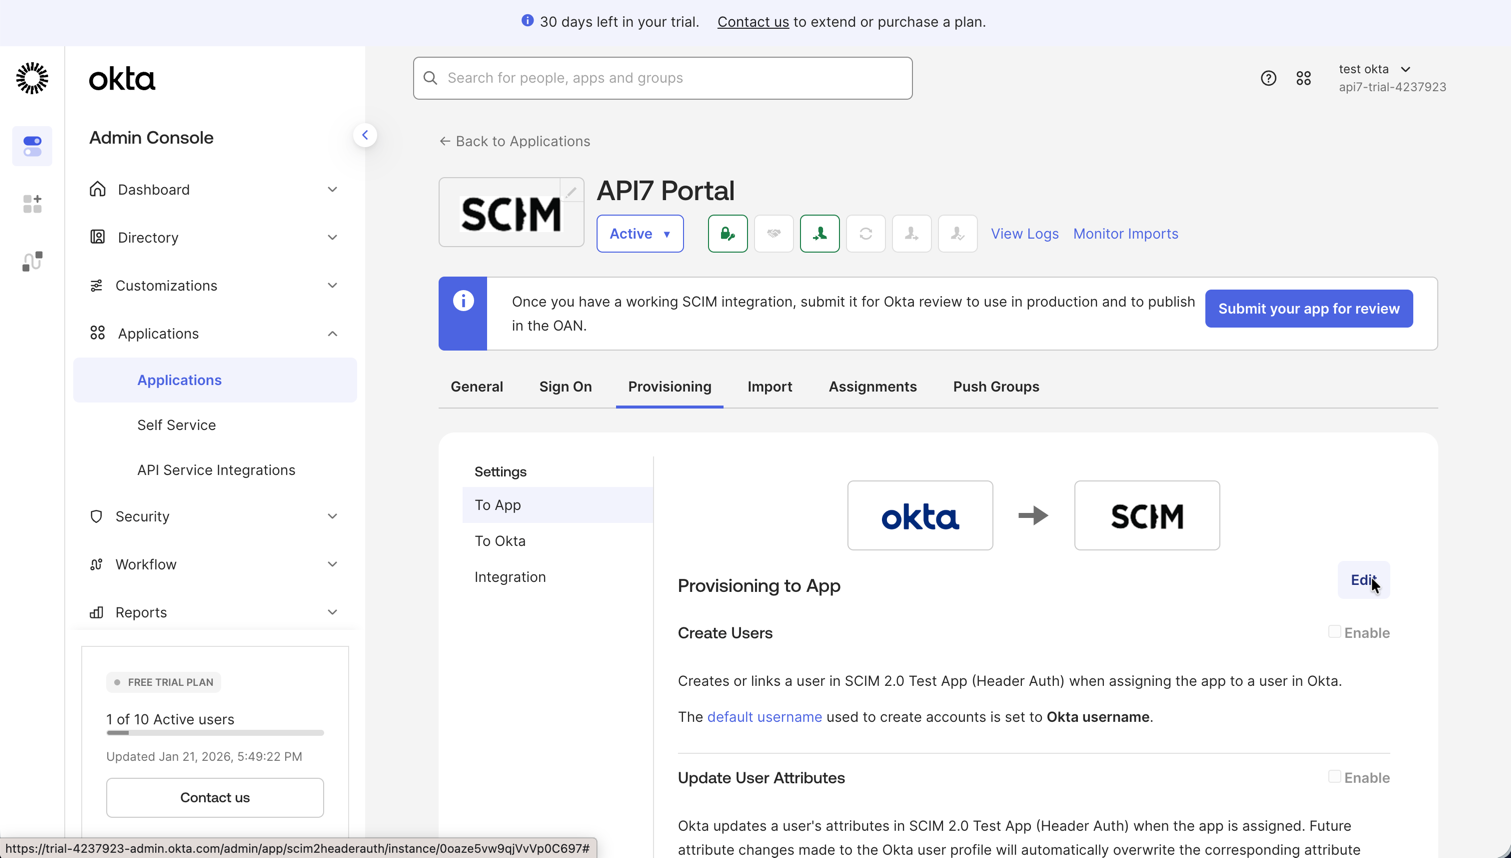
Step 8: Configure Provisioning and Assign Users
Configure provisioning
- In the Provisioning tab, select To App.
- Click Edit.
- Enable the features you need:
- Create Users
- Update User Attributes
- Deactivate Users
- Click Save.
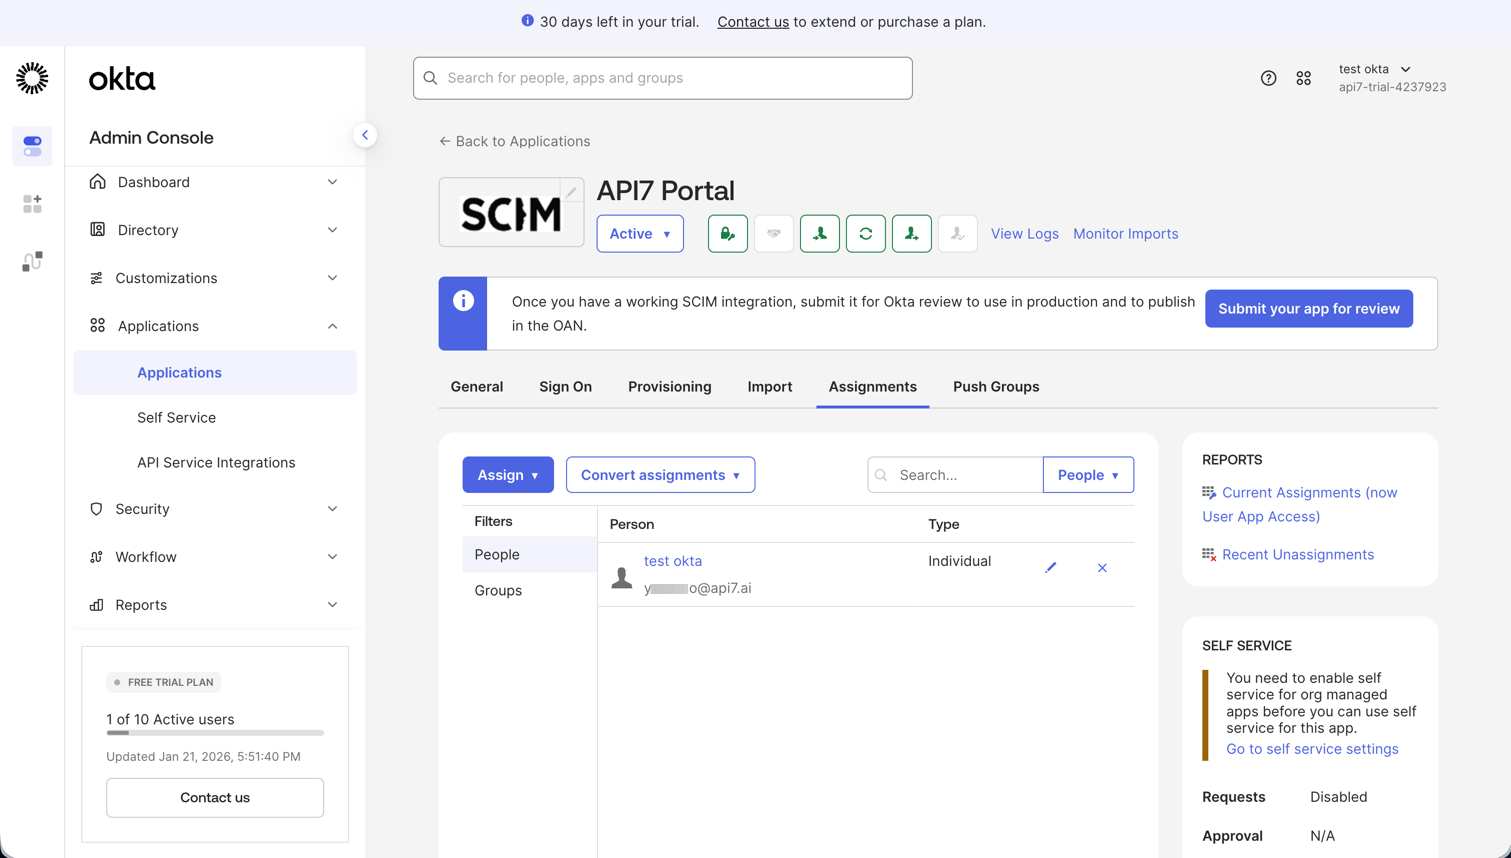
Assign users
- Open the Assignments tab.
- Click Assign -> Assign to People or Assign to Groups.
- Select the users or groups to provision.
- Click Assign, then Done.
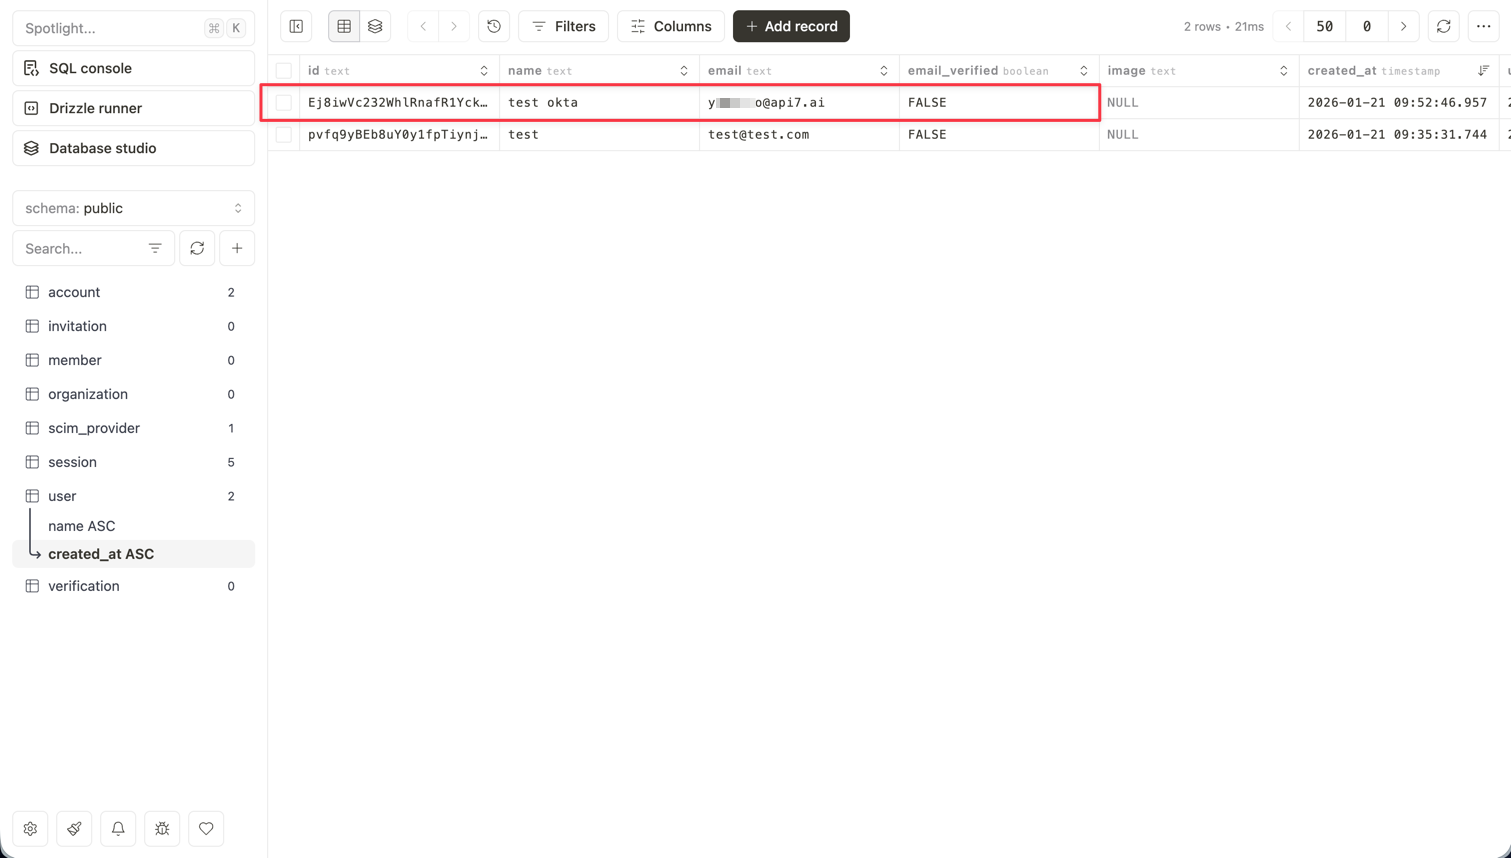
Step 9: Verify Provisioning
Verify that the users assigned in Okta have been provisioned into your custom Developer Portal.
You can confirm this in the portal user list or directly in the backing database, depending on how you operate the portal.
Next Steps
- Configure the Developer Portal — manage the built-in portal settings, including SCIM provisioning.
- Customize the Developer Portal — extend the boilerplate with additional behavior.
- Configure SSO for the Developer Portal — add interactive login options alongside SCIM provisioning.