SCIM Provisioning with Microsoft Entra ID
Microsoft Entra ID can provision users into API7 Gateway by using SCIM (System for Cross-domain Identity Management).
This guide walks you through configuring SCIM provisioning between Microsoft Entra ID and the API7 Dashboard.
Prerequisites
Before you begin, ensure you have:
- API7 Gateway is installed and the Dashboard is accessible.
- You have a Microsoft Entra ID tenant with administrative privileges.
- You have a user account in API7 Gateway with permission to manage organization settings.
Step 1: Create a Non-Gallery Enterprise Application
- Sign in to the Microsoft Entra admin center.
- Go to Enterprise applications -> New application.
- Click Create your own application.
- Enter an application name.
- Select Integrate any other application you don't find in the gallery (Non-gallery).
- Click Create.
Step 2: Enable SCIM in API7 Gateway
- Log in to the API7 Dashboard with an administrative account.
- Go to Organization -> Settings.
- Enable SCIM Provisioning.
- Copy the API7 SCIM Endpoint URL and SCIM Token.
Step 3: Configure Provisioning in Microsoft Entra ID
- Open the enterprise application you created.
- Go to Provisioning.
- Change Provisioning Mode to Automatic.
- In Authentication Method, keep Bearer Authentication selected.
- Set Tenant URL to the SCIM endpoint copied from API7 Gateway.
- Set Secret Token to the SCIM token copied from API7 Gateway.
- Click Test Connection.
- Confirm the success message: The supplied credentials are authorized to enable provisioning.
- Click Save.
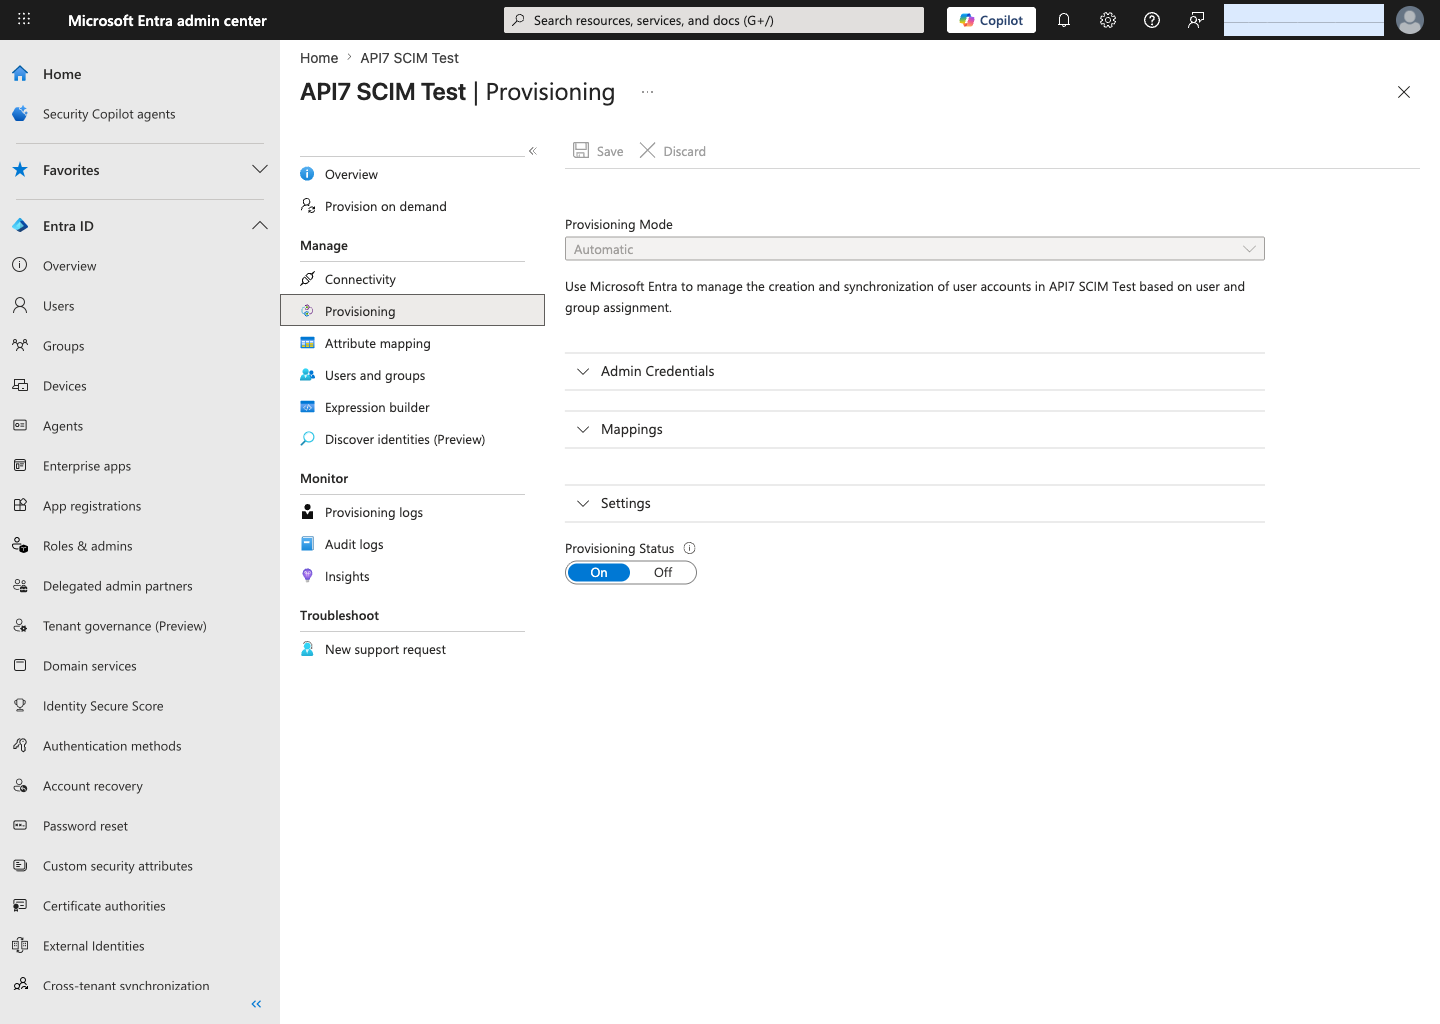
Step 4: Update Provisioning Settings
- In the same Provisioning page, expand Settings.
- Set Scope to Sync all users and groups.
- Under Provisioning Status, select On.
- Click Save.
Using Sync all users and groups avoids the Entra entitlement check that can otherwise prevent on-demand provisioning from reaching the SCIM create step.
Step 5: Review Default Mappings
After saving the connection, Microsoft Entra ID enables the default SCIM mappings for:
- Provision Microsoft Entra ID Users
- Provision Microsoft Entra ID Groups
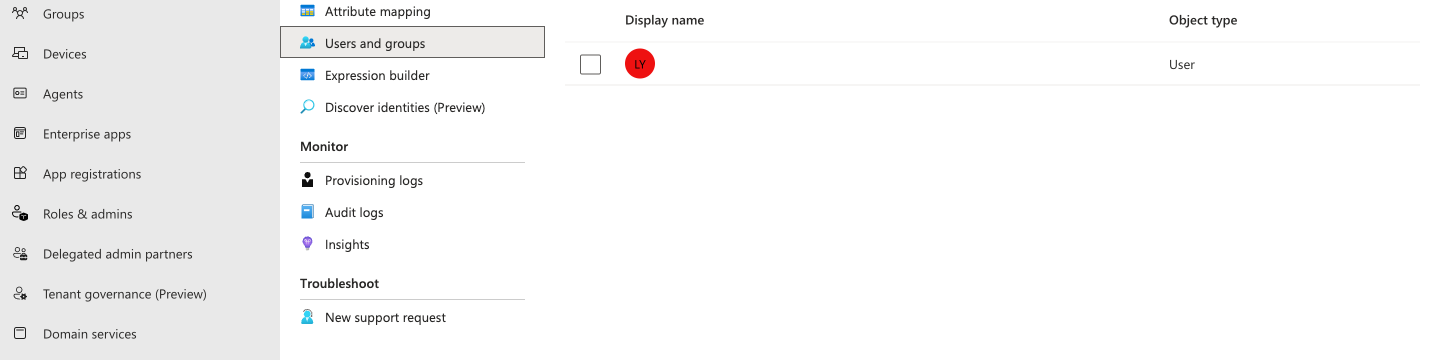
Step 6: Assign Users or Groups
- Go to Users and groups in the enterprise application.
- Click Add user/group.
- Select the users or groups you want to provision.
- Click Assign.
Step 7: Validate Provisioning Behavior
-
Return to Provisioning.
-
Open Provision on demand.
-
Search for an assigned user and run an on-demand provisioning attempt.
-
Confirm the following steps succeed:
- Import user
- Determine if user is in scope
- Match user between source and target system
- Perform action
In the validated flow, Microsoft Entra ID successfully created the user in the target application. The result pane showed:
- Perform action:
Success - Result:
User '<userPrincipalName>' was created in customappsso
Step 8: Verify the Provisioned User in API7 Gateway
- Return to the API7 Dashboard.
- Go to Organization -> Users.
- Confirm that the user provisioned from Microsoft Entra ID appears in the user list.
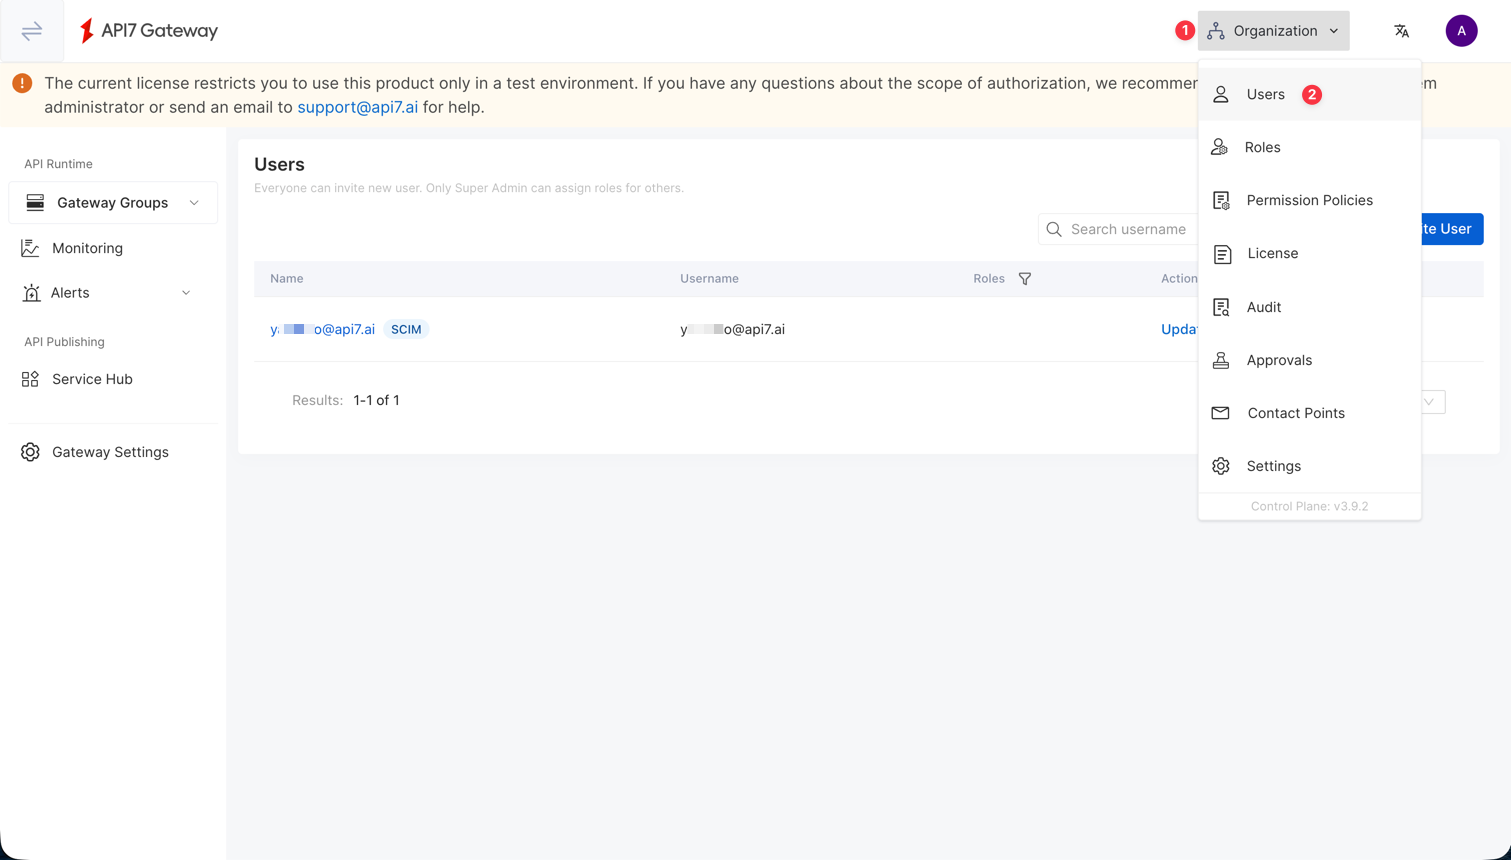
SCIM provisions the user accounts, but role assignments are still governed by API7 Gateway RBAC. If you also configure Dashboard SSO role mapping, user roles can be refreshed during login based on your SSO mapping rules.
If you also configure Dashboard SSO, provisioned users can be managed through Microsoft Entra ID while authenticating through your selected login option.