Configure SCIM Provisioning with Okta
Okta is a cloud-based identity and access management platform that provides secure authentication and user management for applications. By integrating Okta with API7 Enterprise using SCIM (System for Cross-domain Identity Management), you can automatically synchronize user accounts from Okta to the API7 Dashboard, eliminating manual user management and ensuring consistent access control.
This guide walks you through configuring SCIM provisioning between Okta and API7 Enterprise.
Prerequisites
- Install API7 Enterprise.
- Have an Okta account with admin privileges.
Create a SCIM App in Okta
Search for SCIM Integration
- Log in to the Okta Admin Console.
- Navigate to Applications > Applications from the side navigation.
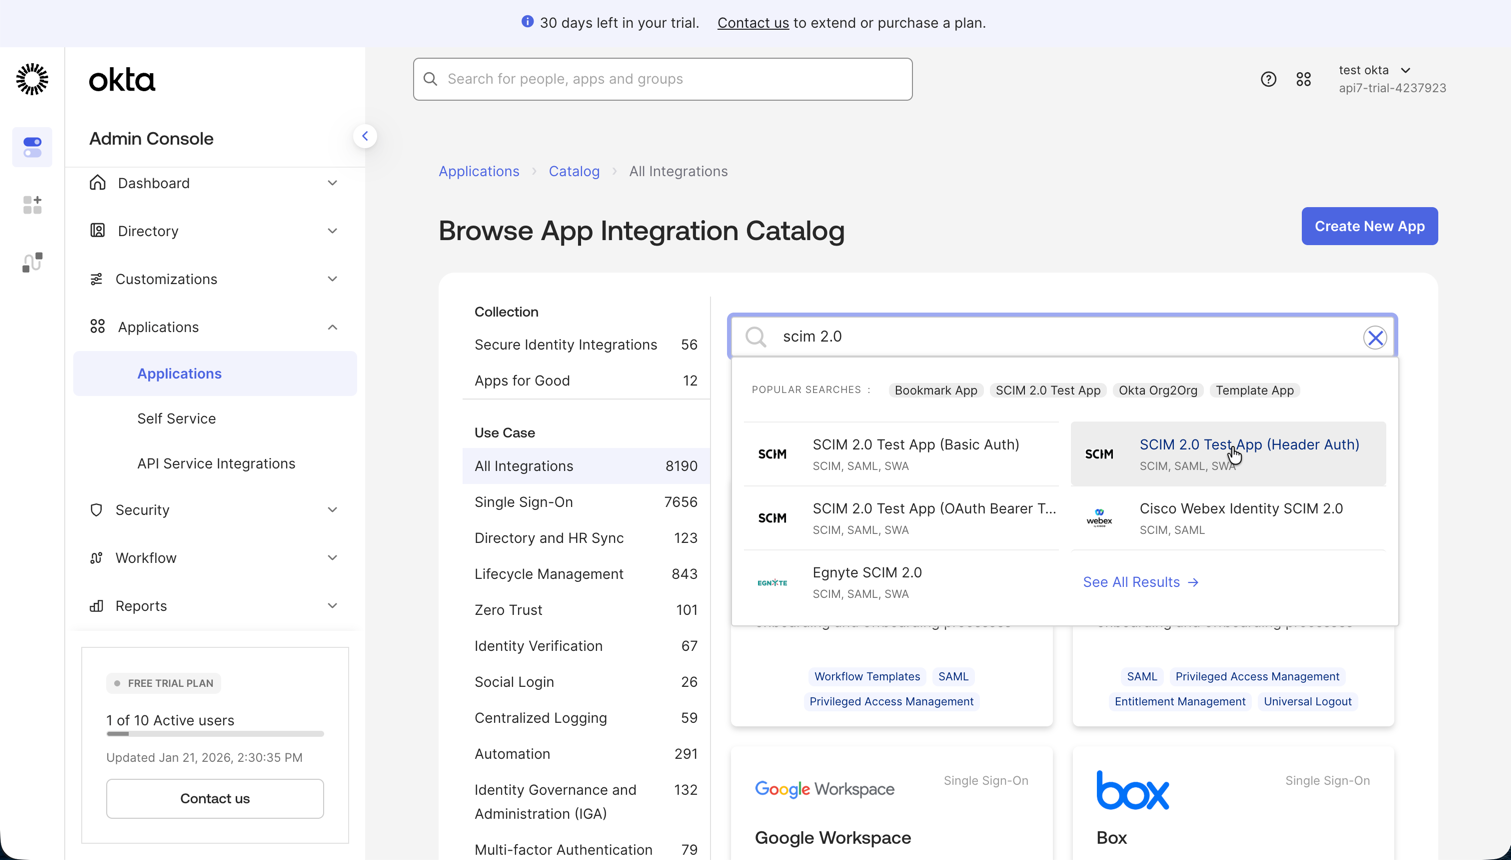
- Click Browse App Catalog.
- Search for
SCIMin the search bar. - Select SCIM 2.0 Test App (Header Auth) from the search results.
Add the Integration
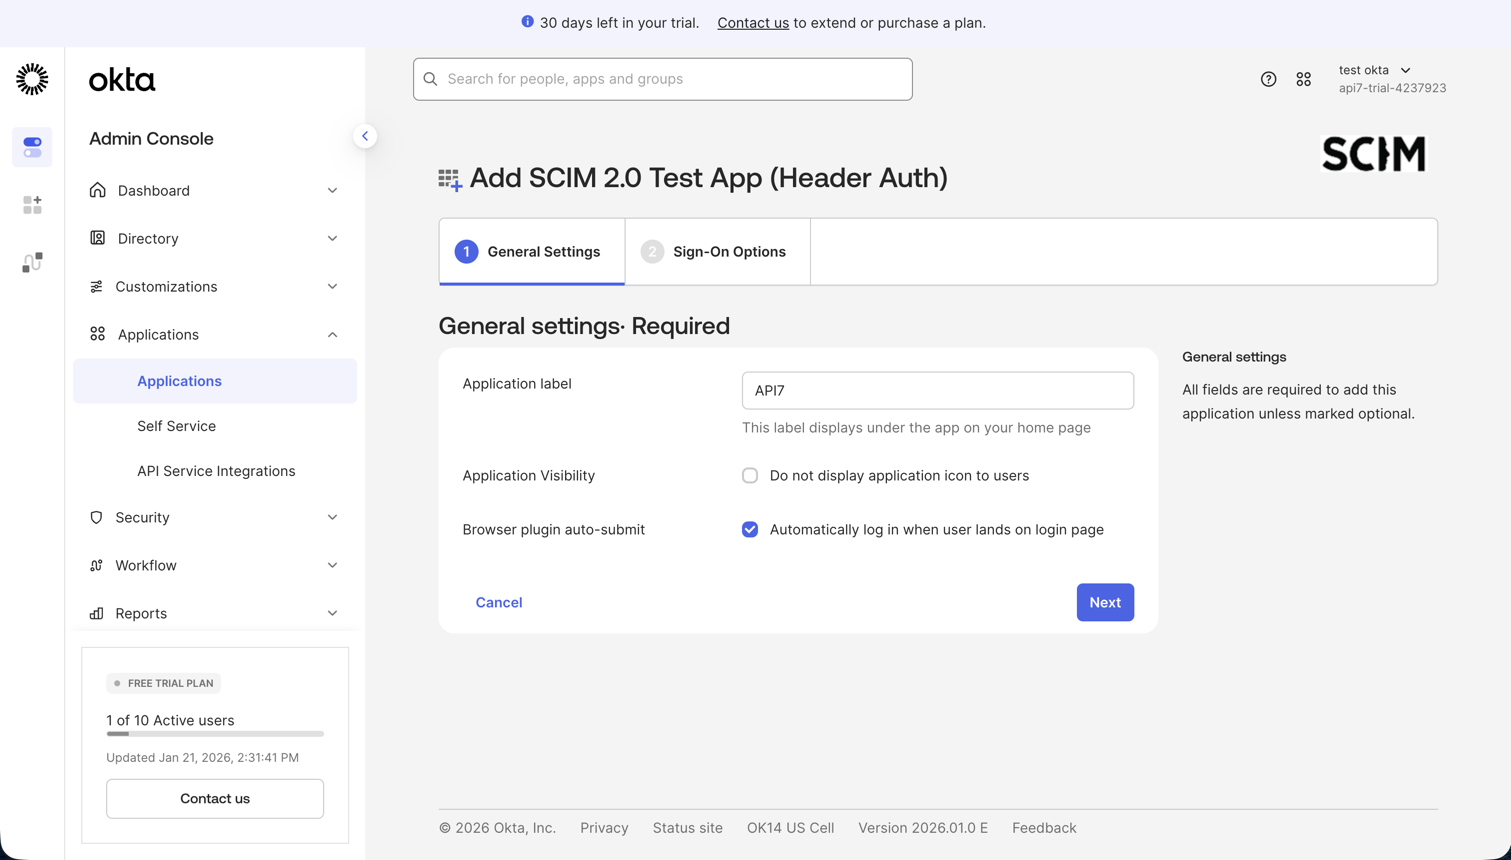
- Click Add Integration to add the SCIM test app to your Okta organization.

Configure General Settings
- In the General Settings tab, configure the application name and other settings as needed.
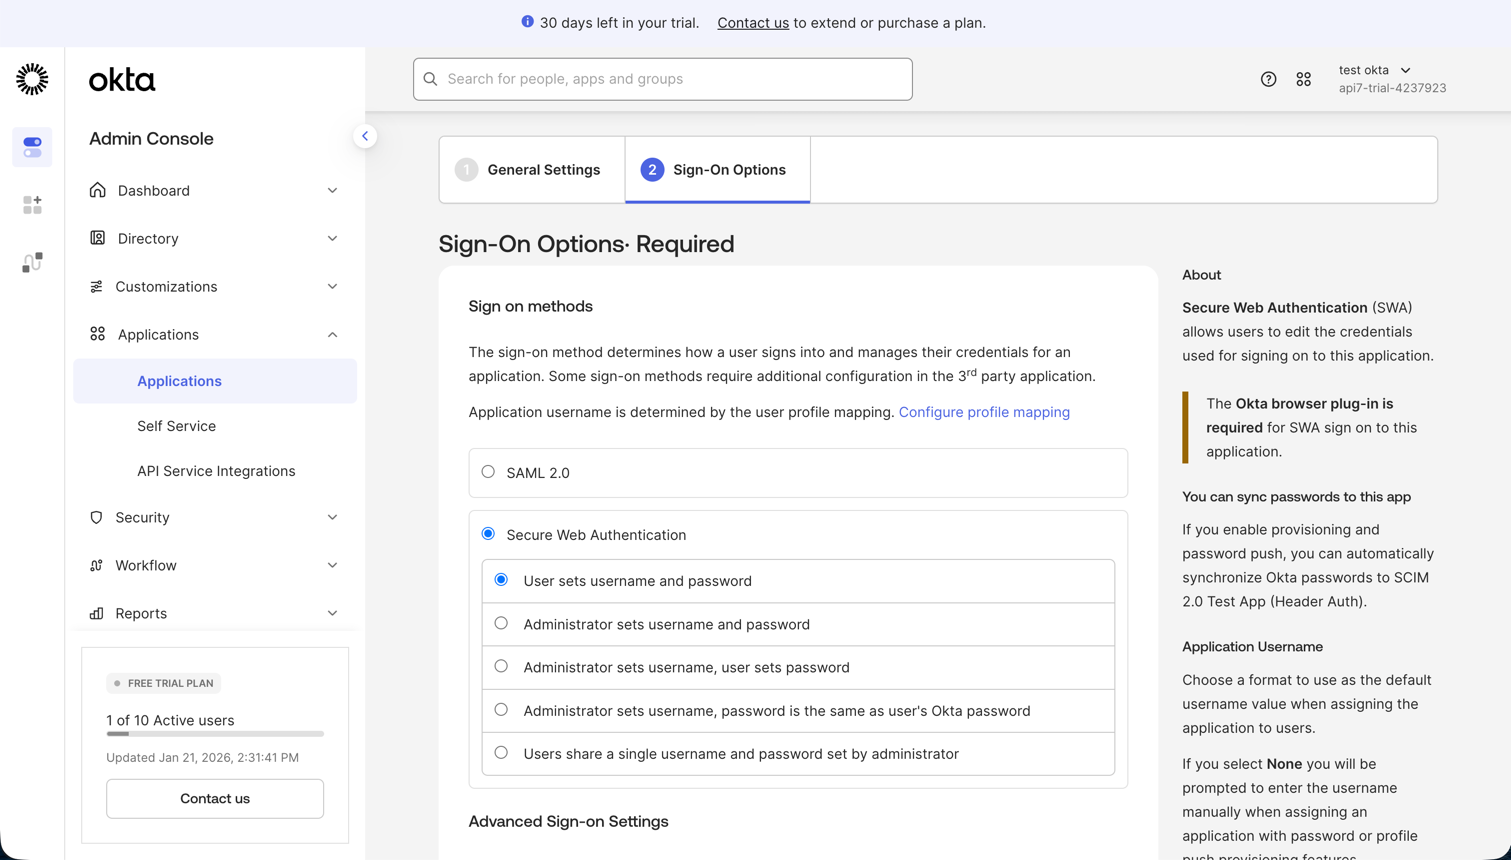
Configure Sign-On Options
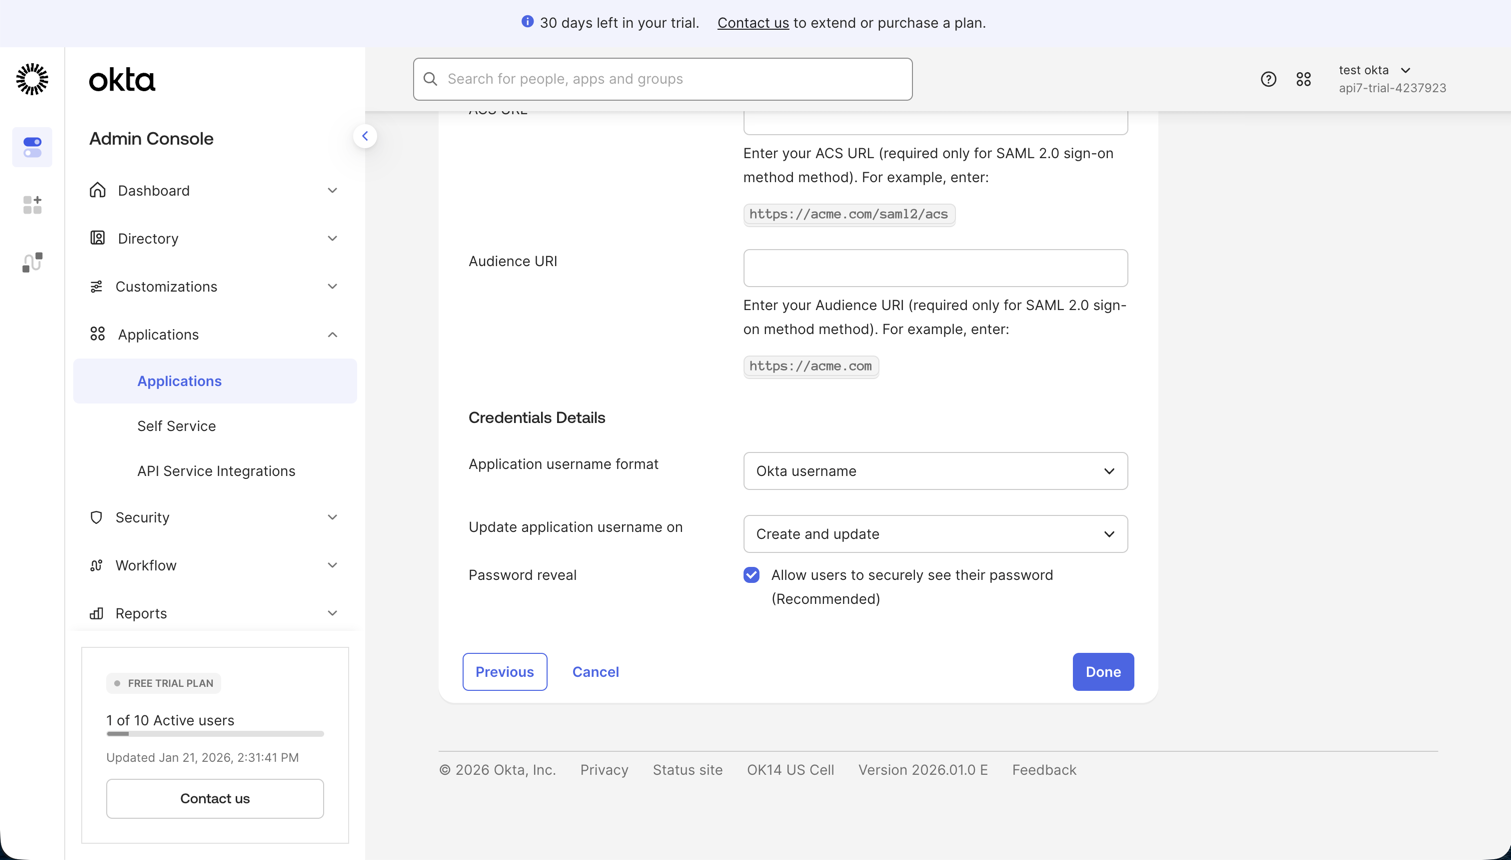
- In the Sign-On Options tab, select Secure Web Authentication (SWA) as the sign-on method. (You can also choose the appropriate sign-on methods based on your needs, such as SAML 2.0.)
- Click Done to save the application.
Enable SCIM in API7 Dashboard
- Log in to the API7 Dashboard with an admin account.
- Select Organization from the top navigation bar, then choose Settings.
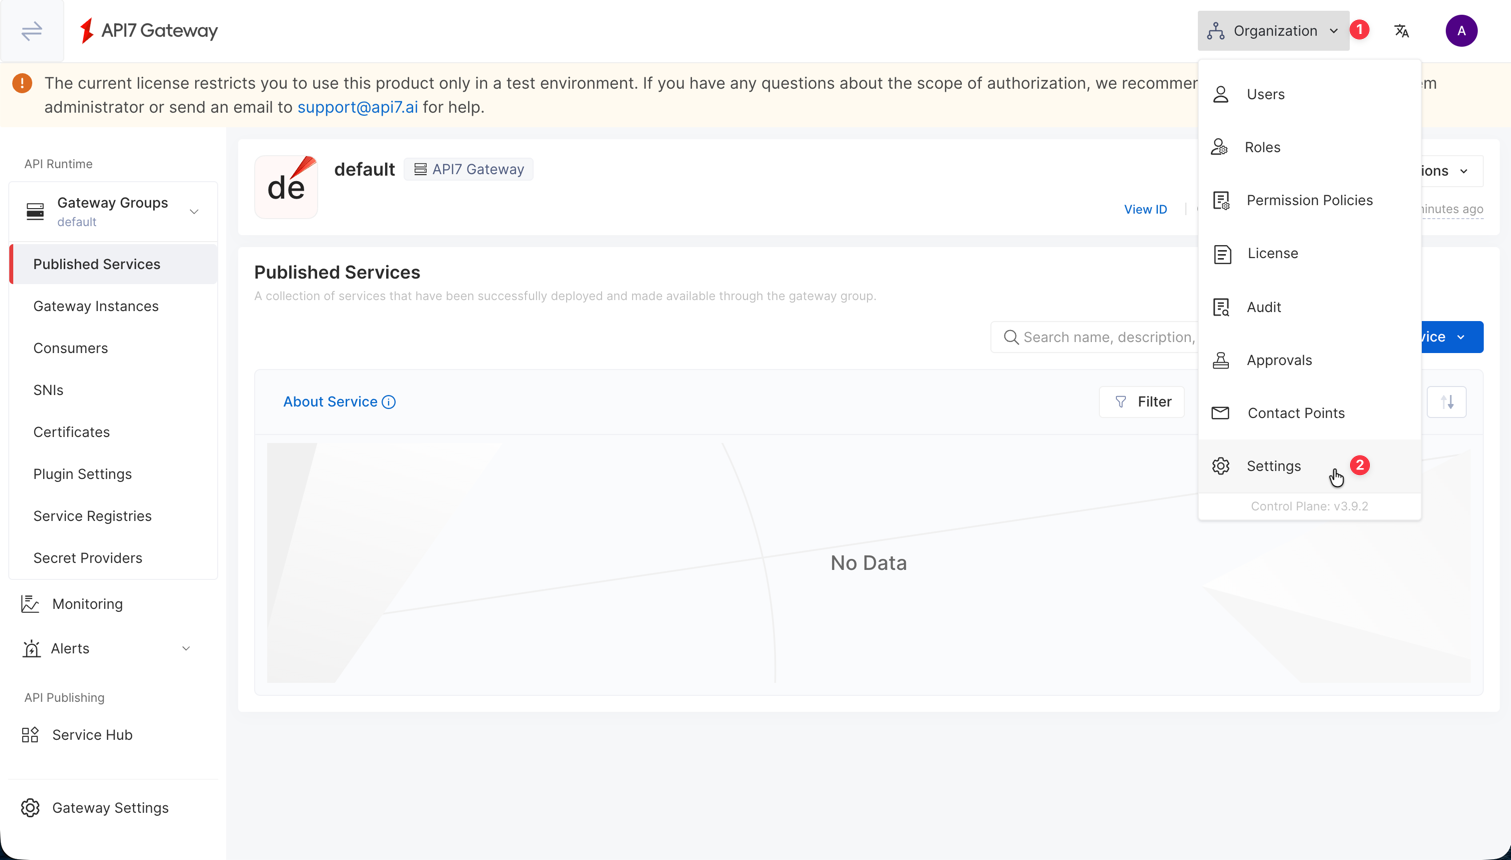
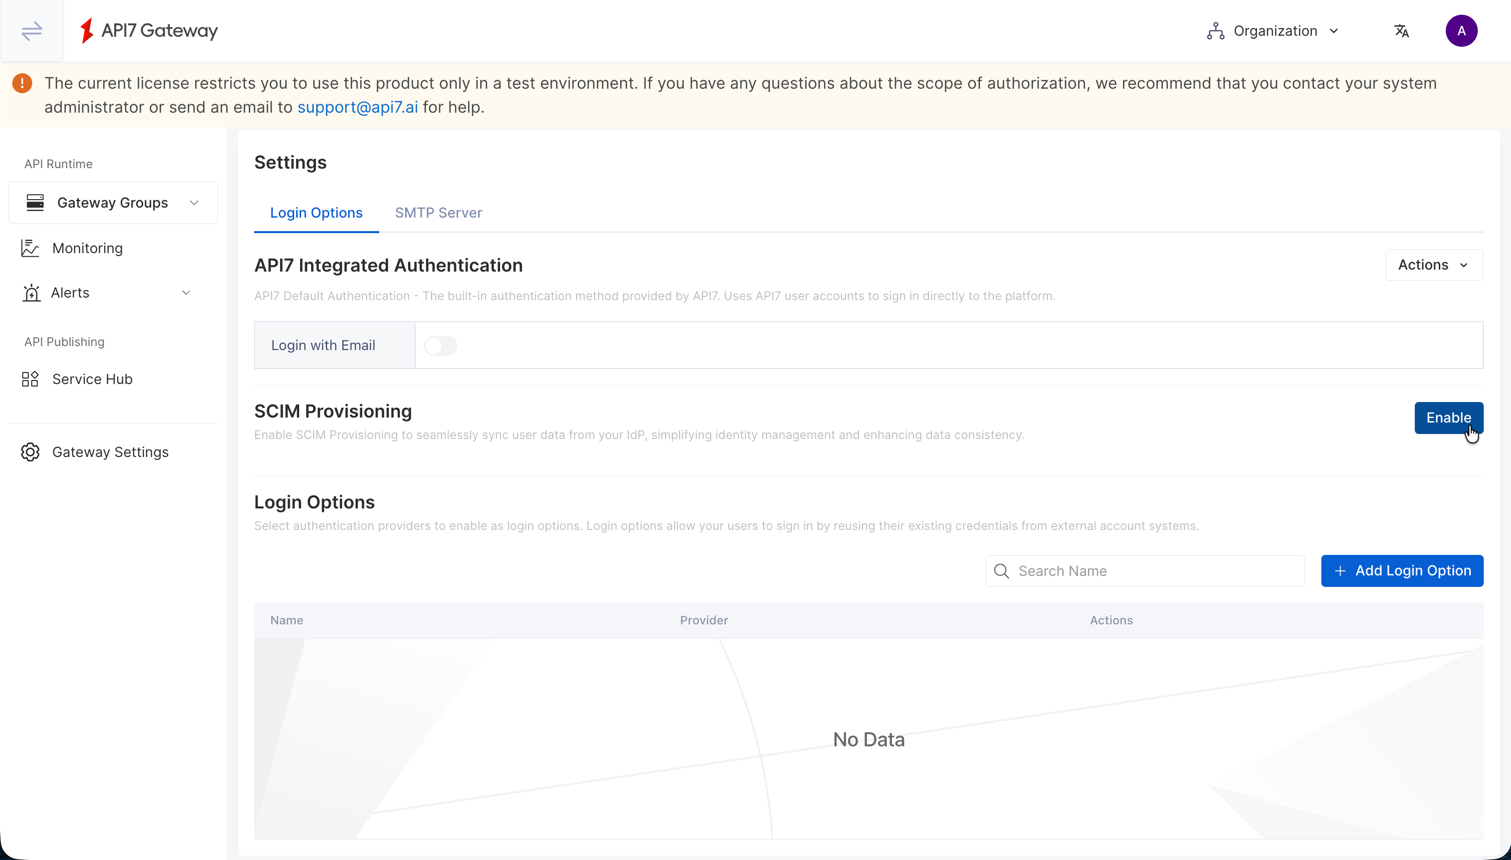
- Enable SCIM Provisioning.
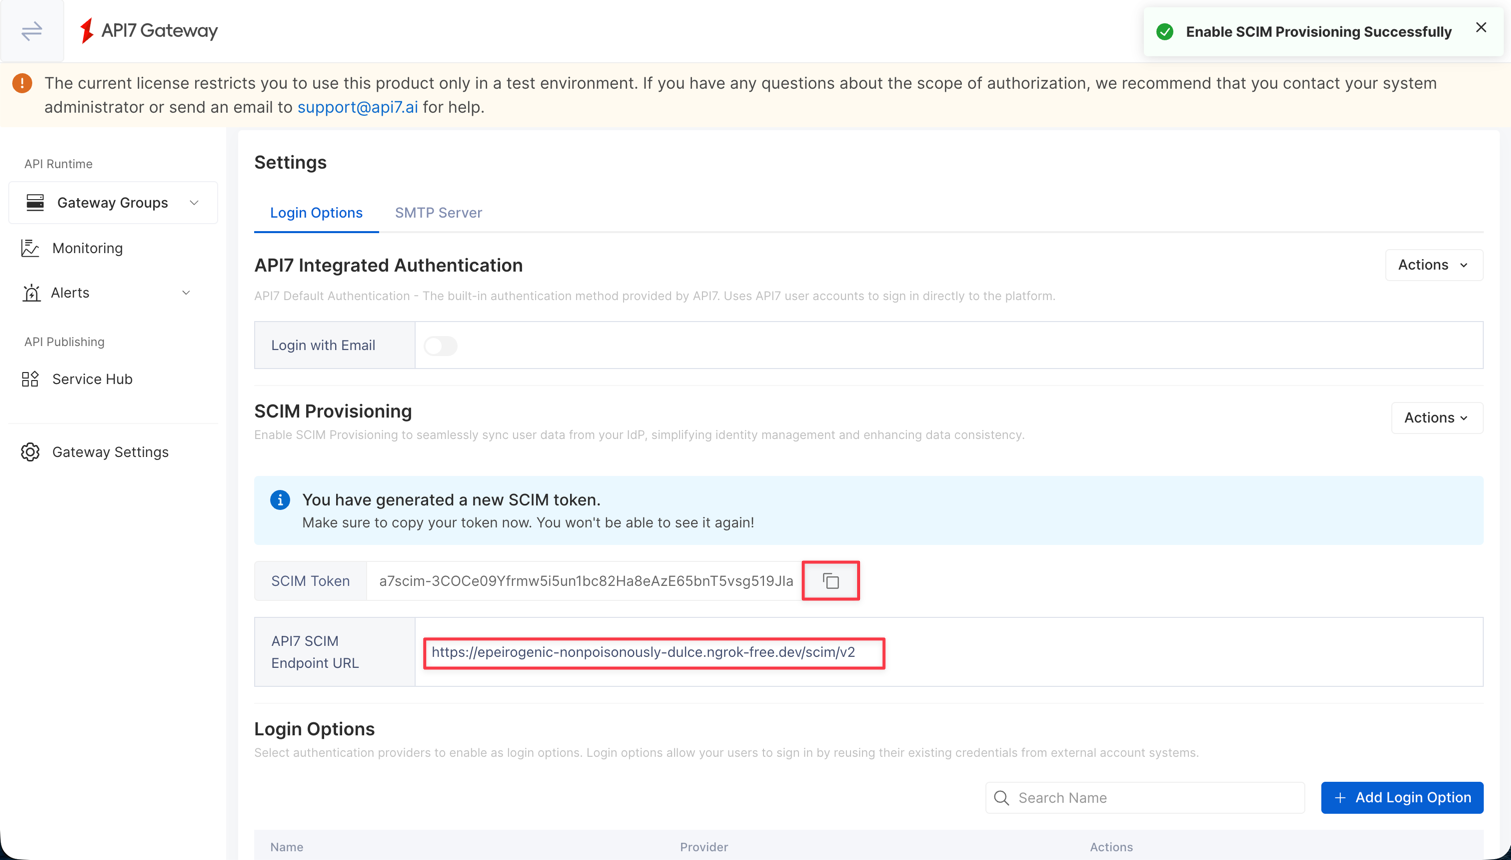
- Copy the API7 SCIM Endpoint URL and SCIM Token. You will need these values to configure the Okta integration.
Configure SCIM Integration in Okta
Configure API Integration
- Return to the Okta Admin Console and navigate to your SCIM application.
- Select the Provisioning tab.
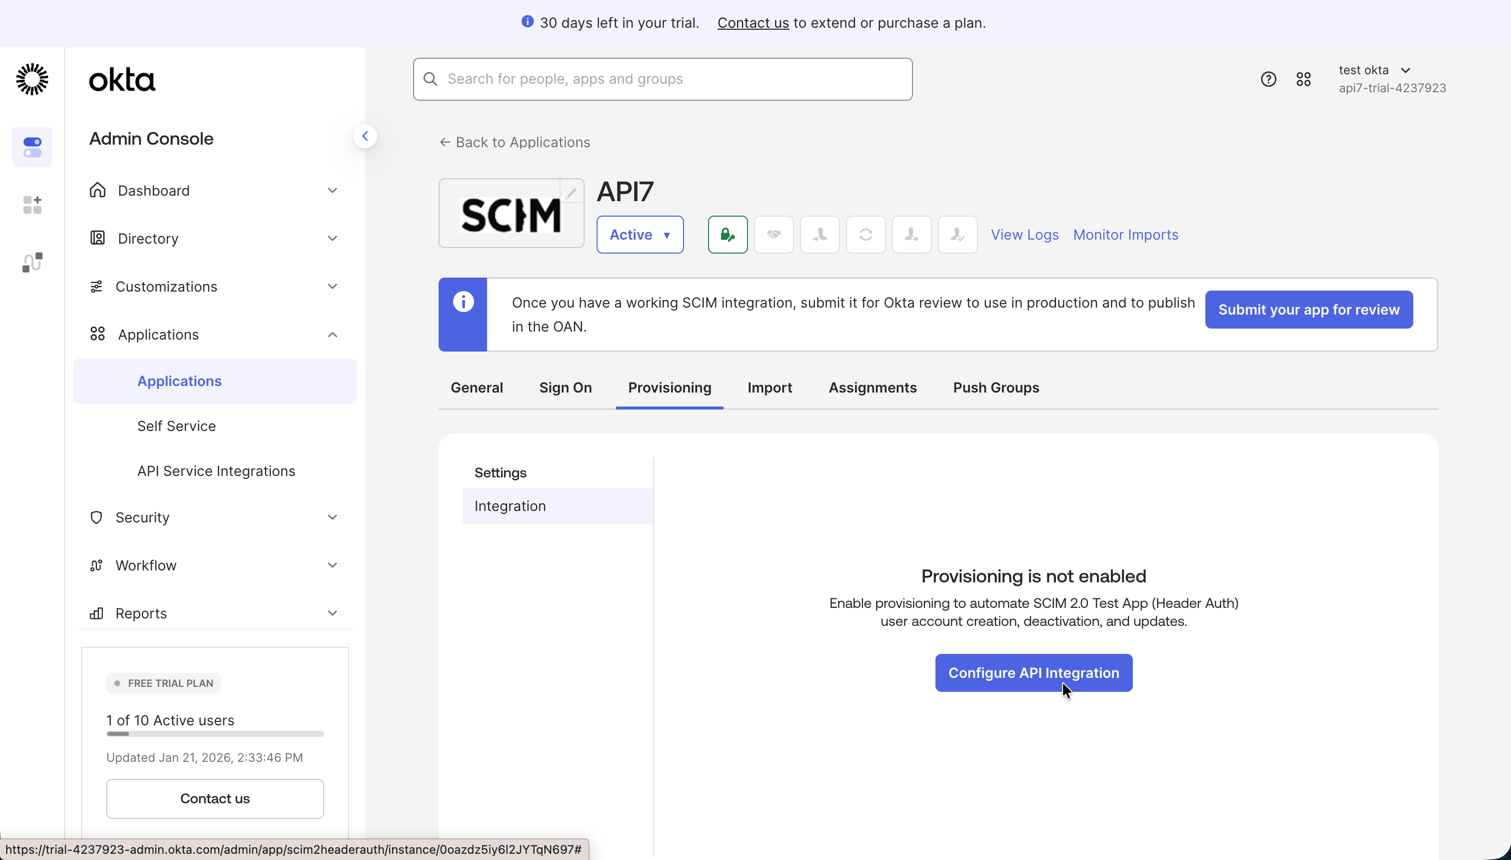
- Click Configure API Integration.
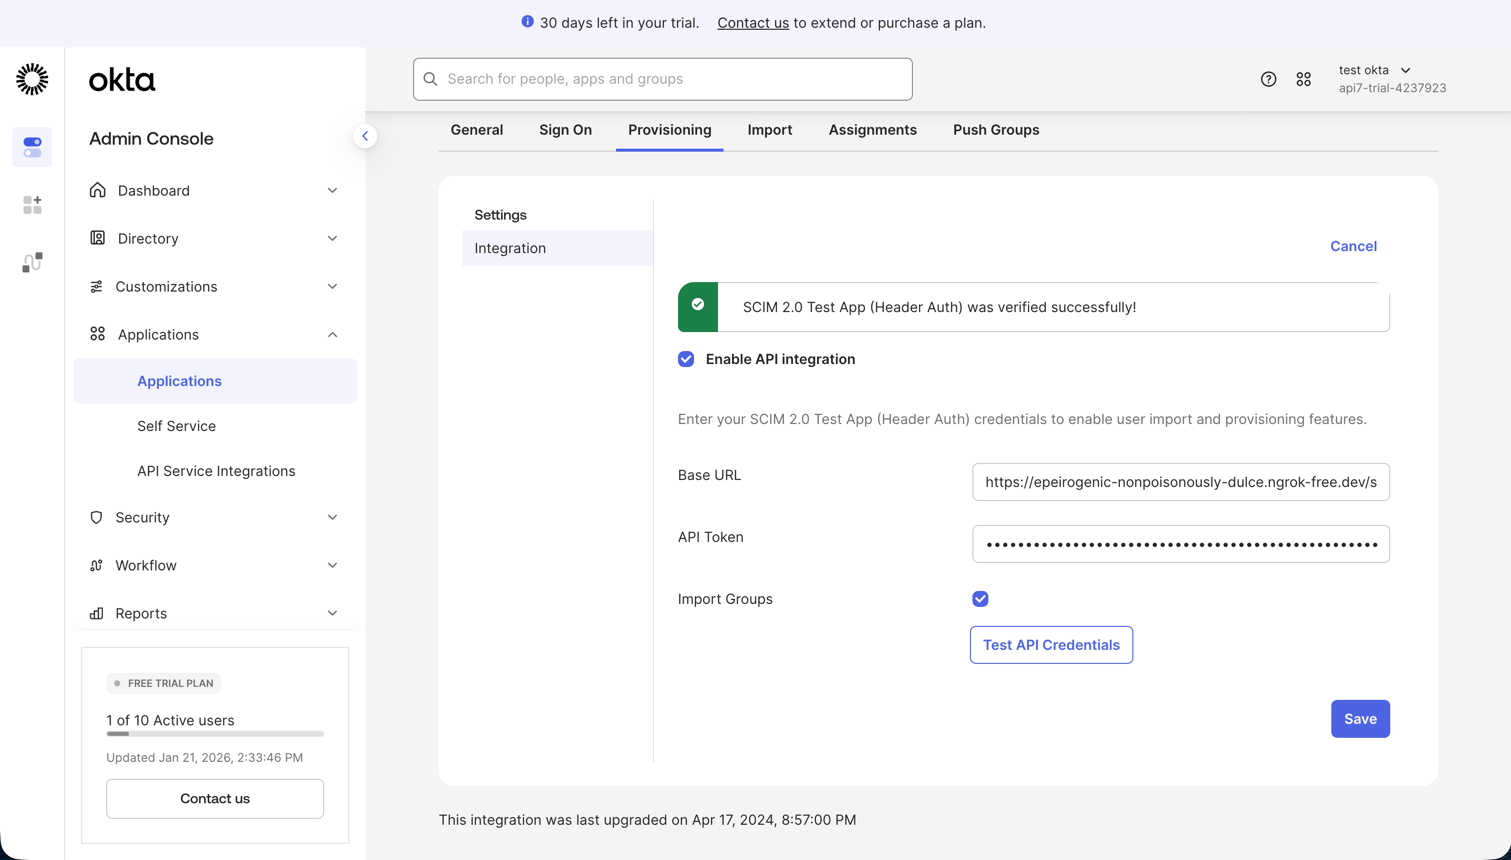
- Check Enable API Integration.
- Enter the SCIM 2.0 Base URL copied from the API7 Dashboard.
- In the API Token field, enter
Bearer <your_token>. Replace<your_token>with the SCIM Token copied from the API7 Dashboard.
note
Make sure to include a space after Bearer.
- Click Test API Credentials to verify the connection, then click Save.
Enable Provisioning Features
- In the Provisioning tab, select To App from the left panel.
- Click Edit to modify the provisioning settings.
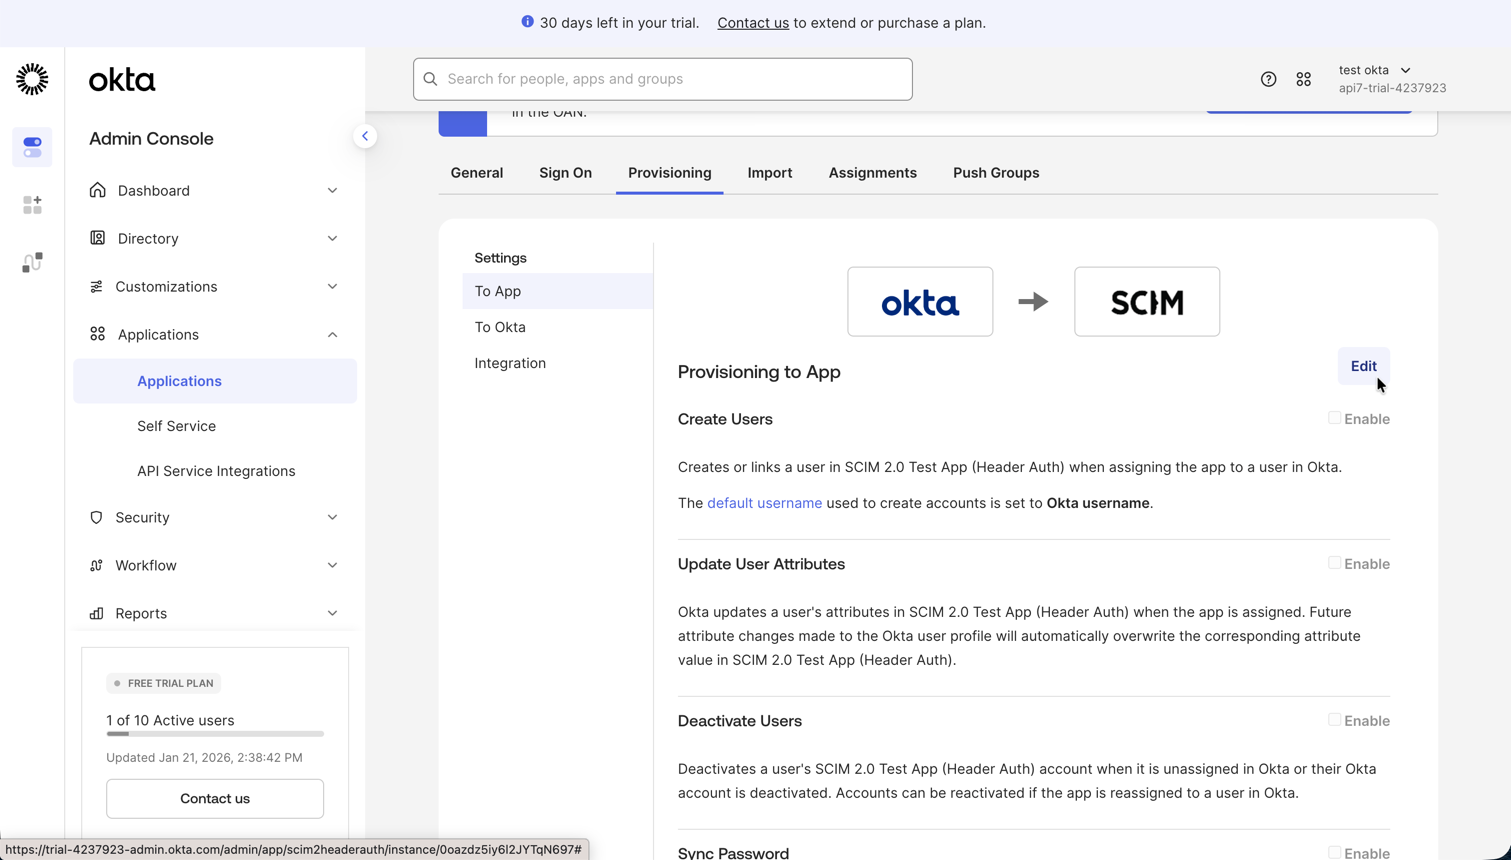
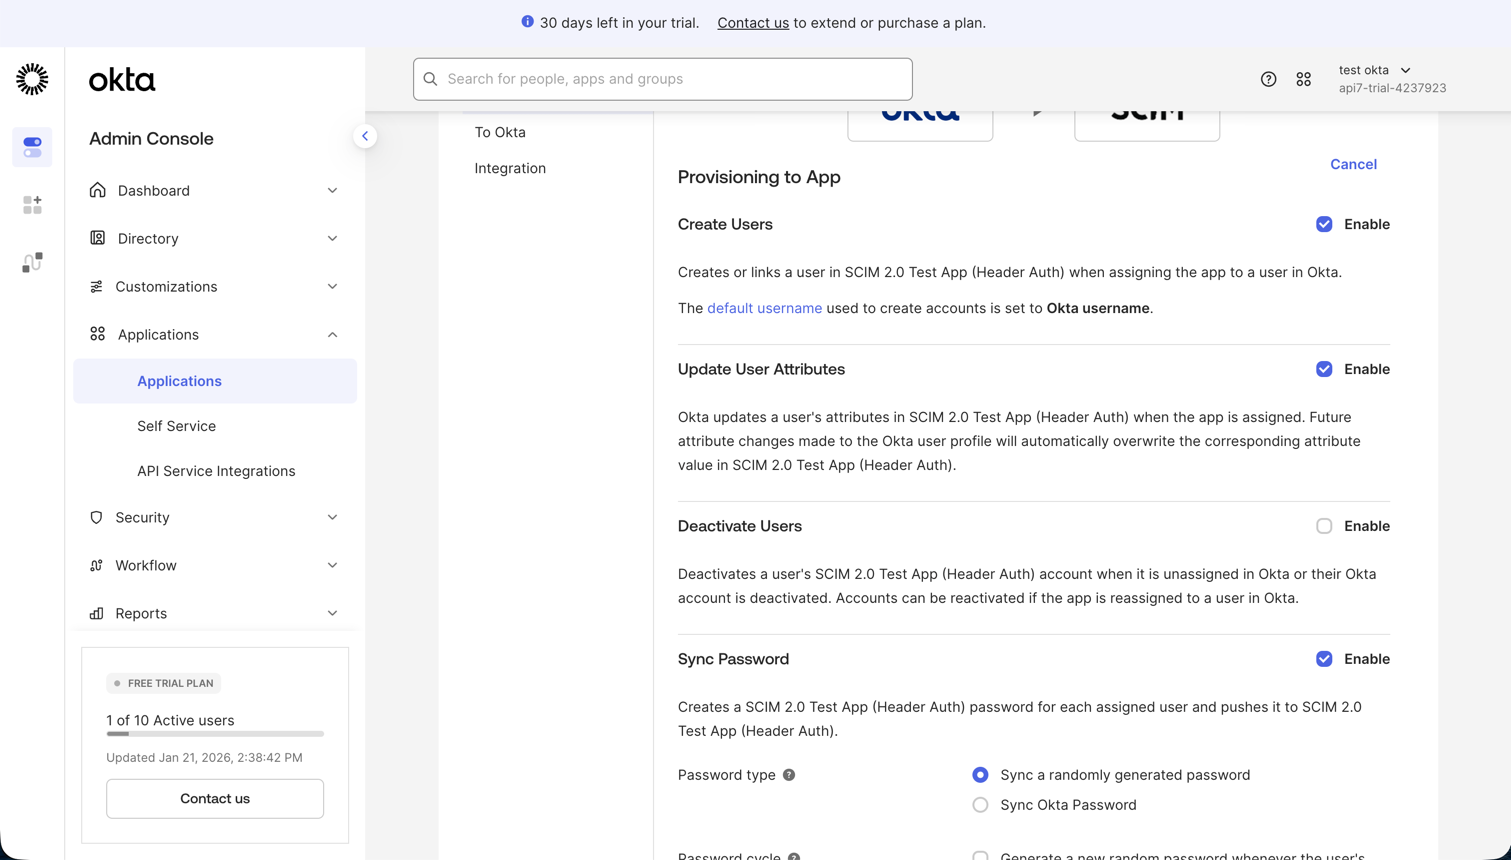
- Enable Create Users, Update User Attributes, and Deactivate Users as needed.
- Click Save to apply the changes.
Assign Users to the Application
- In the SCIM application, select the Assignments tab.
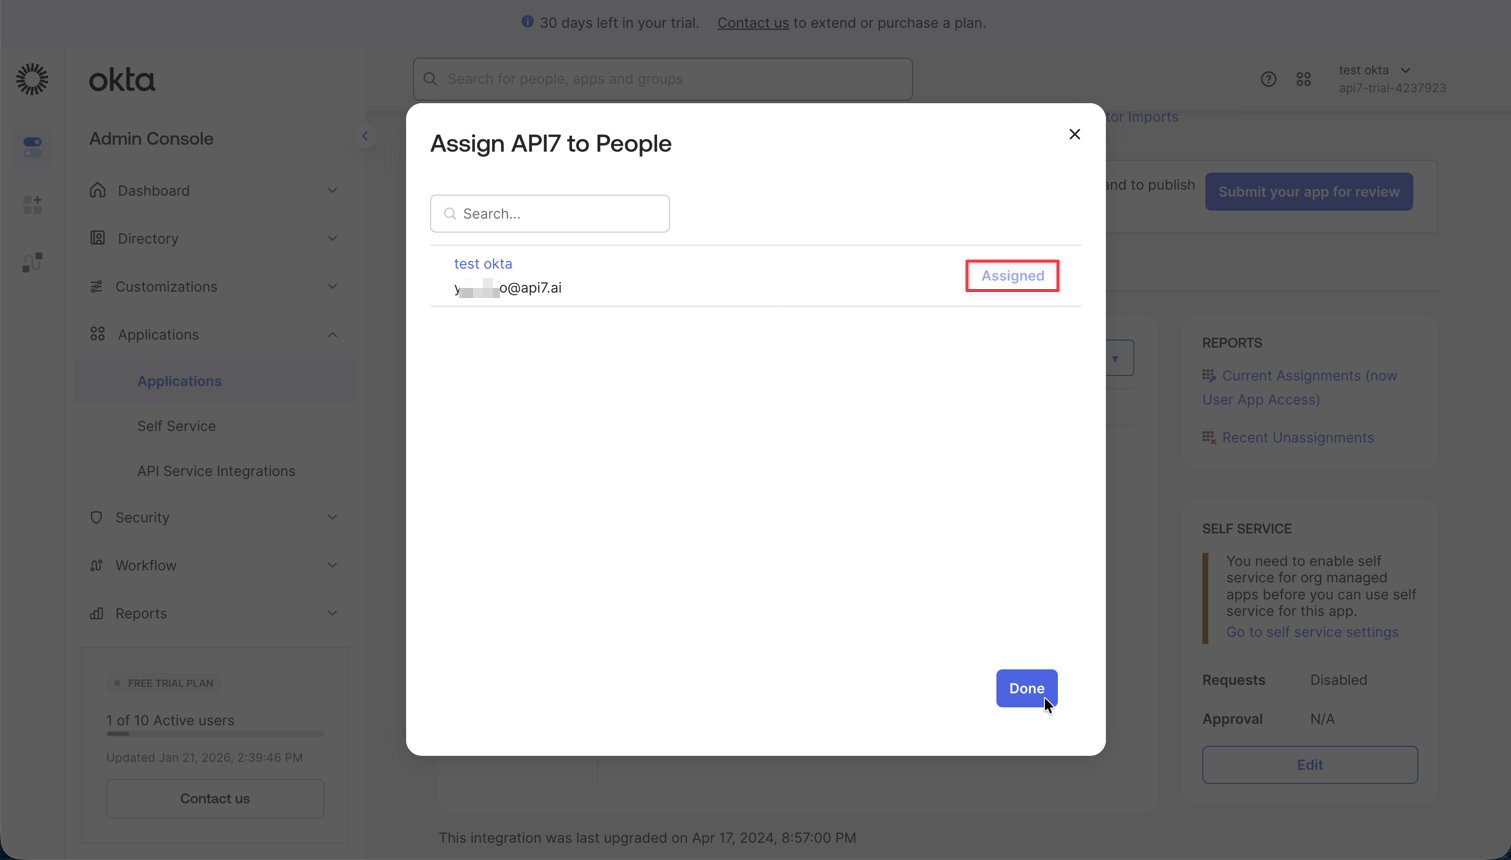
- Click Assign and select Assign to People.
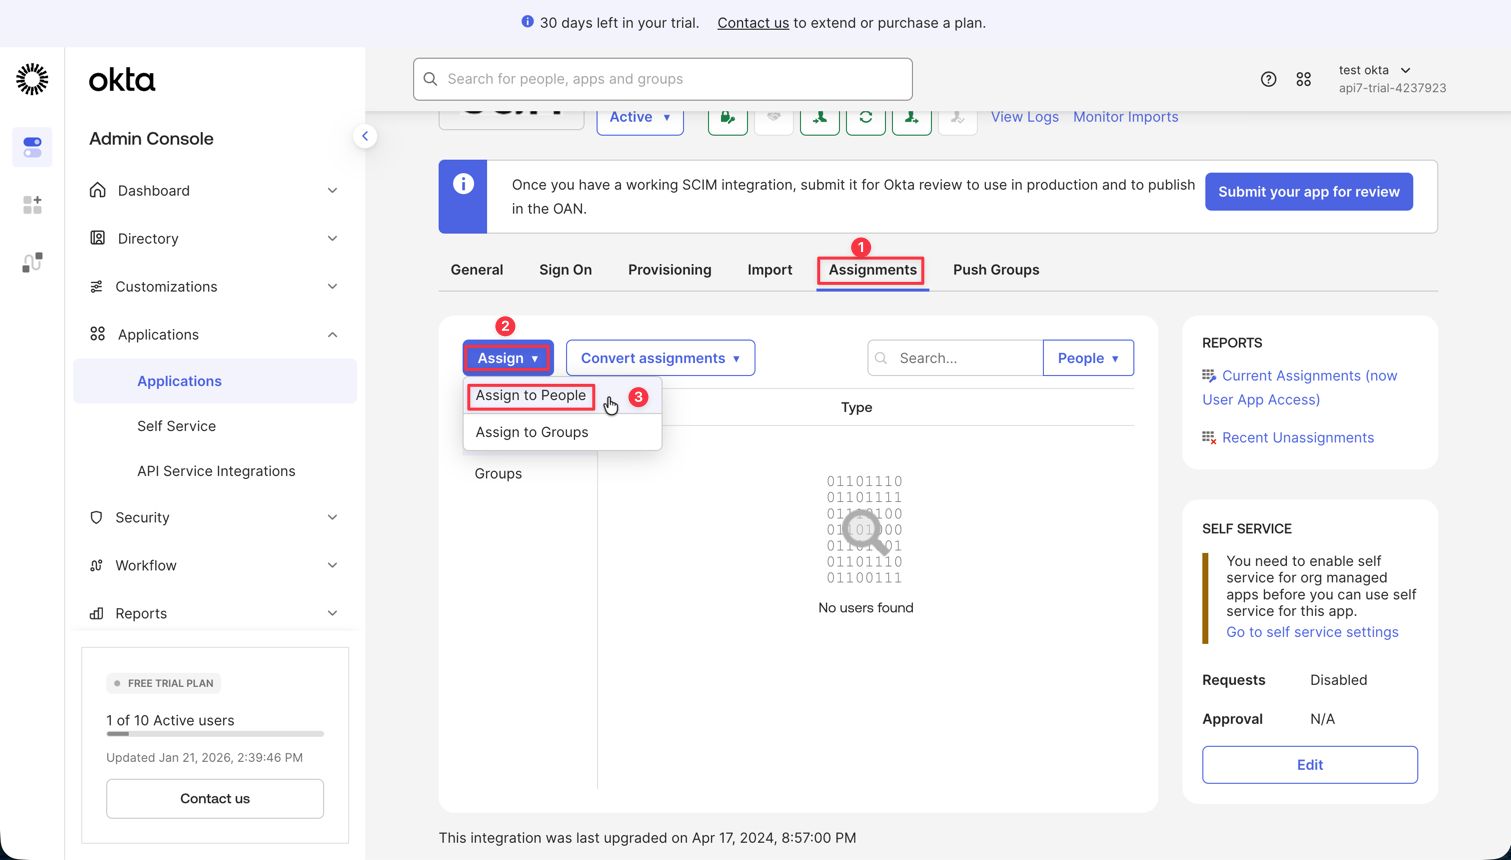
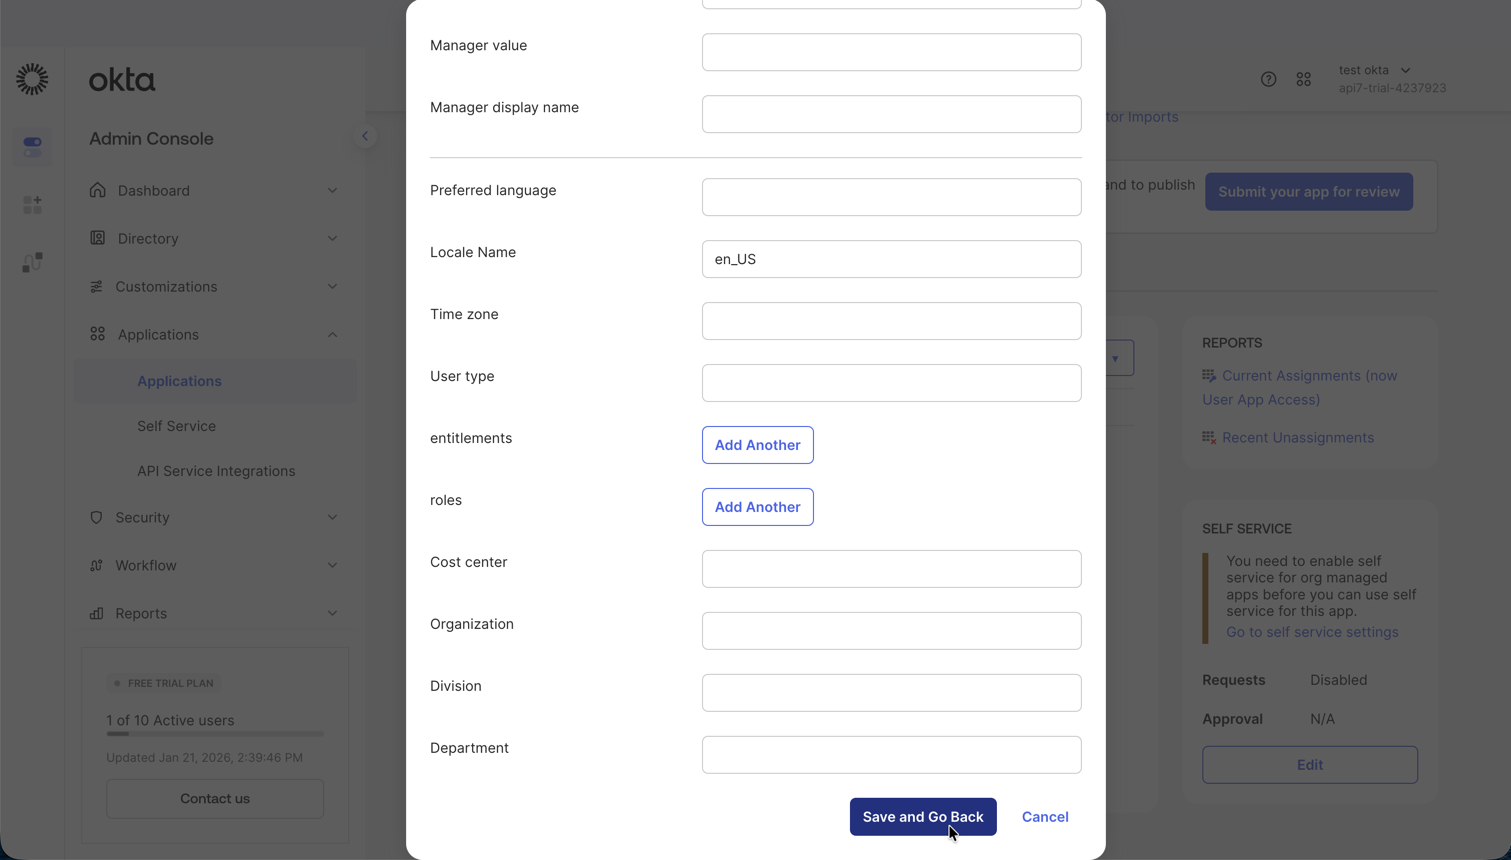
- Select the users you want to provision to API7 Enterprise.

- Click Assign for each selected user, then click Done.
- Verify that the users are assigned to the application.
Verify User Provisioning
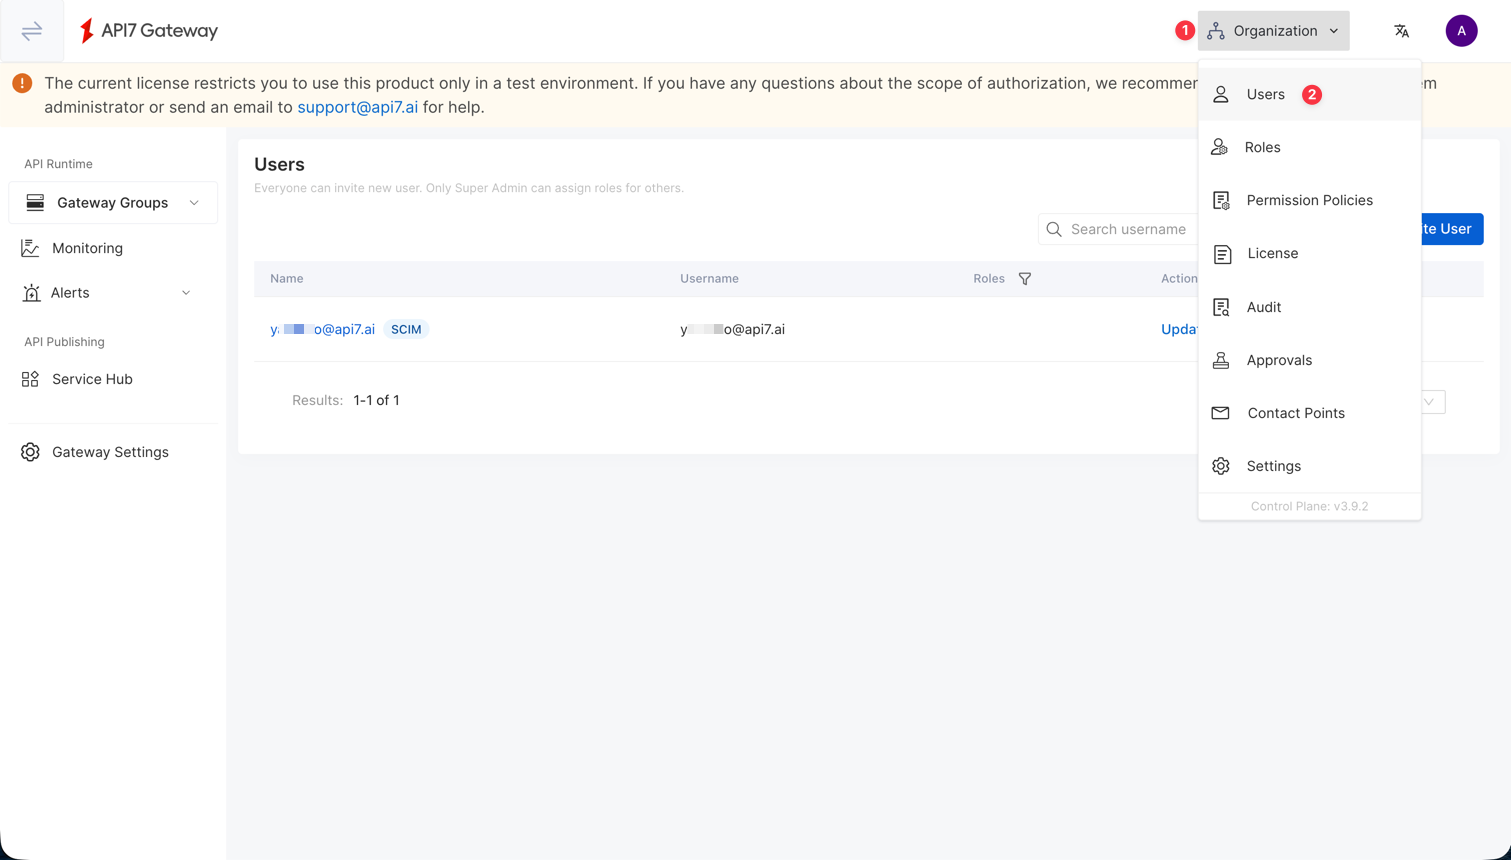
- Return to the API7 Dashboard.
- Select Organization from the top navigation bar, then choose Users.
- Verify that the users assigned in Okta have been provisioned to the API7 Dashboard.
Additional Resources
- Key Concepts
- Getting Started
- Best Practices