Dashboard SSO using SAML with Okta
Single Sign-On (SSO) allows users to access multiple applications using a single set of credentials, streamlining the authentication process. In API7 Enterprise, SSO supports multiple protocols and provides the capability to manage users by importing them from existing identity providers.
This guide walks you through configuring Single Sign-On (SSO) for the API7 Enterprise Dashboard using Okta as the identity provider via the SAML protocol, and setting up role mappings for imported users.
Set Up SSO Integration
This section guides you through configuring Single Sign-On (SSO) for the API7 Enterprise Dashboard using Okta as the identity provider.
Configure Okta
This section describes example configuration in Okta. If you are using a different identity provider (IdP), refer to your IdP's documentation and adjust the configuration accordingly.
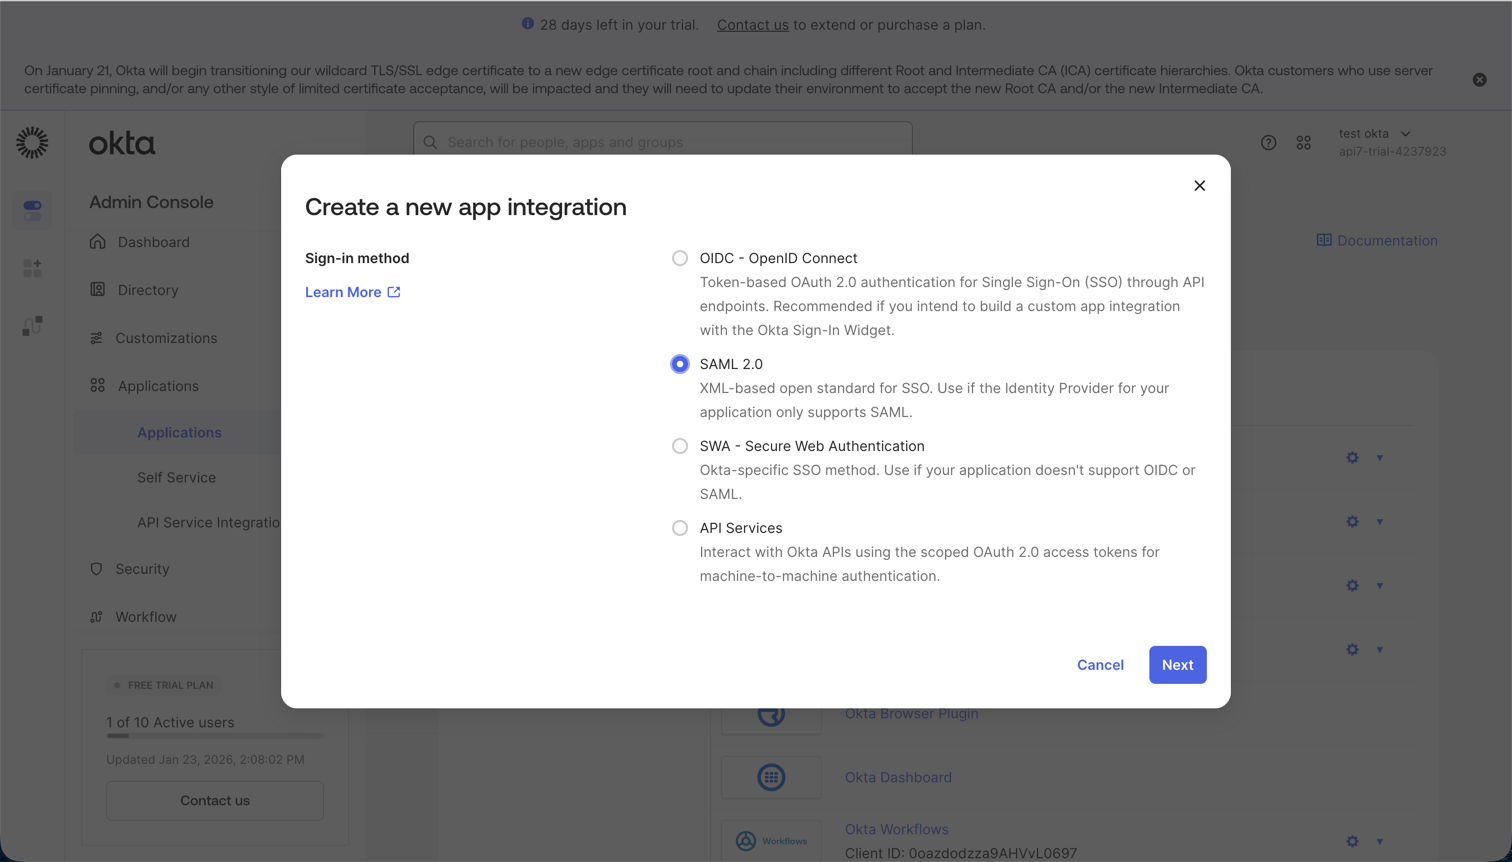
- In Okta Admin Console, navigate to Applications > Applications, then click Create App Integration. Select SAML 2.0, then click Next.
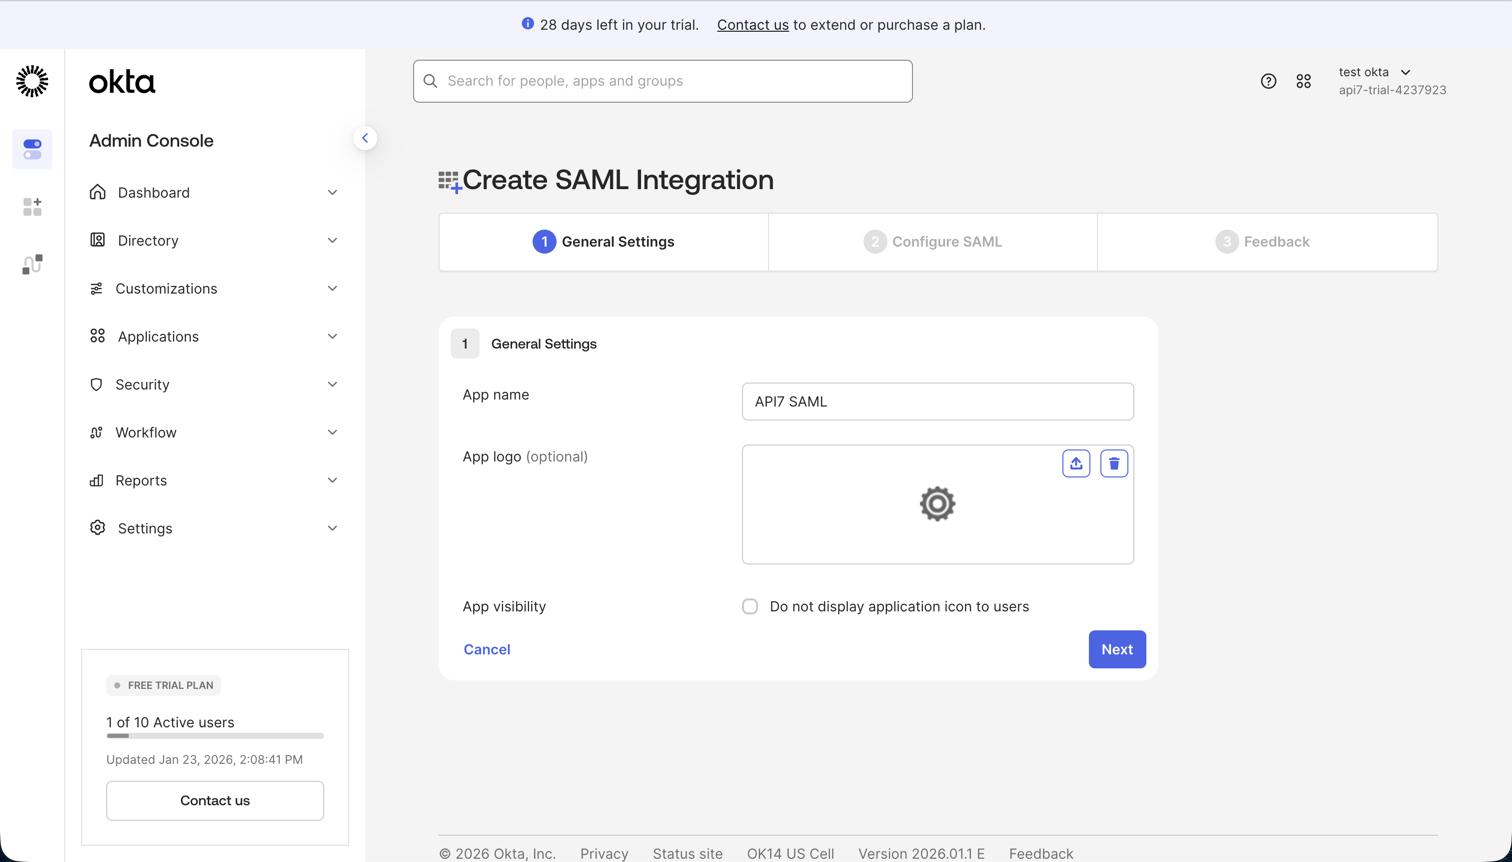
- In General Settings, set the application name, for example,
API7 SAML, and click Next.
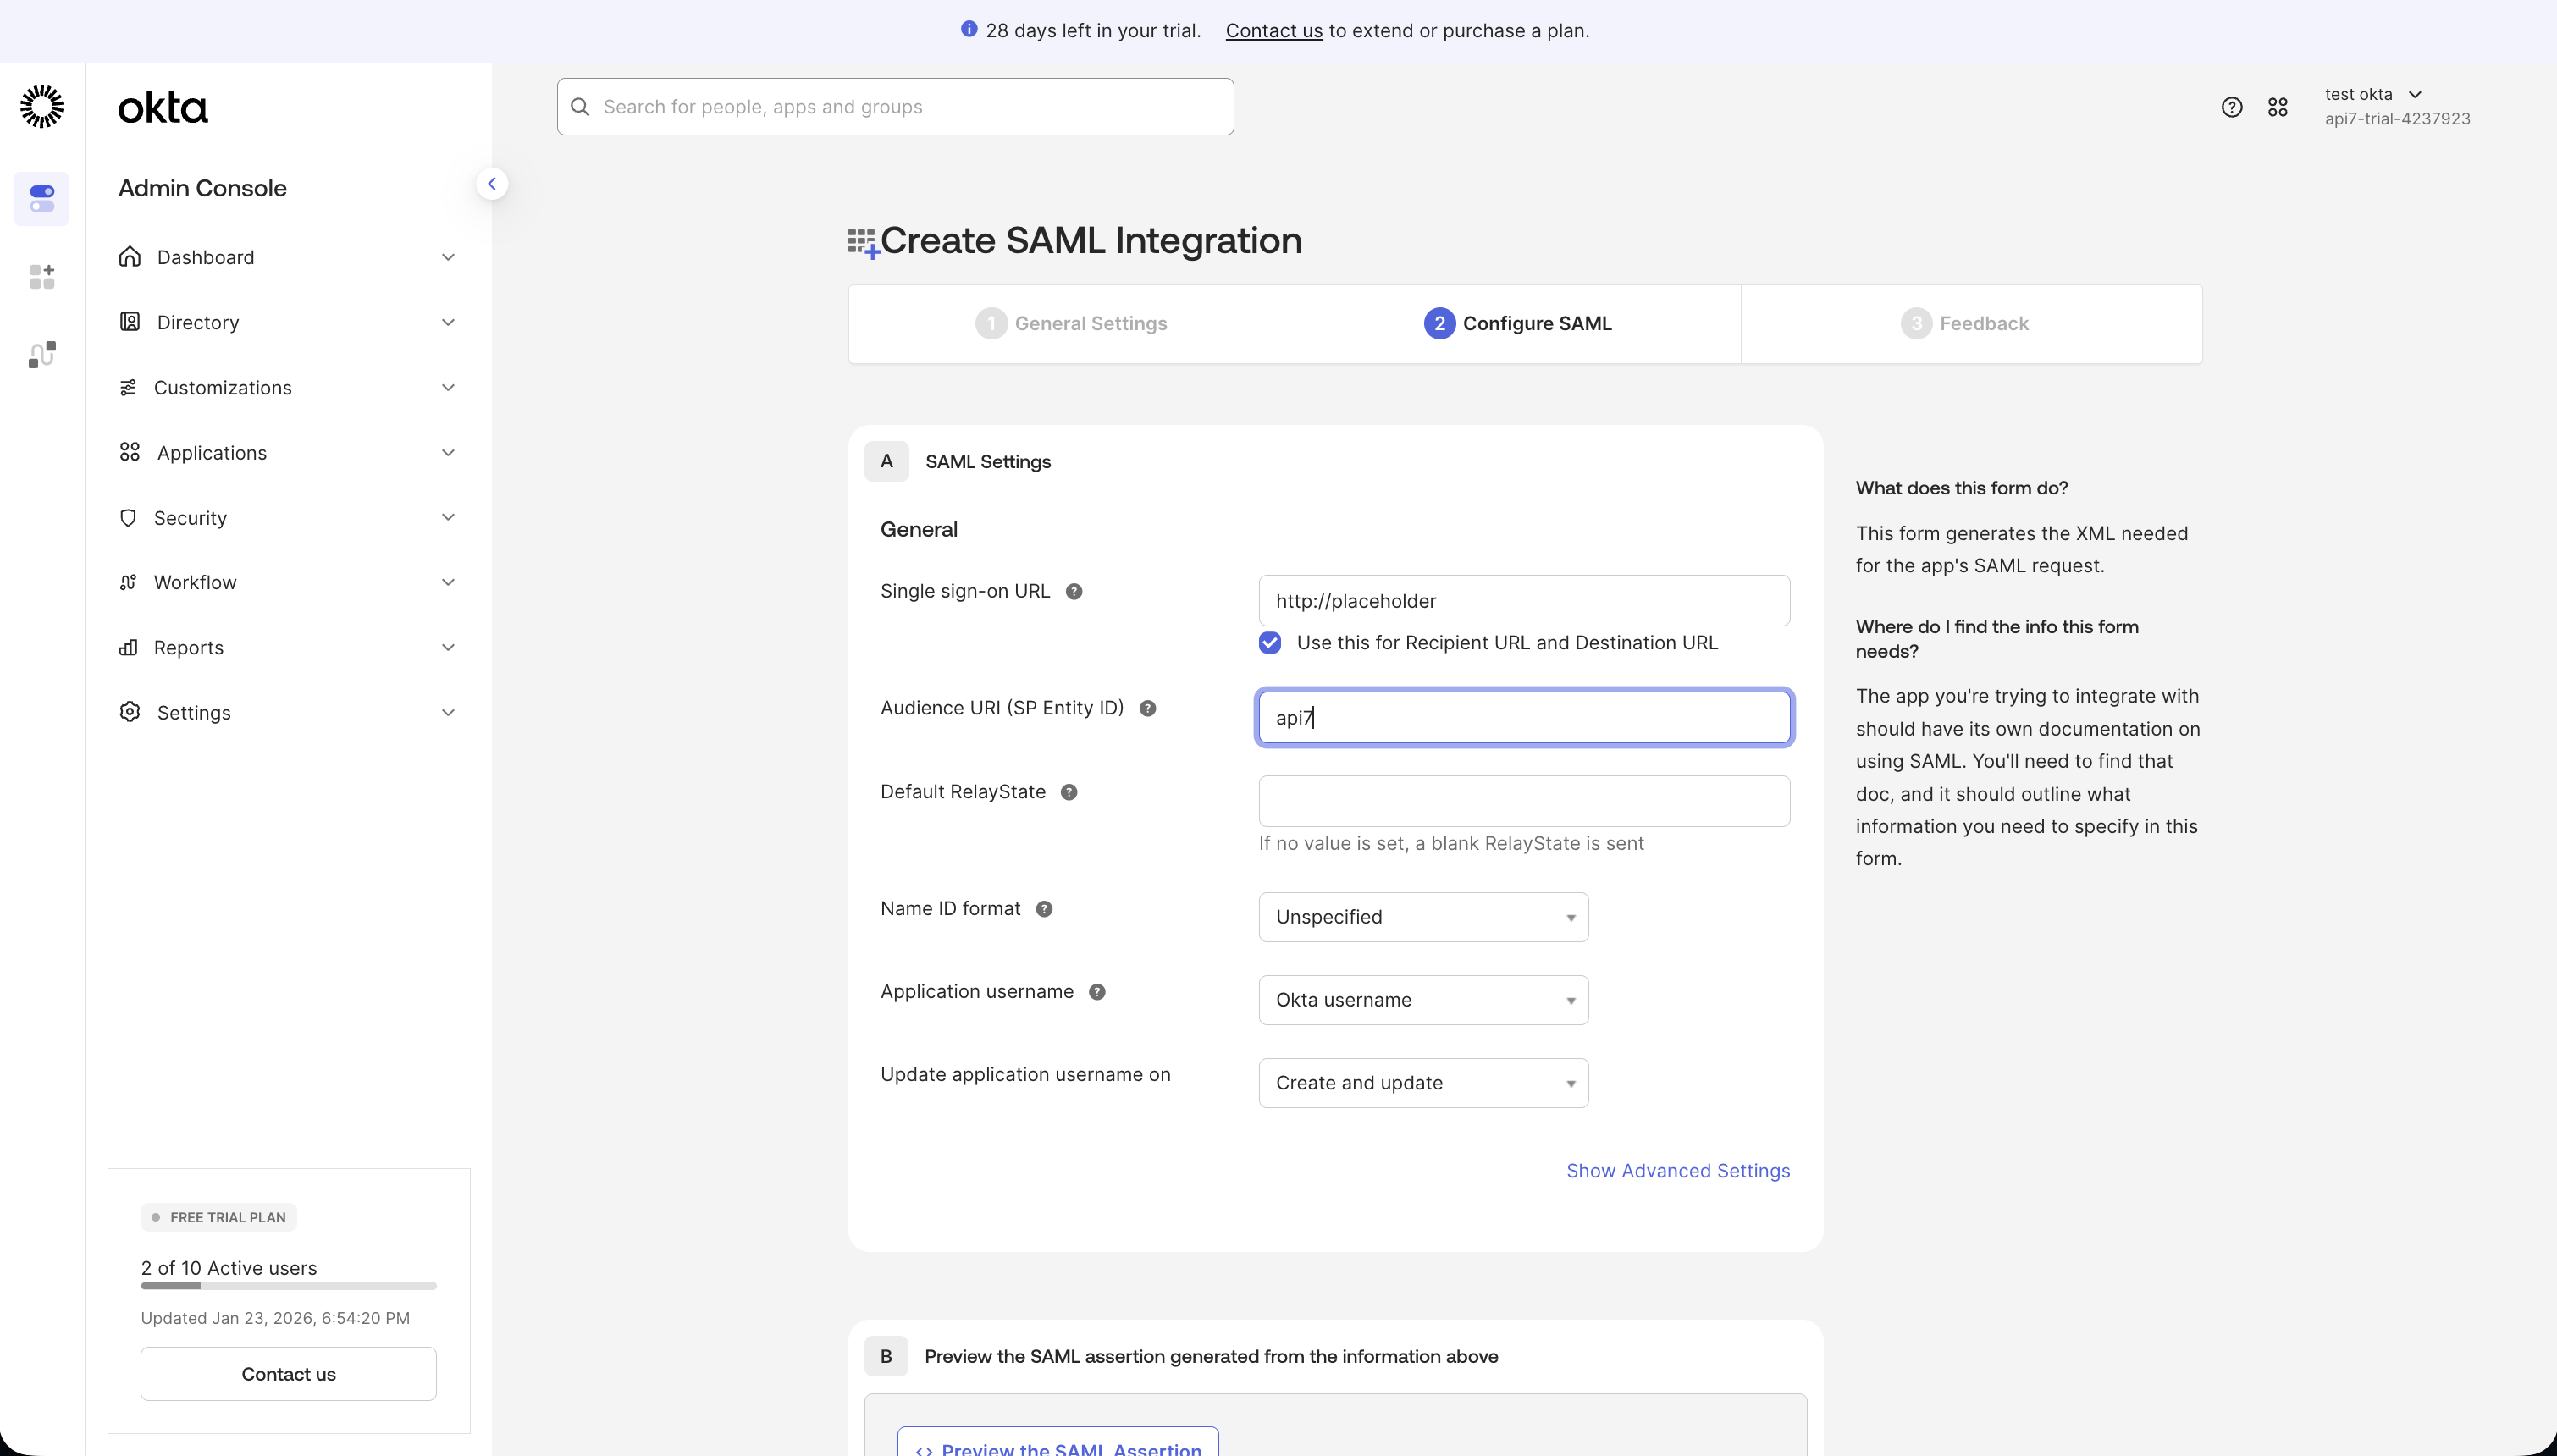
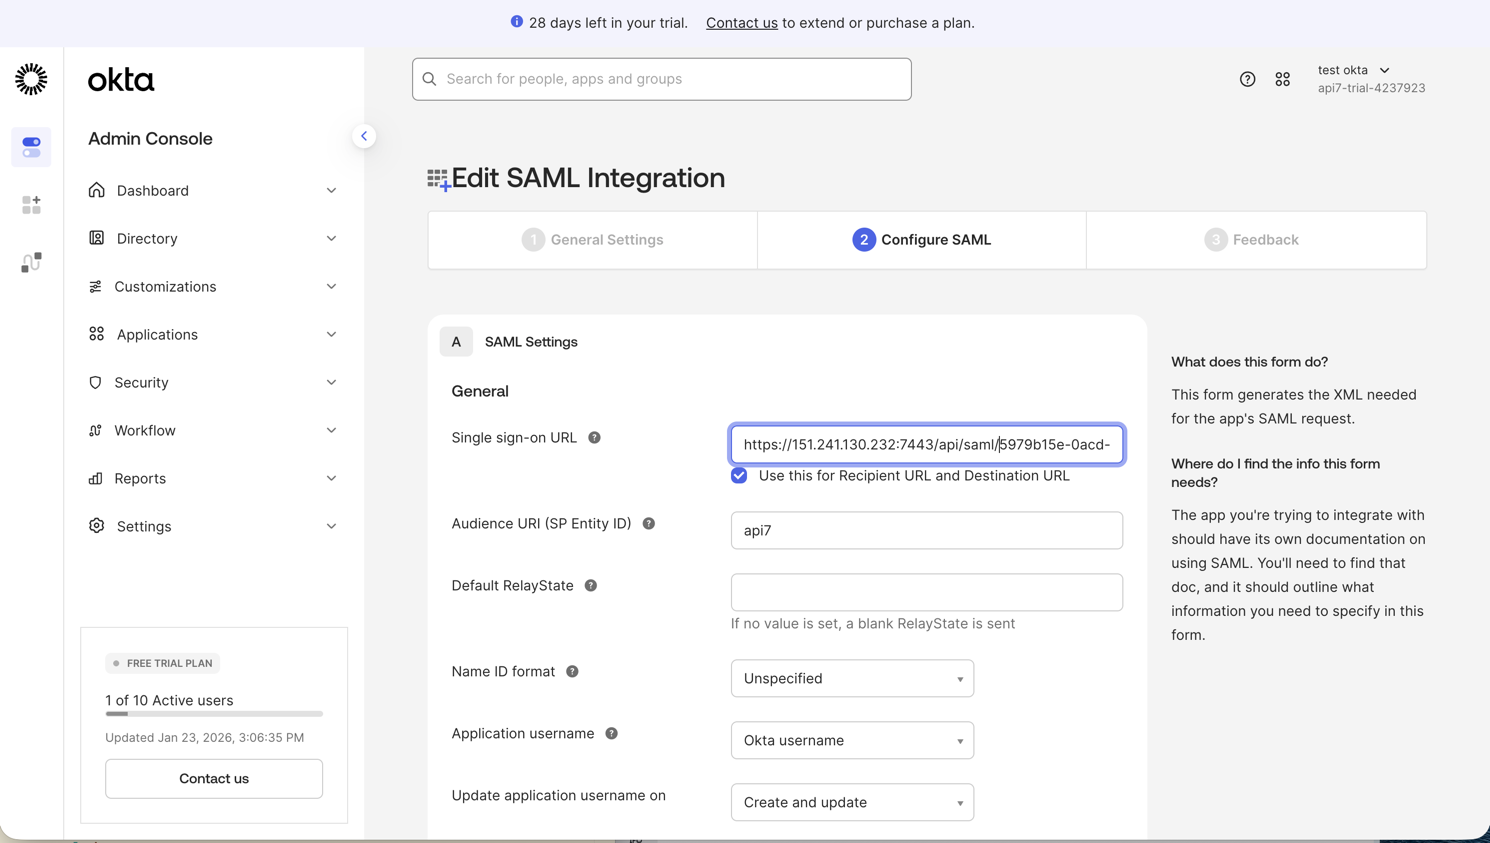
- In Configure SAML, set the following values, then click Next:
- Single sign-on URL: set a placeholder, for example,
http://placeholder. You will update this value after creating the login option in API7 Dashboard. - Enable Use this for Recipient URL and Destination URL.
- Audience URI (SP Entity ID): set a unique identifier, for example,
api7. This value must match the Entity ID in API7 Dashboard.
- Single sign-on URL: set a placeholder, for example,
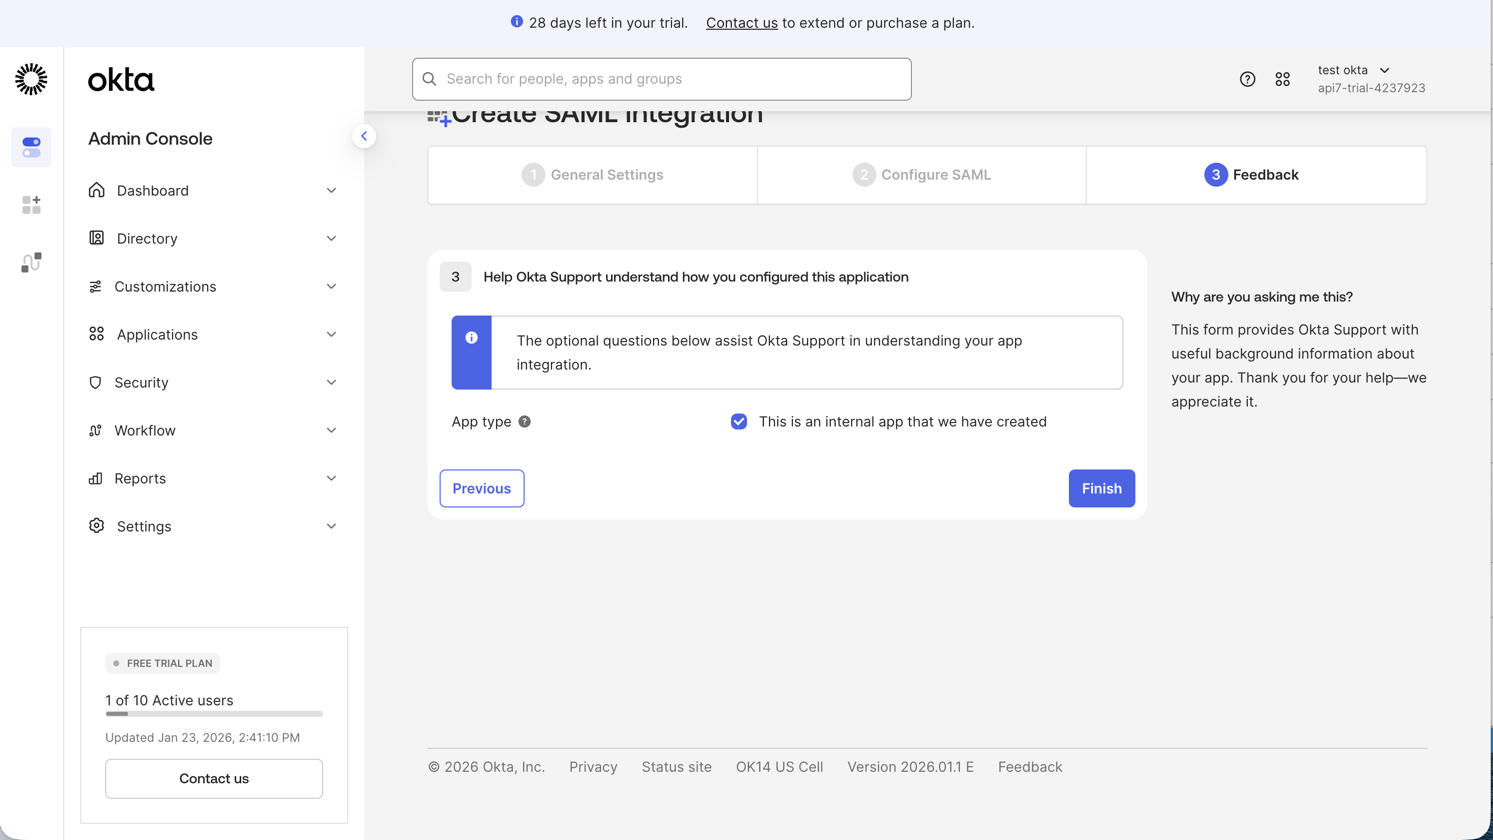
- In Feedback, select This is an internal app that we have created, then click Finish.
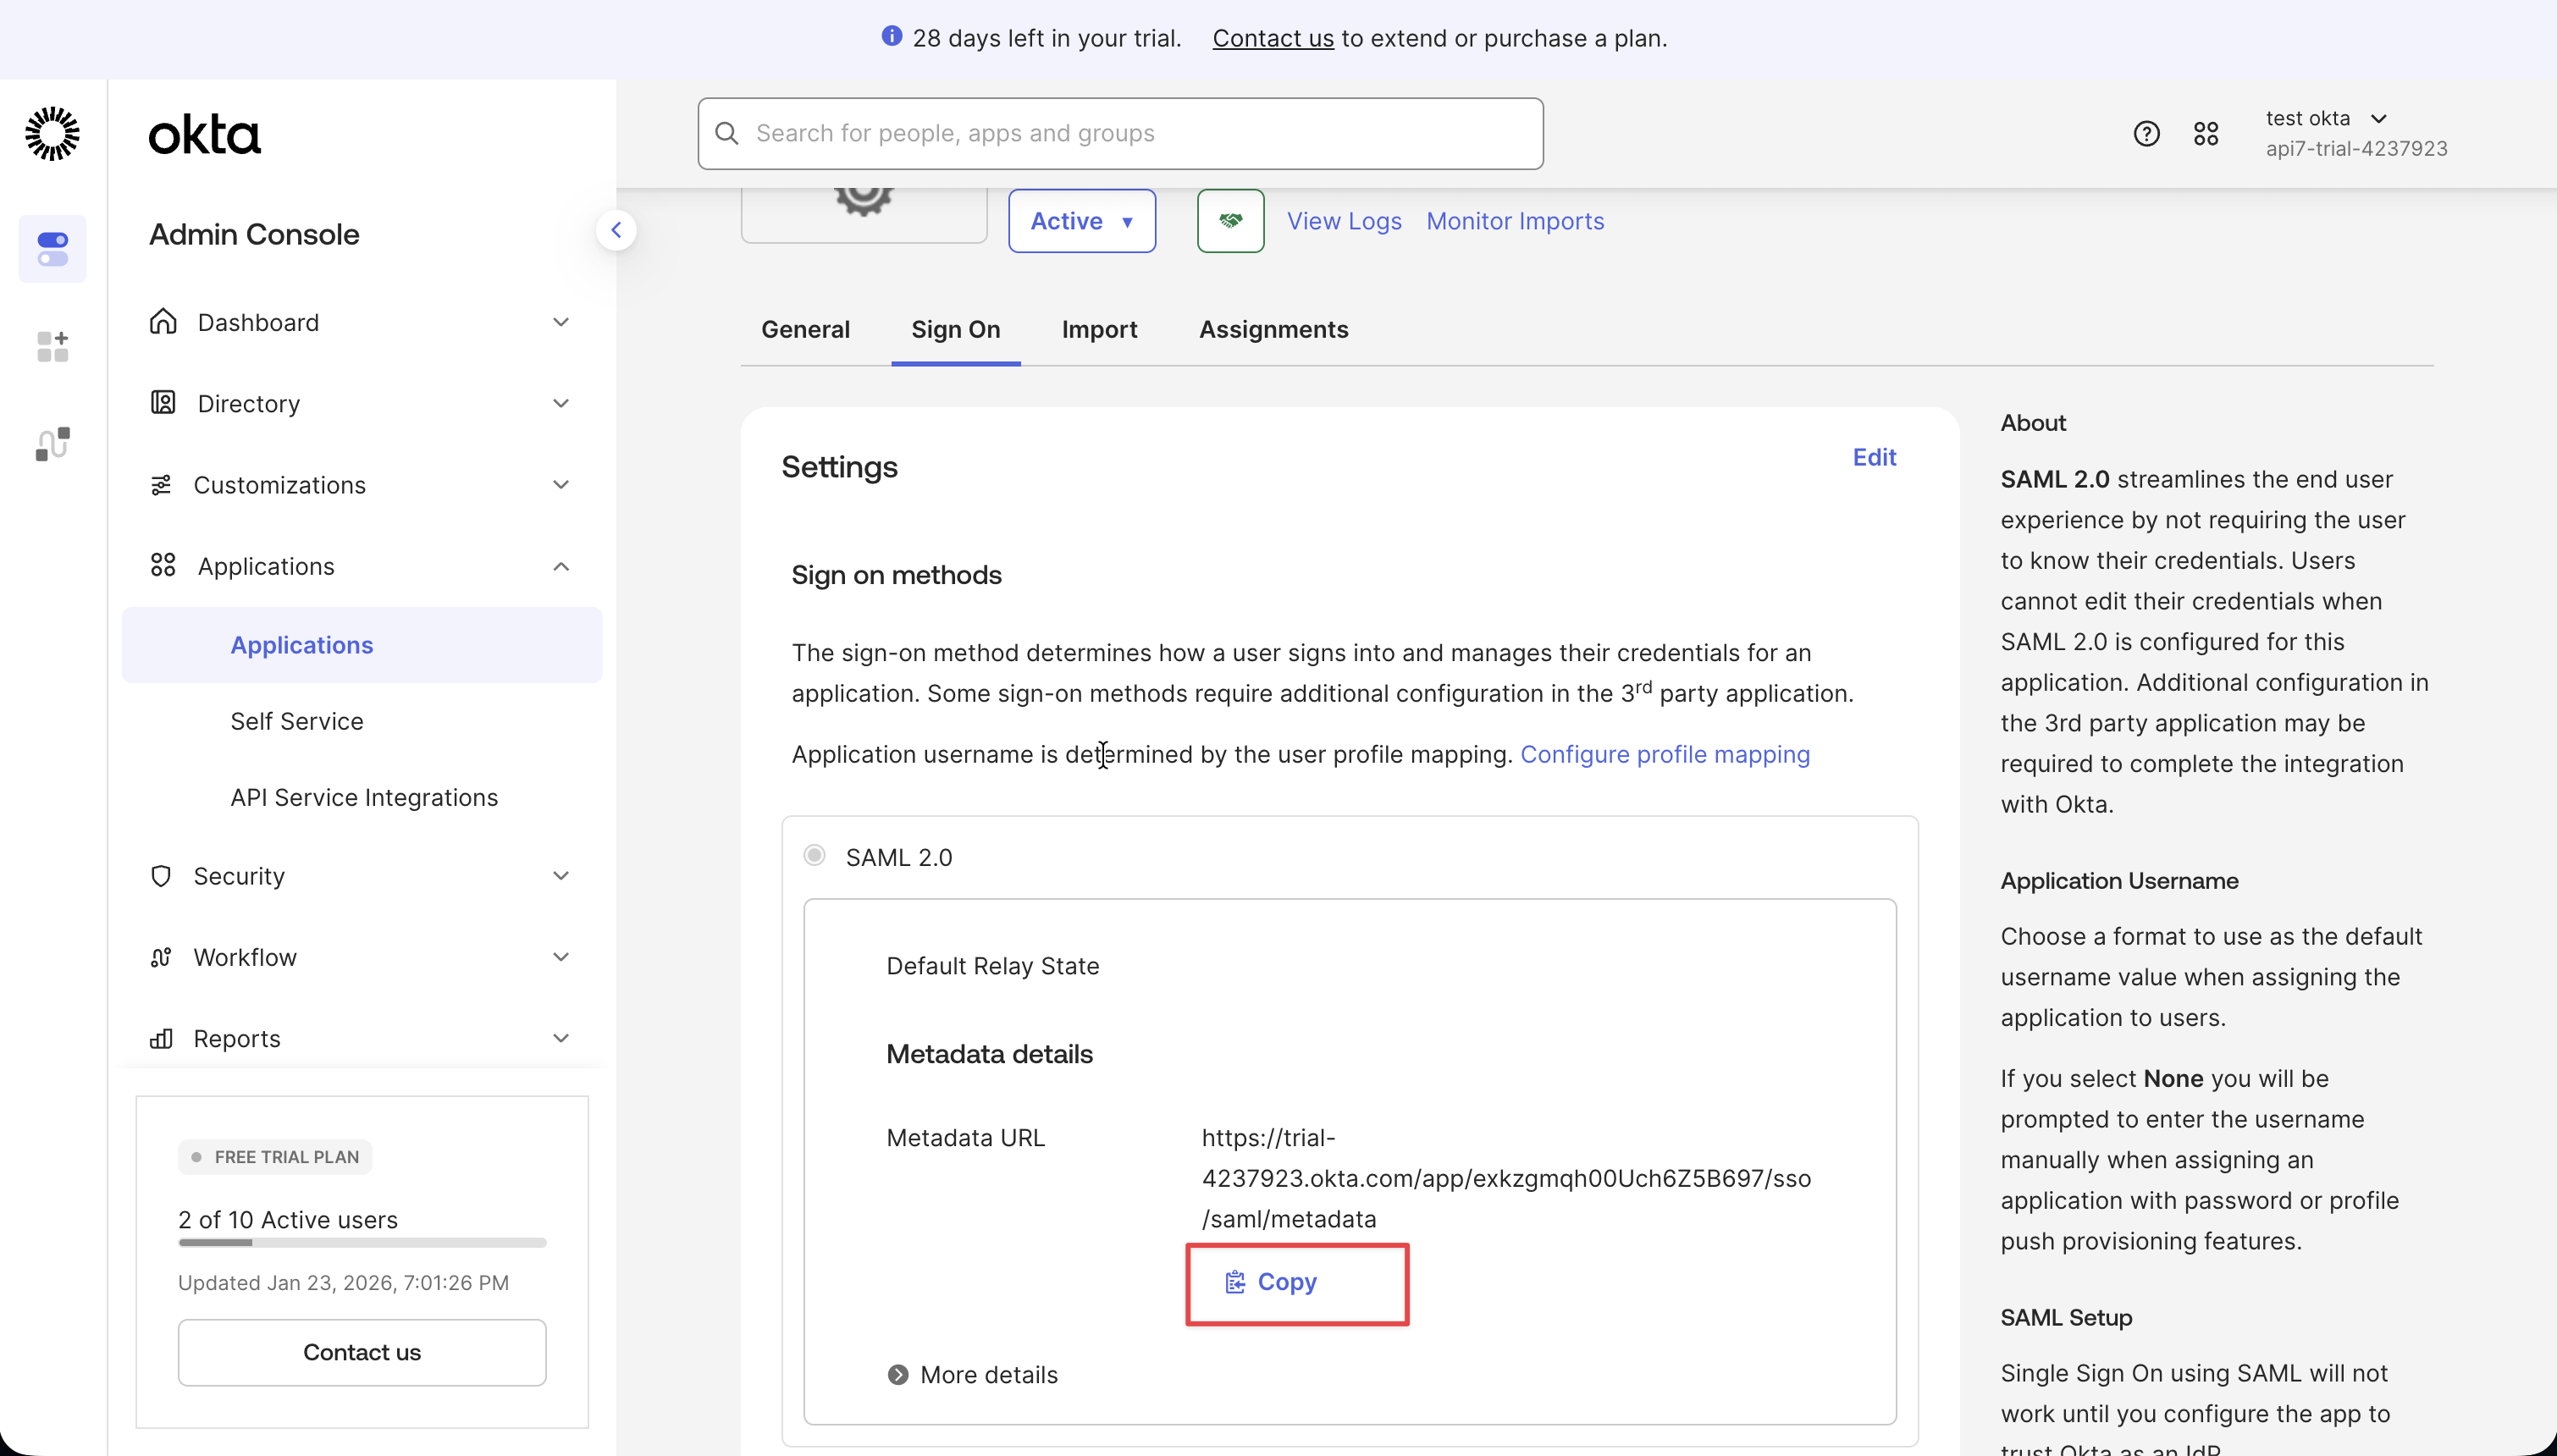
- In the application Sign On tab, copy the Metadata URL. You will use it in API7 Dashboard.
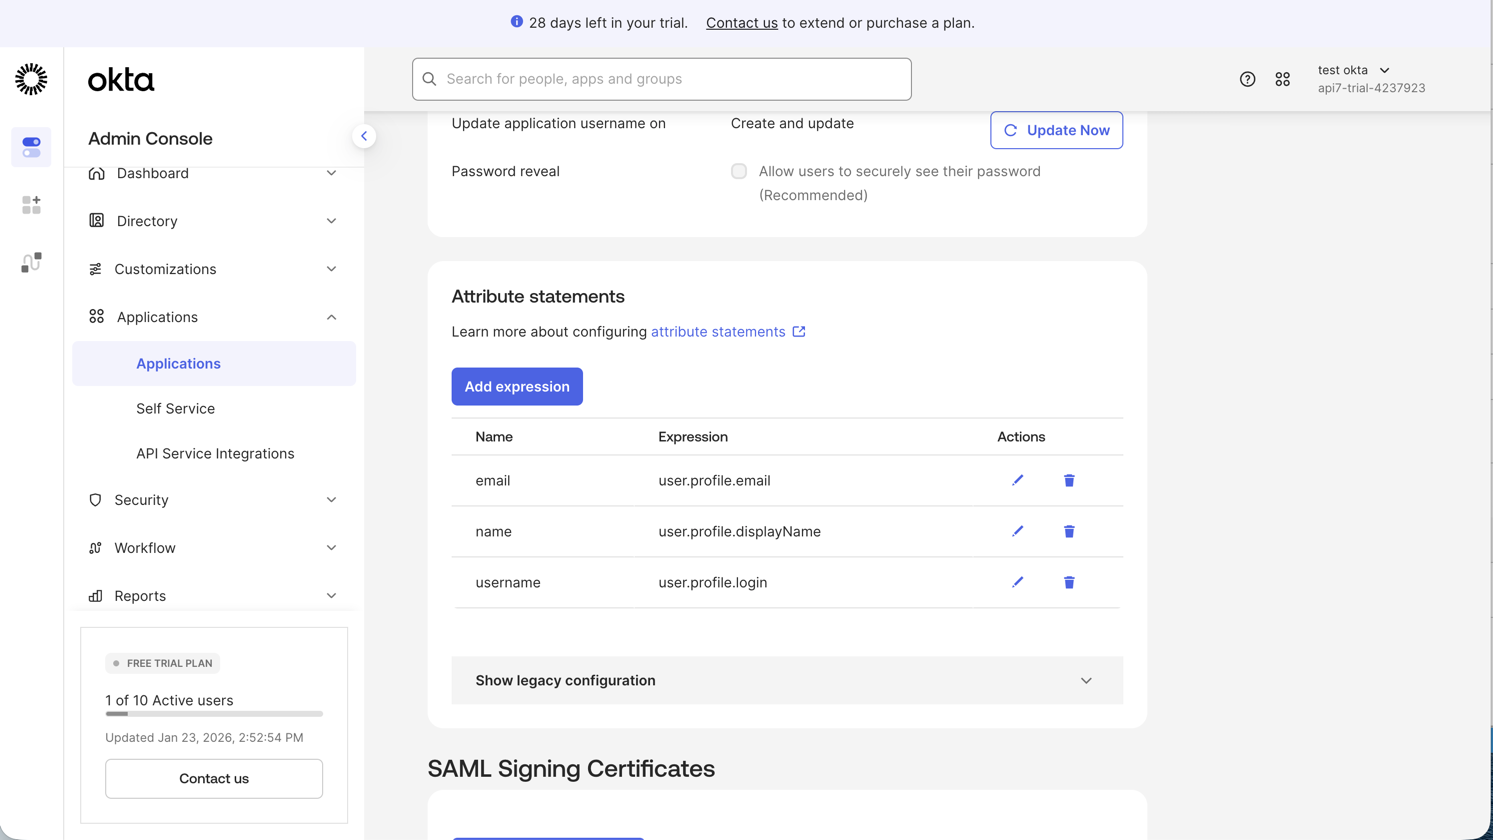
- In the Sign On tab, add the following Attribute Statements:
email:user.profile.emailname:user.profile.displayNameusername:user.profile.login
Create a Dashboard Login Option
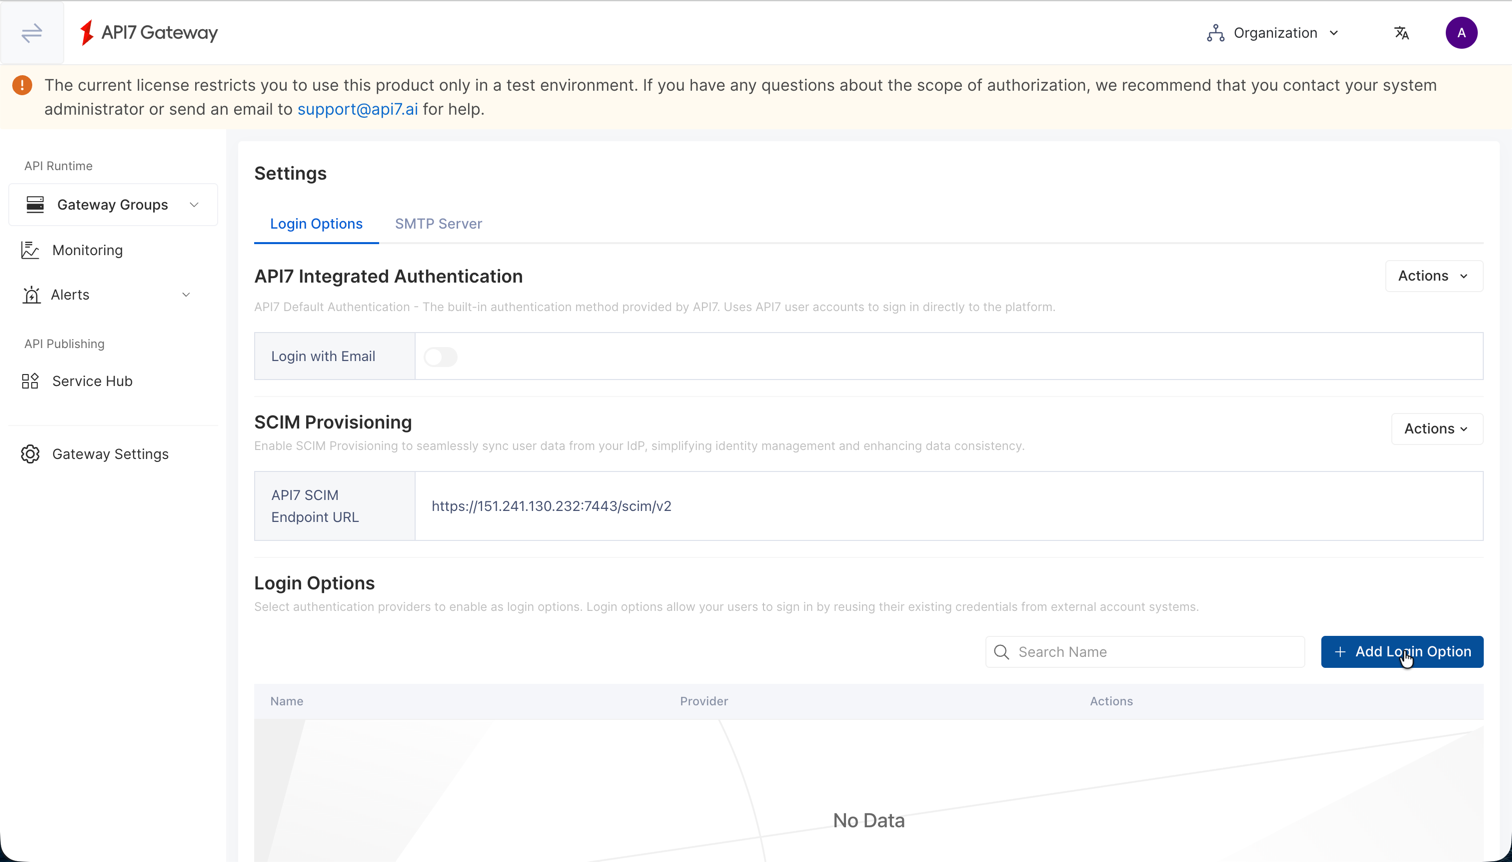
- Select Organization from the top navigation bar, then choose Settings.
- Click Add Login Option.
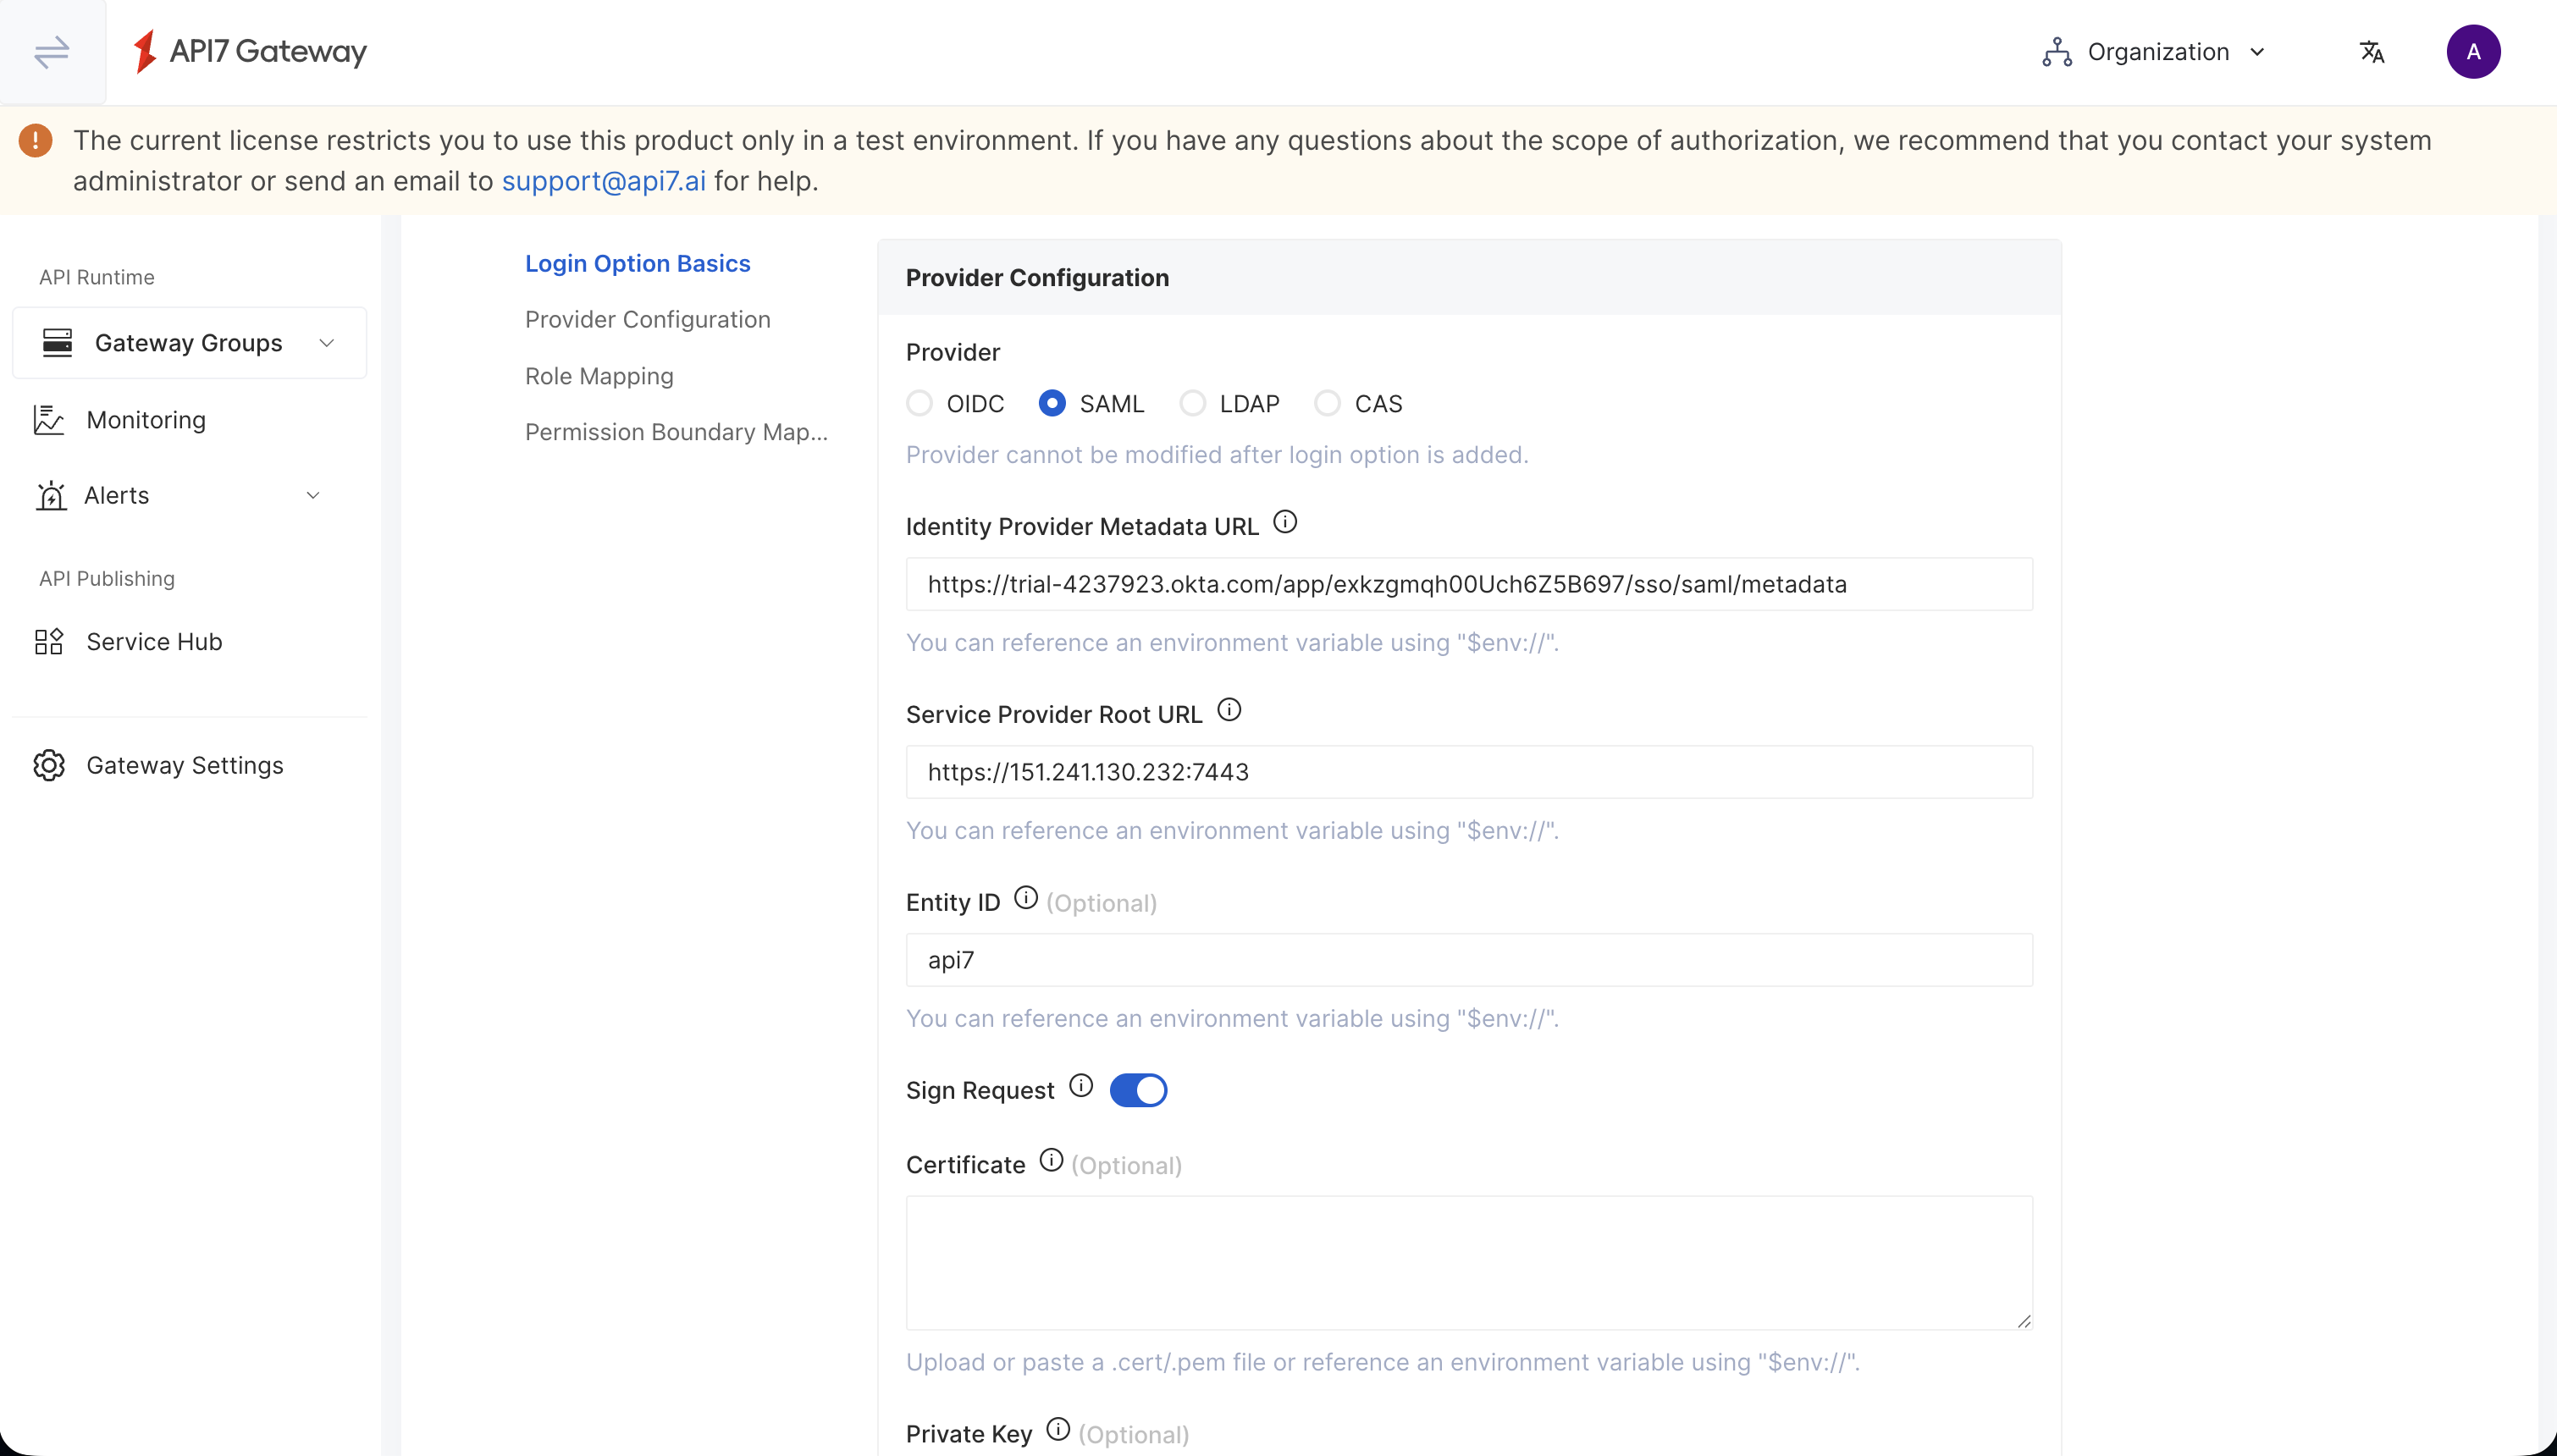
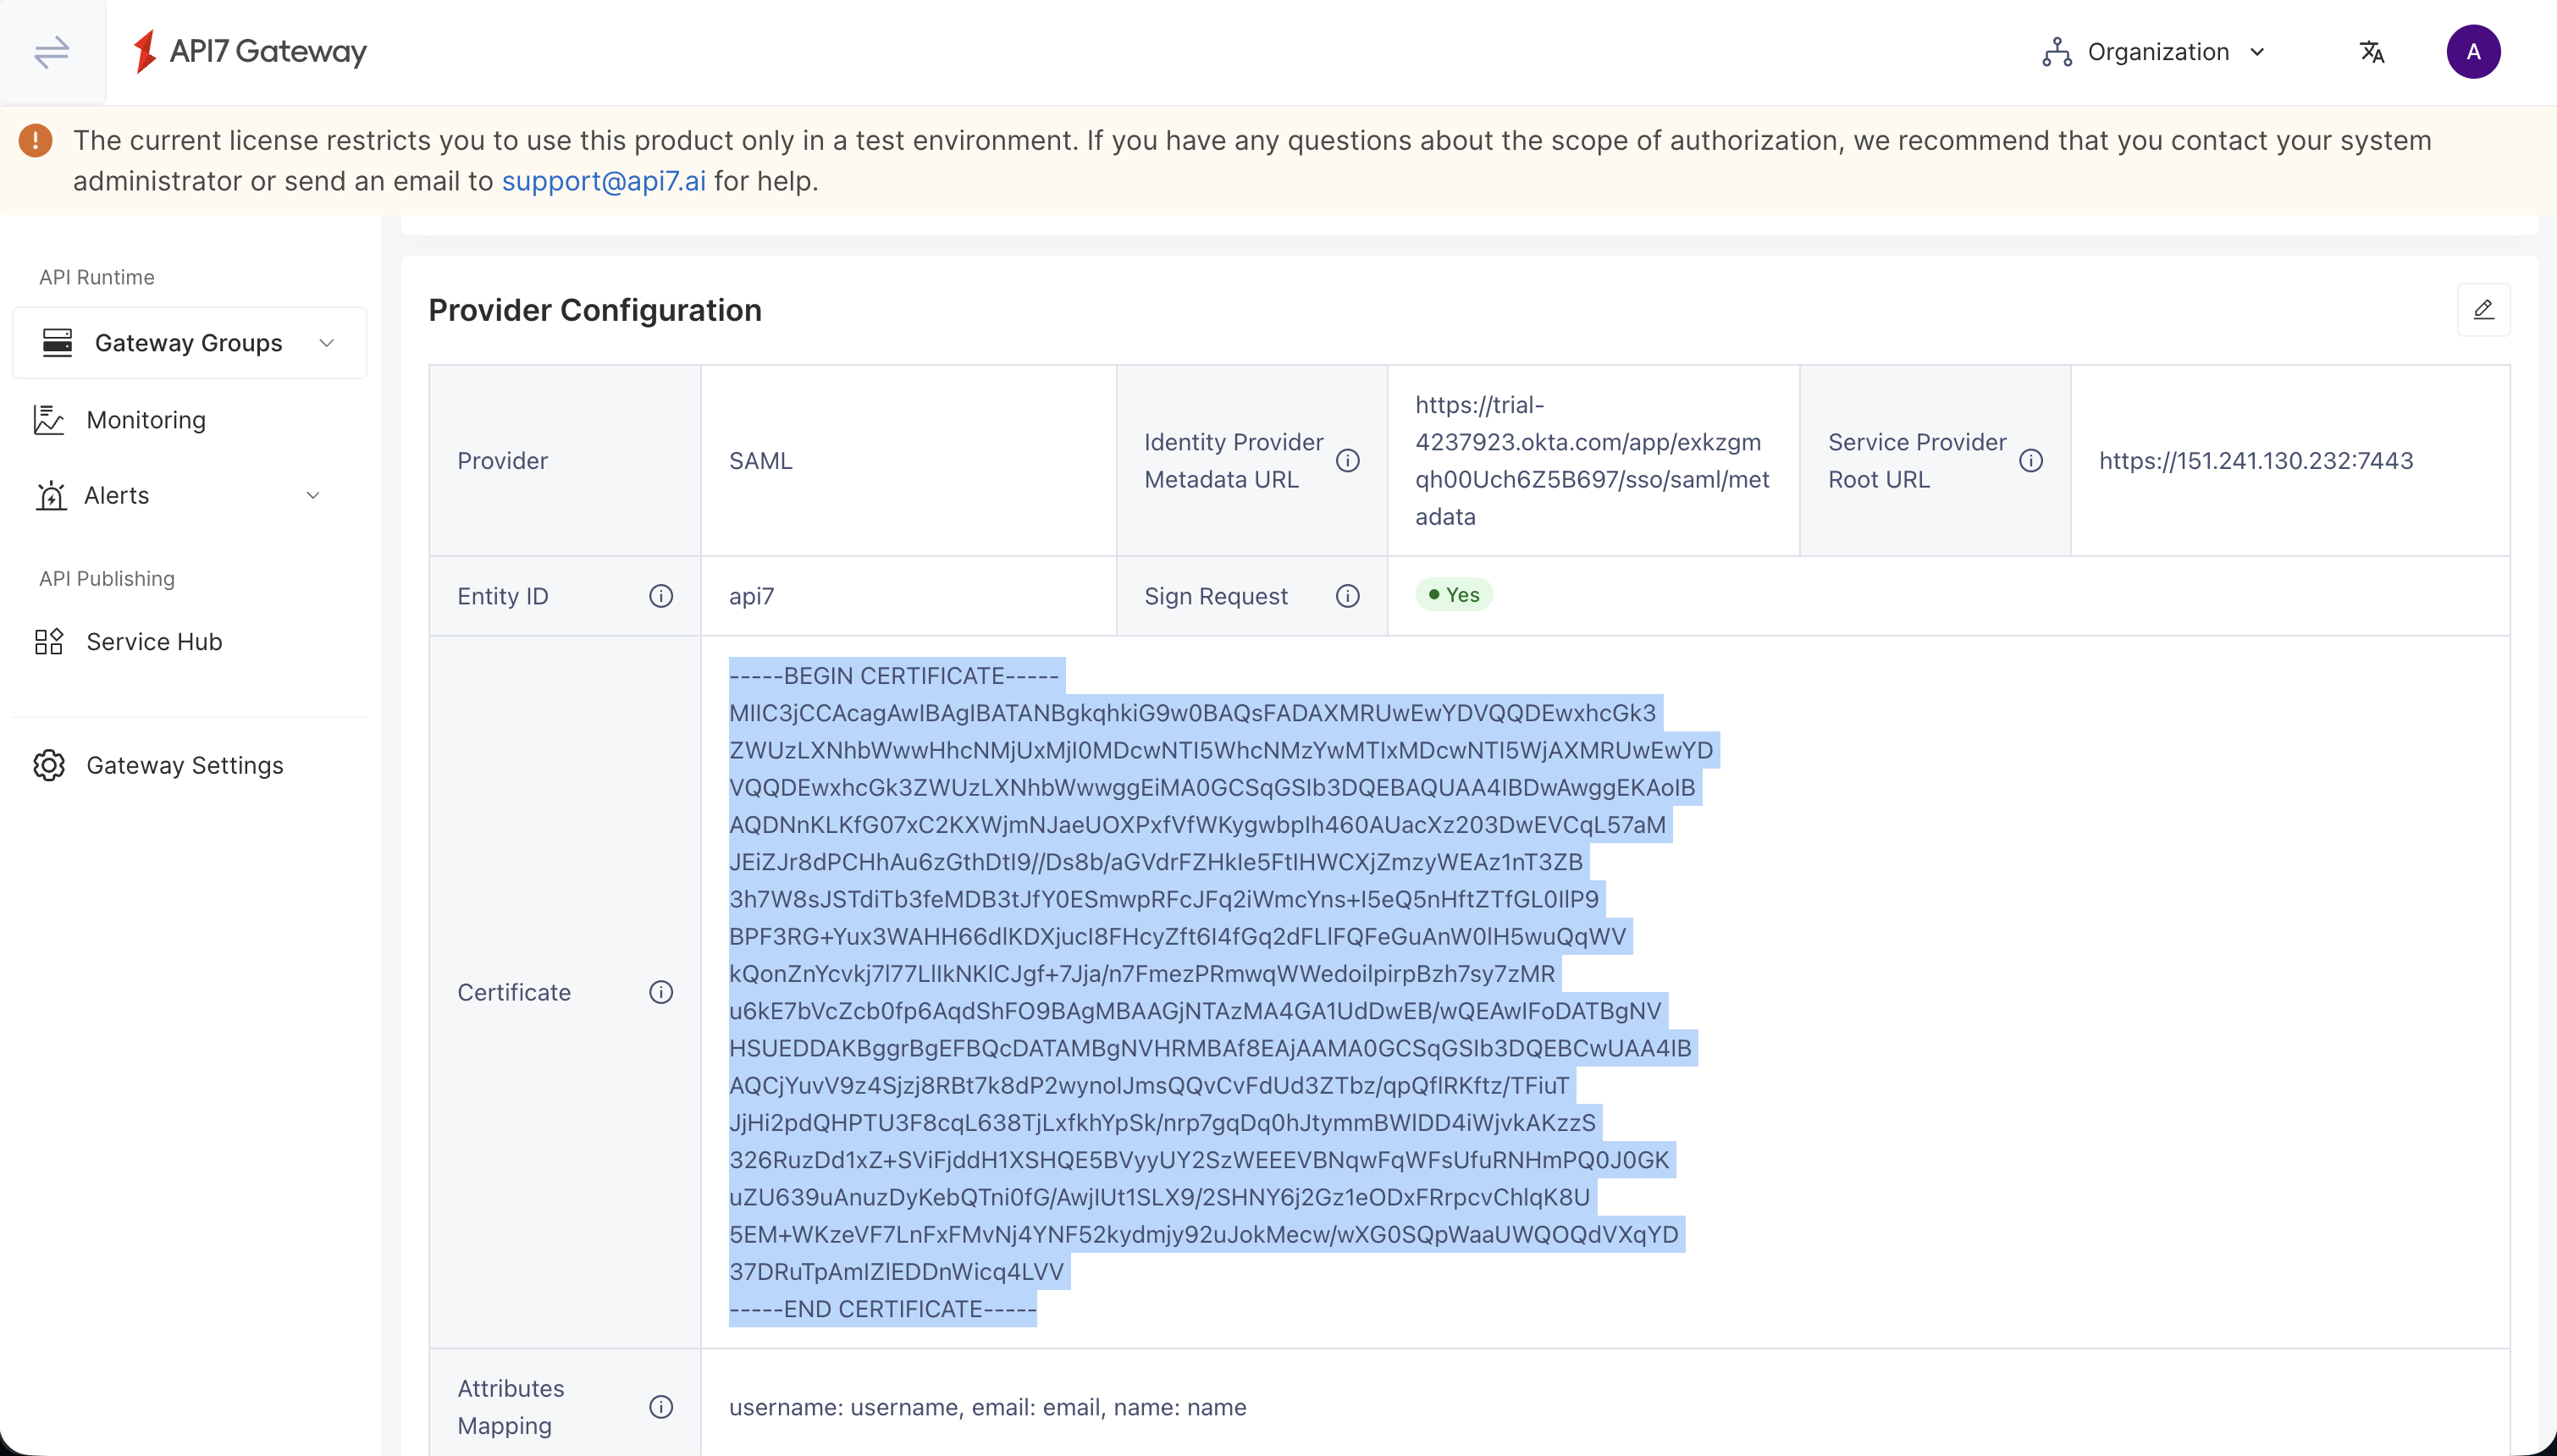
- Fill in the configuration:
- Name: The unique login name. The name should be identifiable for users. For example, if you configure the name to be
okta-saml, you will seeLogin with okta-samlon the Dashboard login page. - Provider: choose
SAML. - Identity Provider Metadata URL: The Okta metadata URL copied earlier.
- Service Provider Root URL: The root URL of your Service Provider. Typically, it is the API7 Dashboard address, for example,
https://dashboard.your-company.com. - Entity ID: The unique identifier that matches the Audience URI (SP Entity ID) configured in Okta, for example,
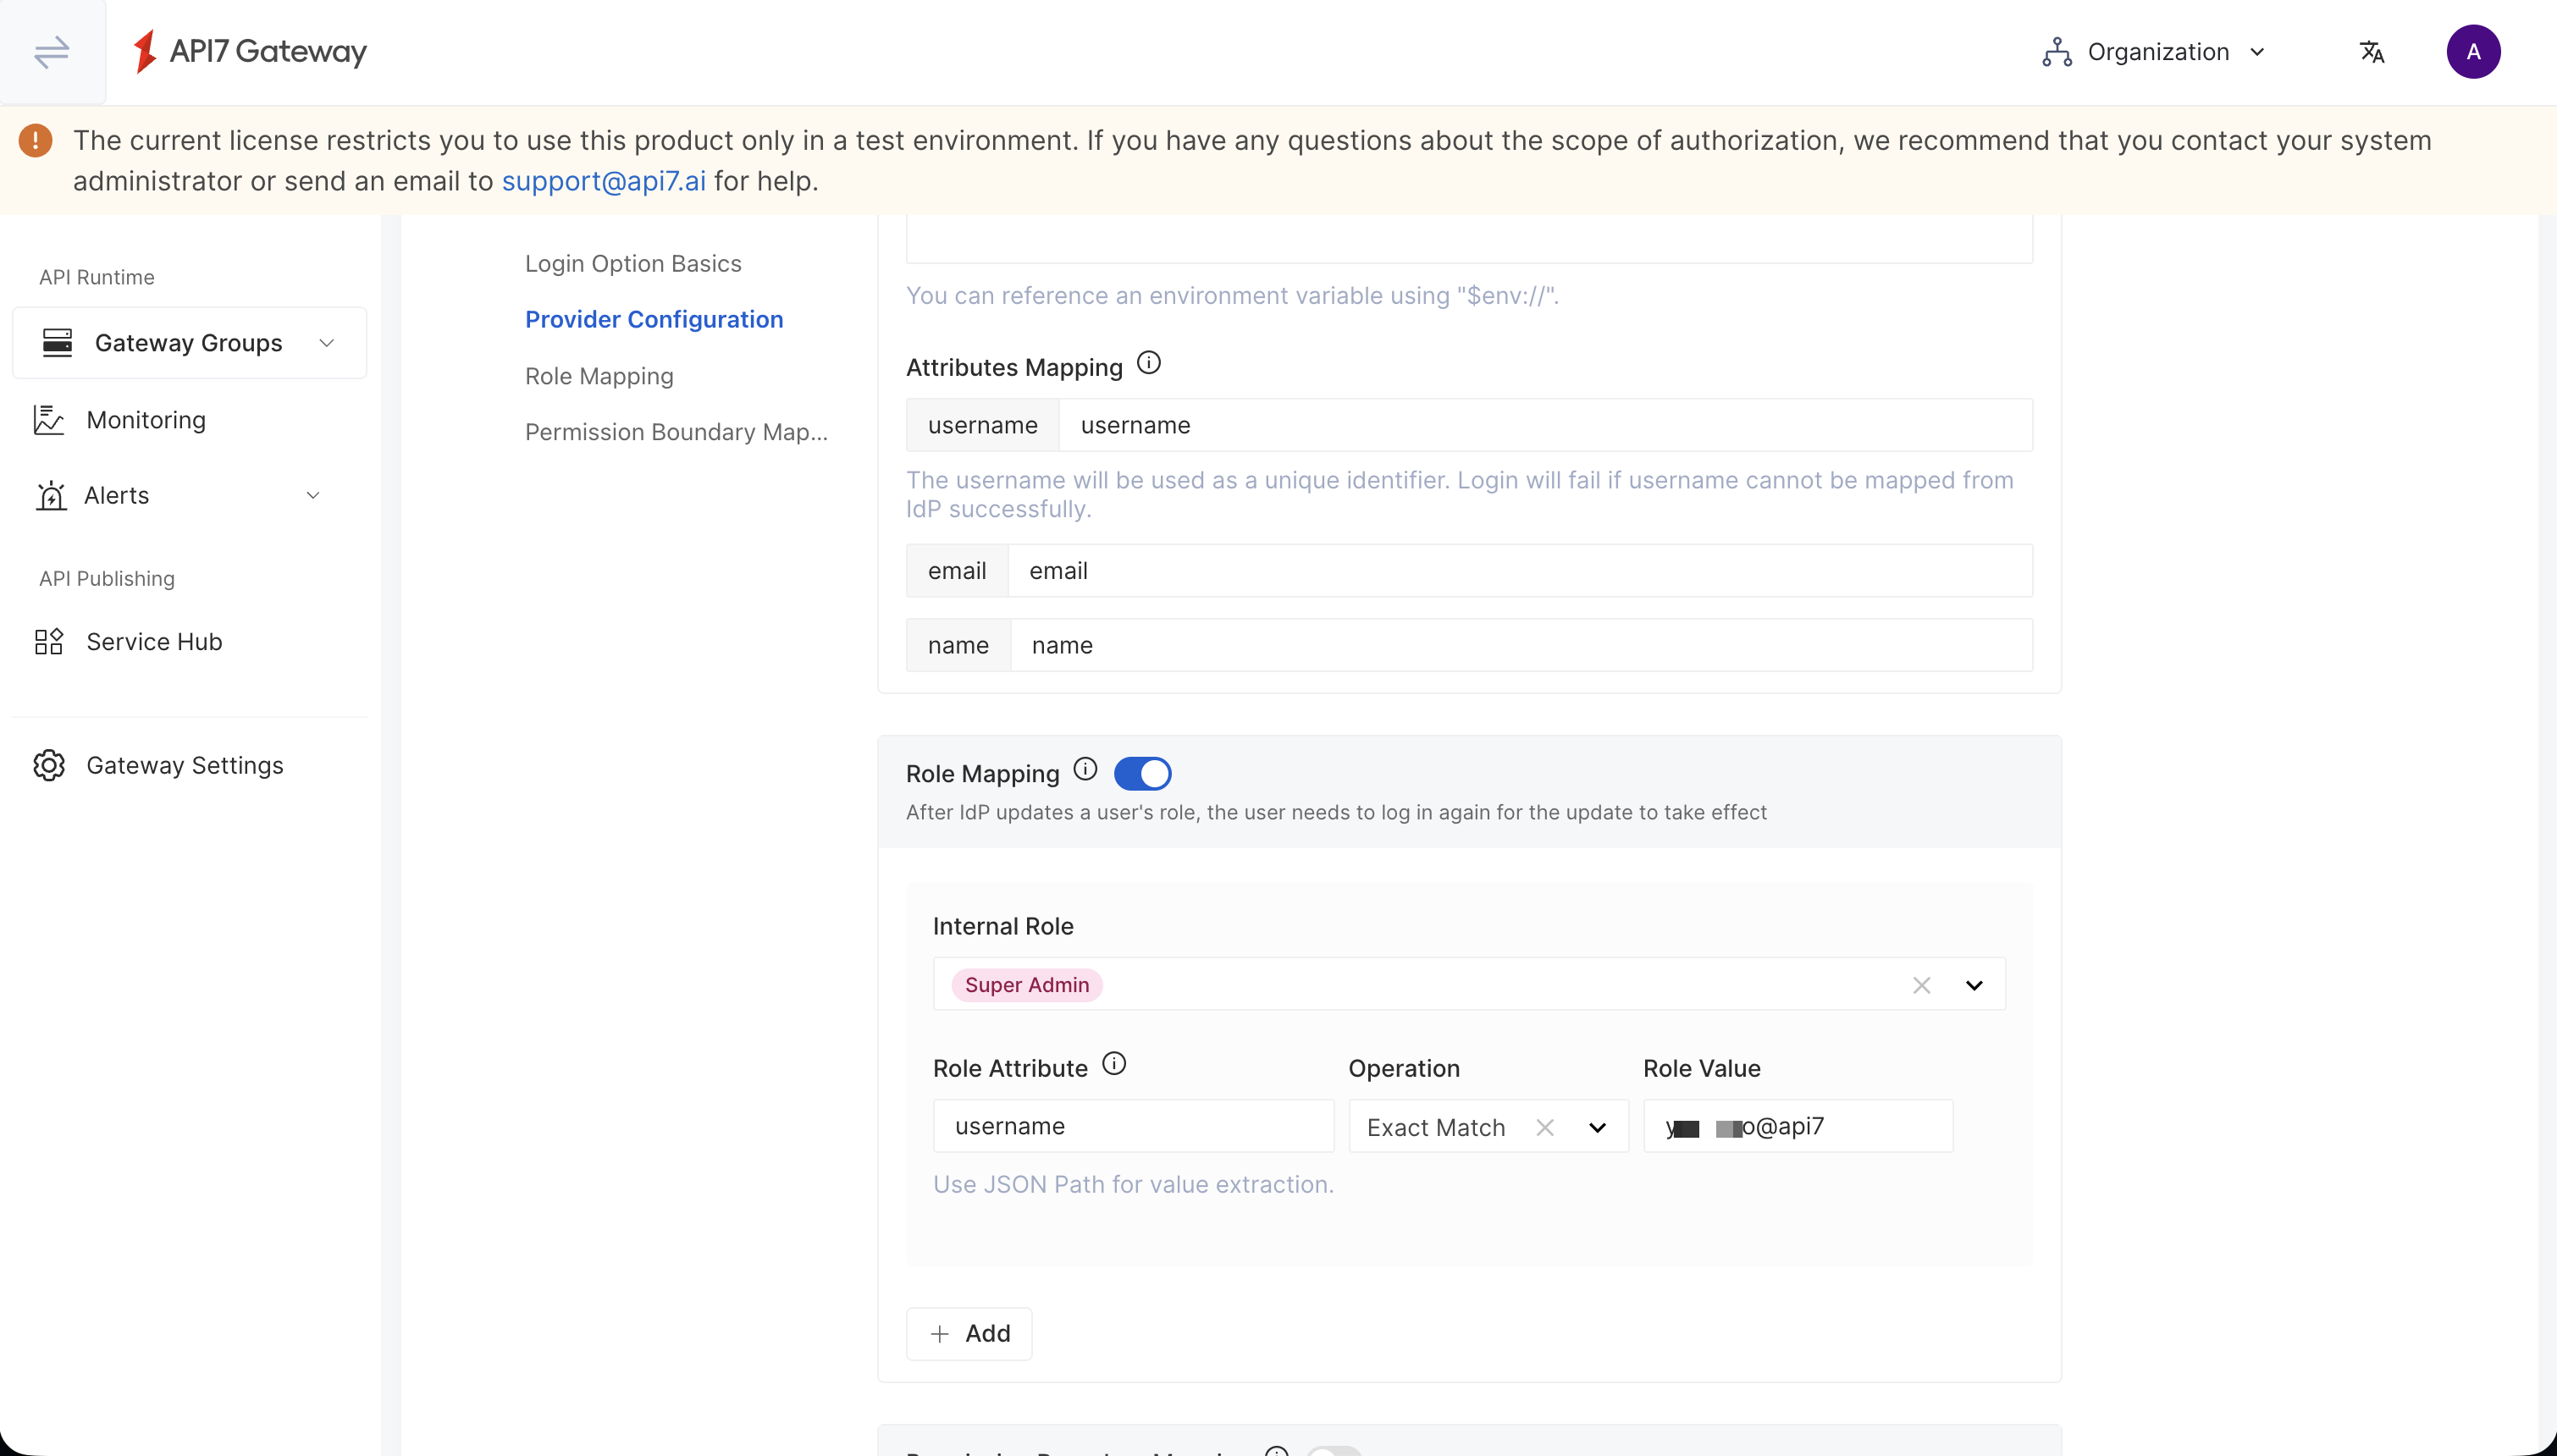
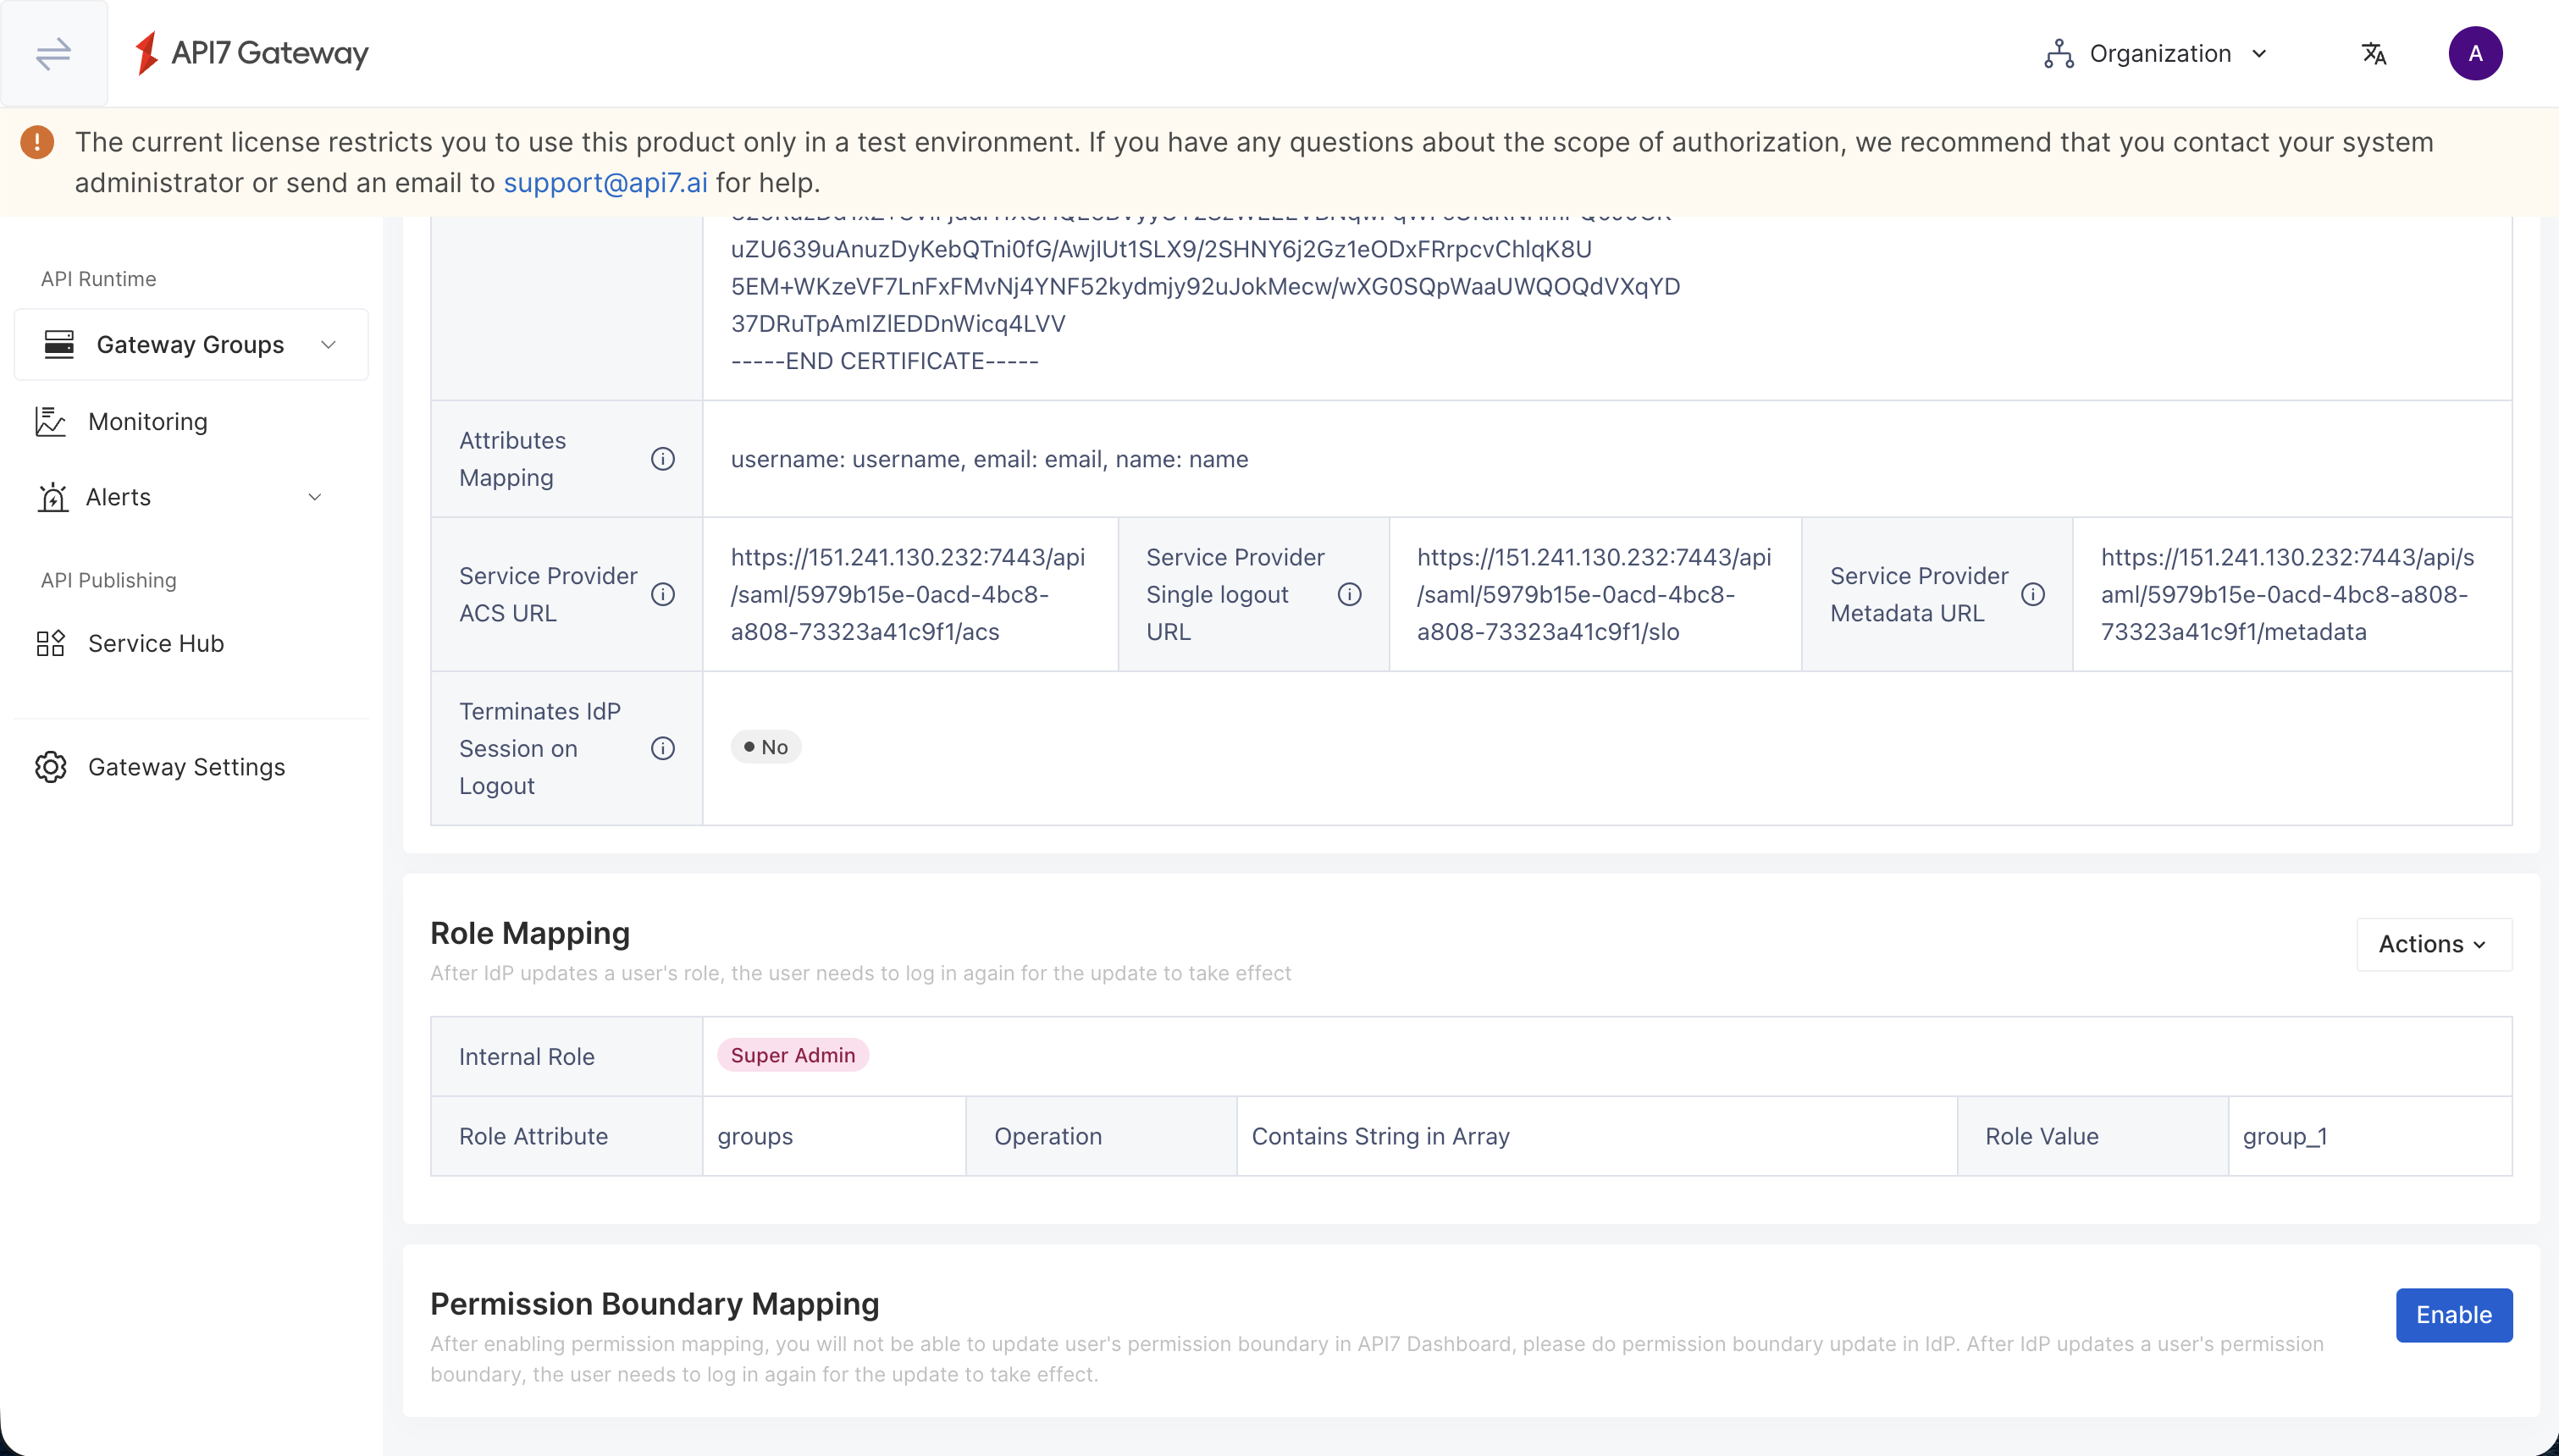
api7. - Attributes Mapping: API7 user fields mapping to SAML claims. For example:
- username:
username - email:
email - name:
name
- username:
- Optional: Enable Role Mapping and configure a rule to map an Okta attribute to an API7 role.
- Click Add.
- In the new SAML login option, copy the Service Provider ACS URL.

Update Okta with the ACS URL
- Return to the Okta application and open the Sign On tab.
- Click Edit in the SAML Settings section.
- Update Single sign-on URL with the Service Provider ACS URL copied from API7 Dashboard, then save the changes.
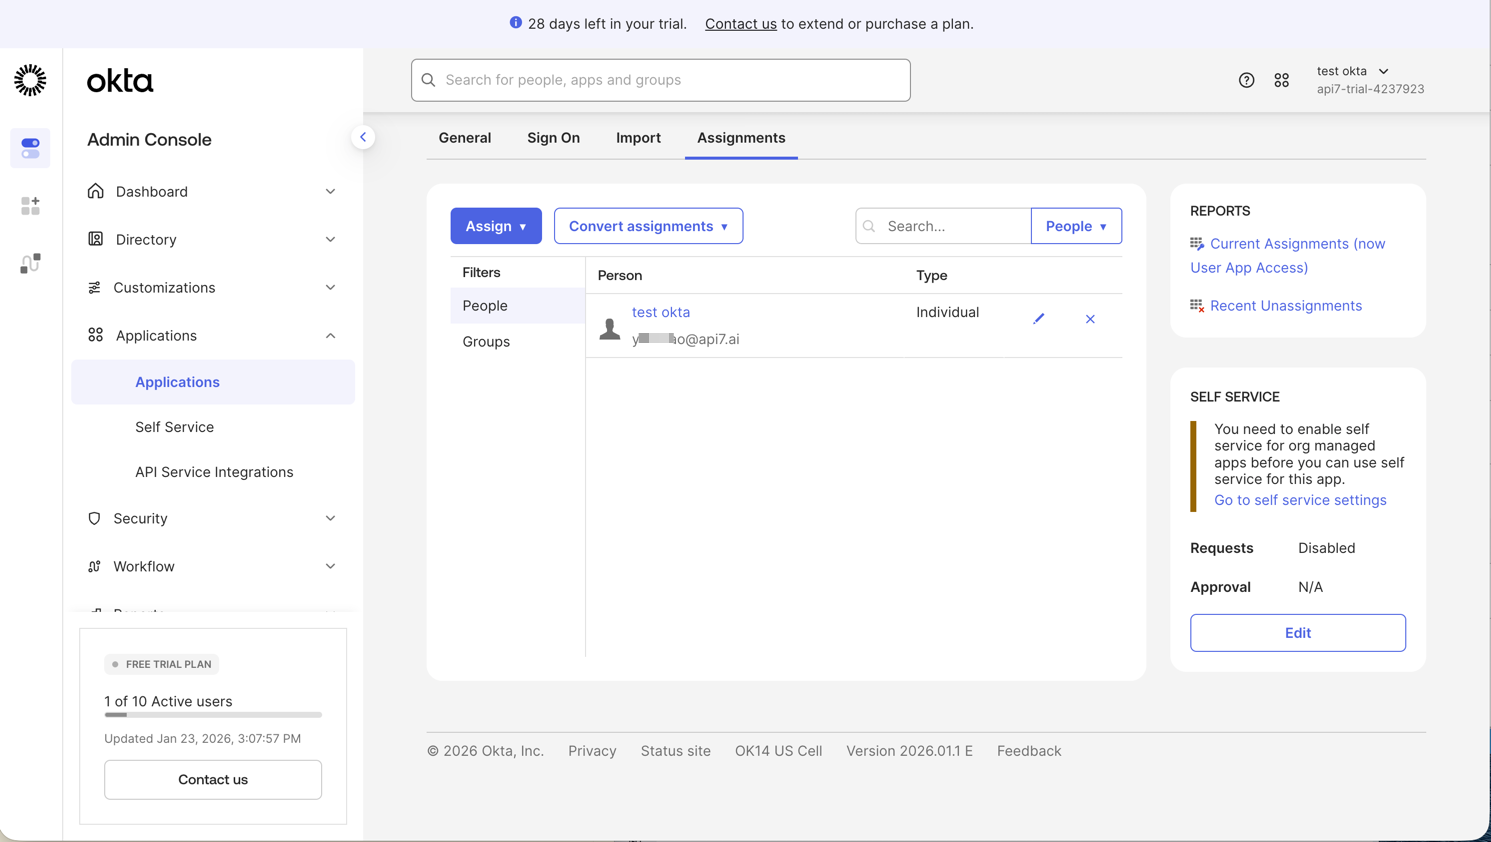
Assign Users to the Okta App
- In the Okta application, open the Assignments tab.
- Click Assign and select Assign to People.
- Select the users who should access API7 Dashboard, then click Done.
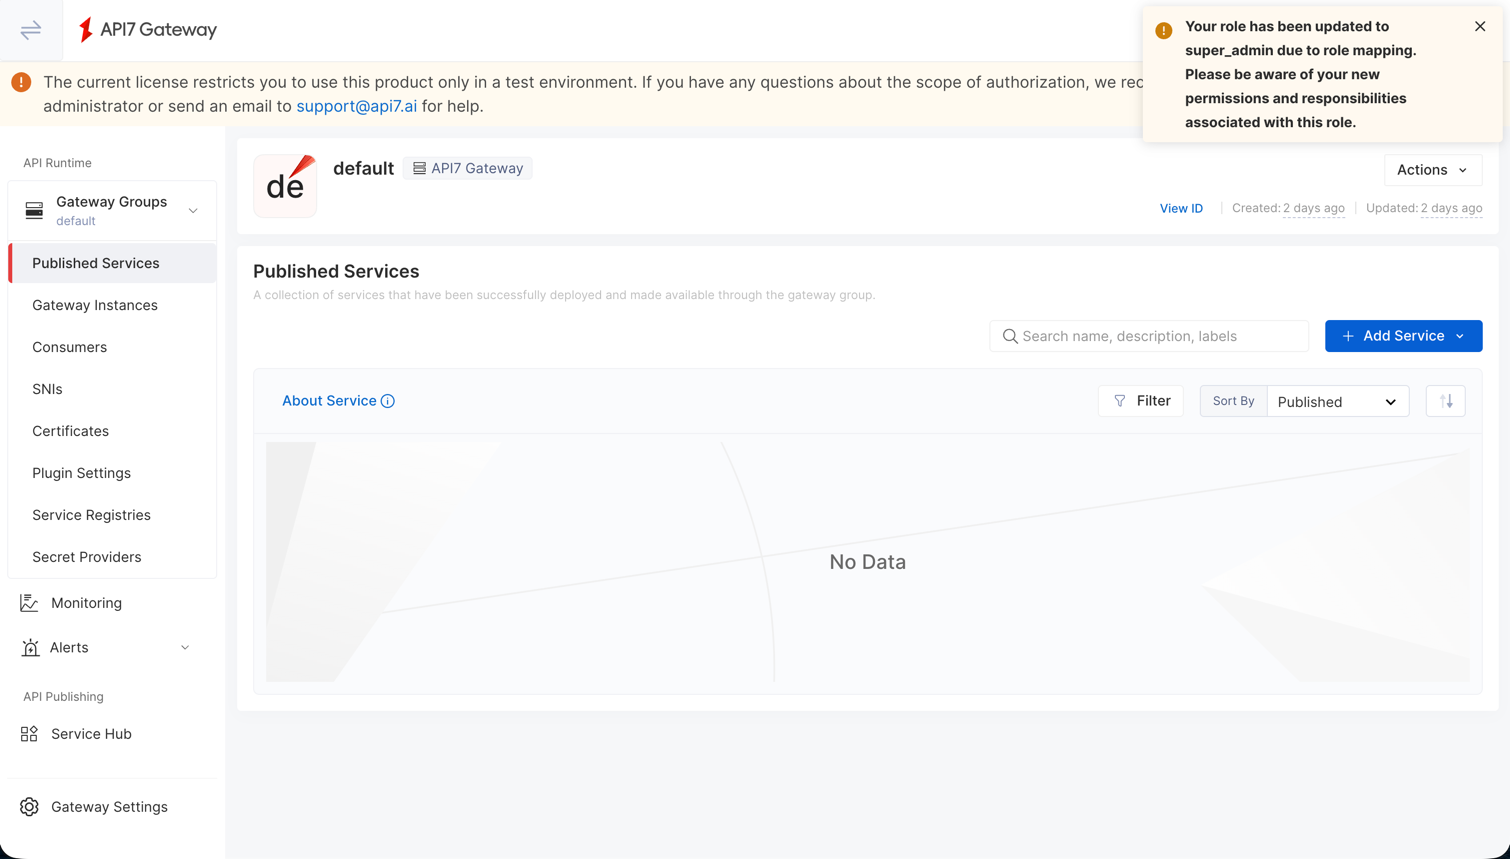
Verify SSO Login
- Open the API7 Dashboard login page and select Login with okta-saml.

- Sign in with your Okta credentials.

- Wait for the redirect to complete.

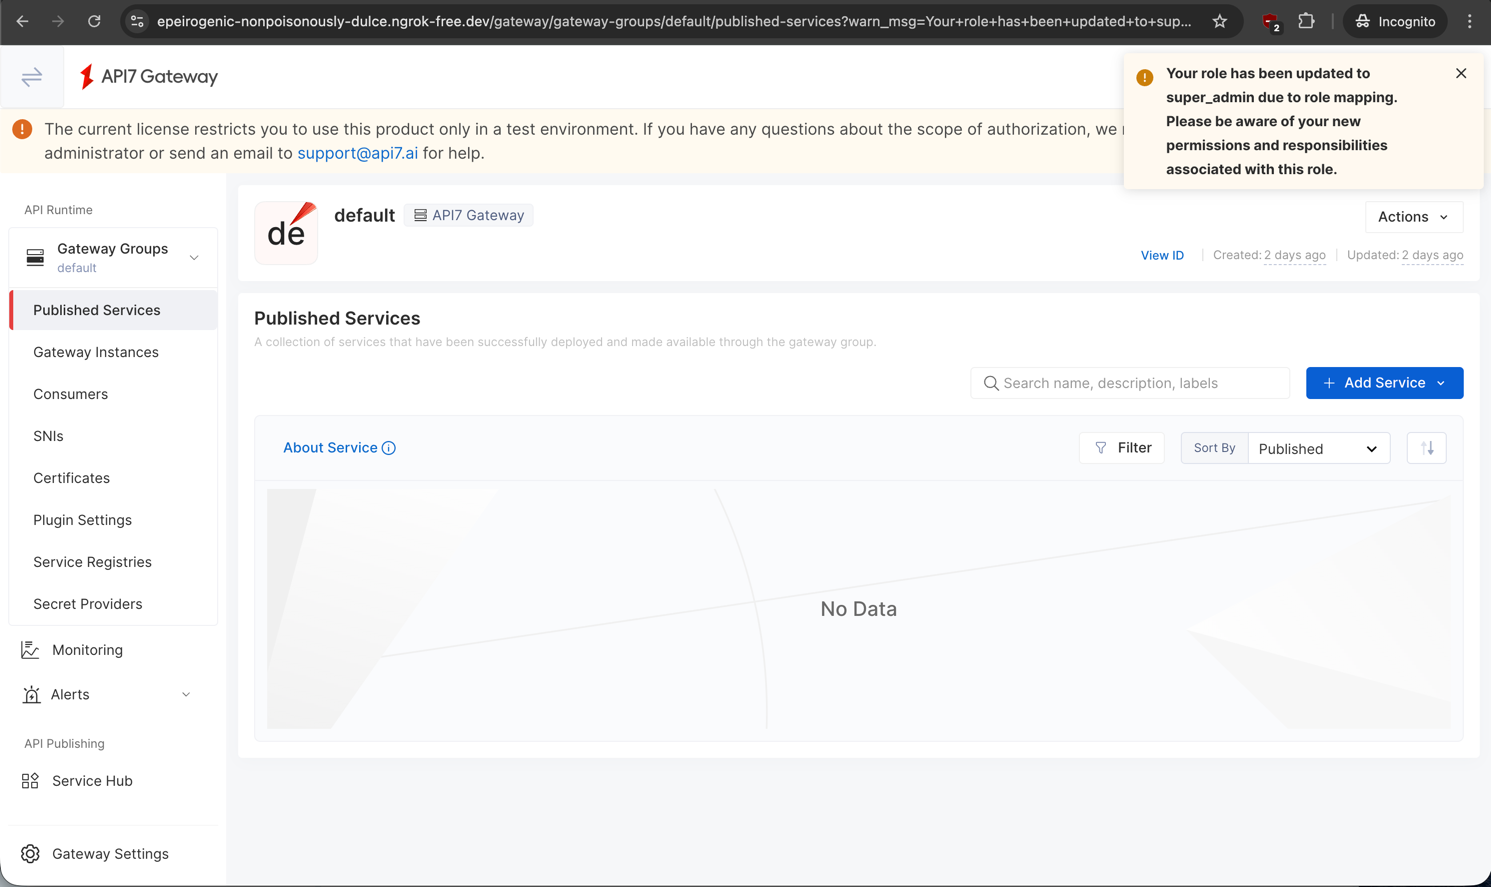
- Confirm that you can access the API7 Dashboard, and verify the role mapping if you enabled it.
Enable Sign Request
If you want API7 Dashboard to sign SAML authentication requests, enable Sign Request and configure Okta with the API7 certificate.
- In the SAML login option, enable Sign Request. If no certificate is configured, API7 Dashboard generates one automatically. You can optionally upload your own certificate and private key. Save the changes and copy the certificate value for Okta.
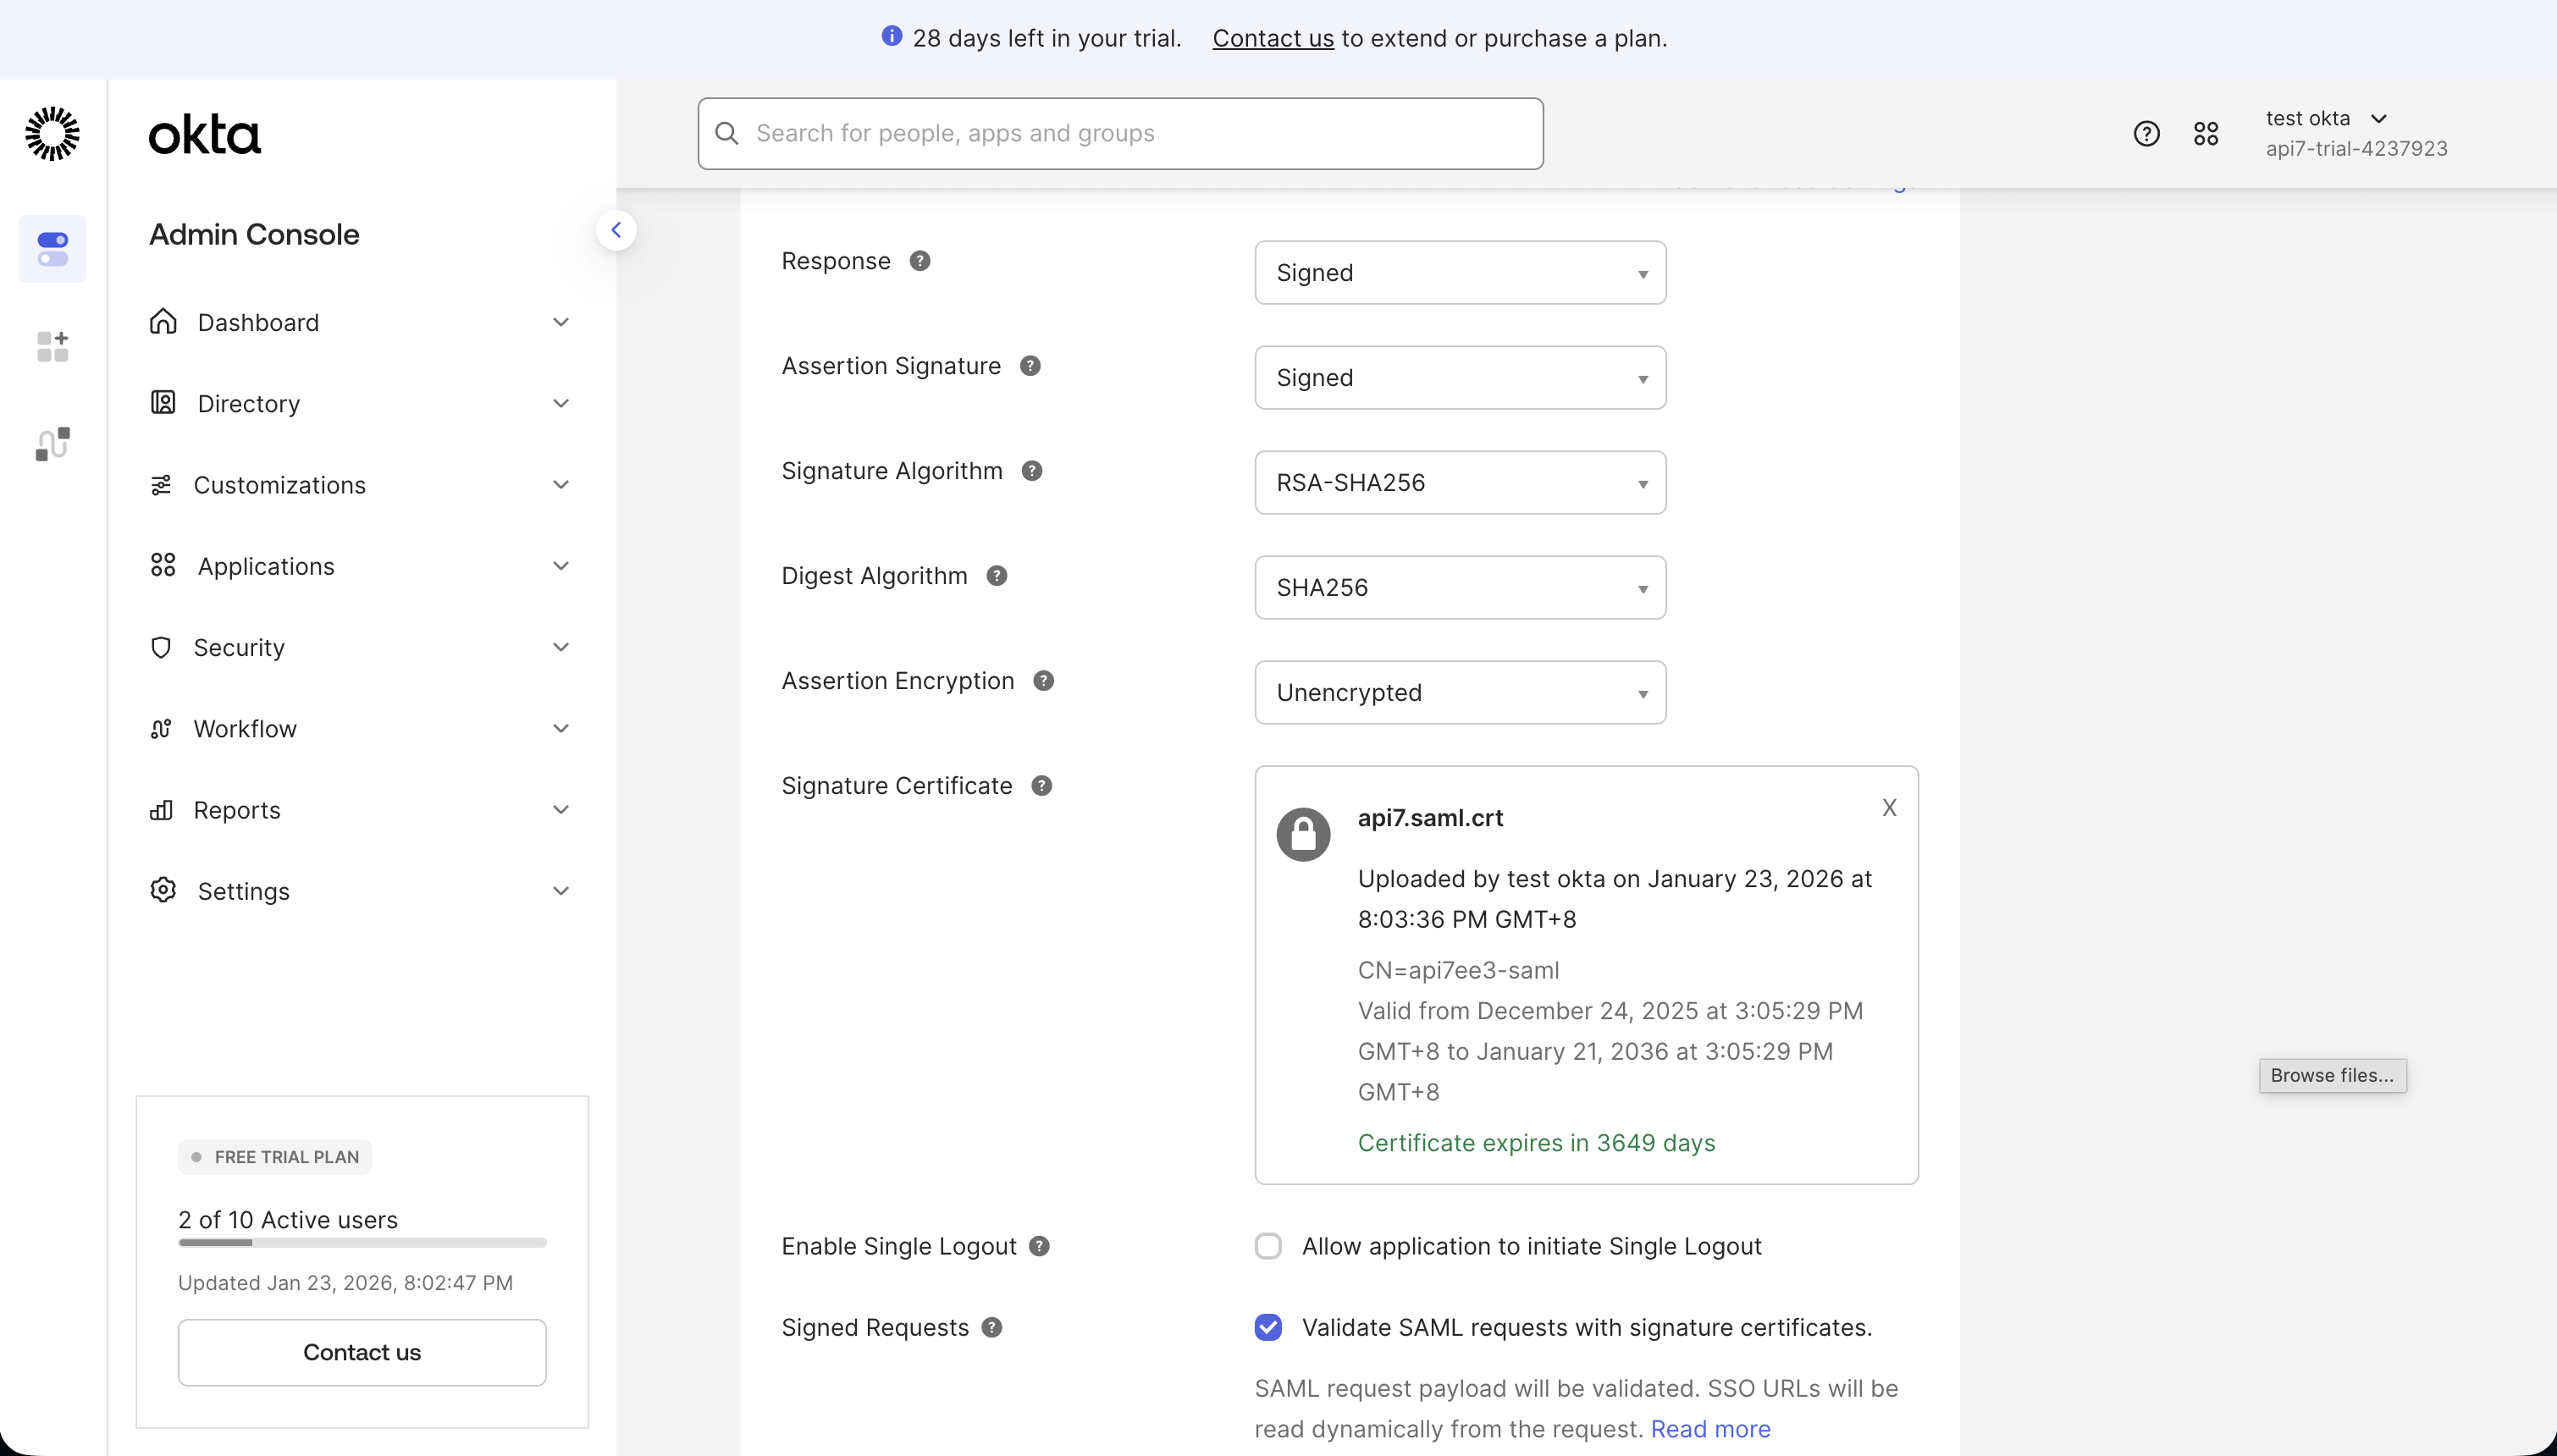
- In the Okta application General tab, click Edit in SAML Settings.

- Update Name ID format.

- Upload the certificate copied from API7 Dashboard to the Signature Certificate section, enable signed requests, and save the changes.
- Sign in again to verify the signed request flow.
Configure via Group Membership
Use Okta group membership to map API7 roles based on the groups attribute in the SAML assertion.
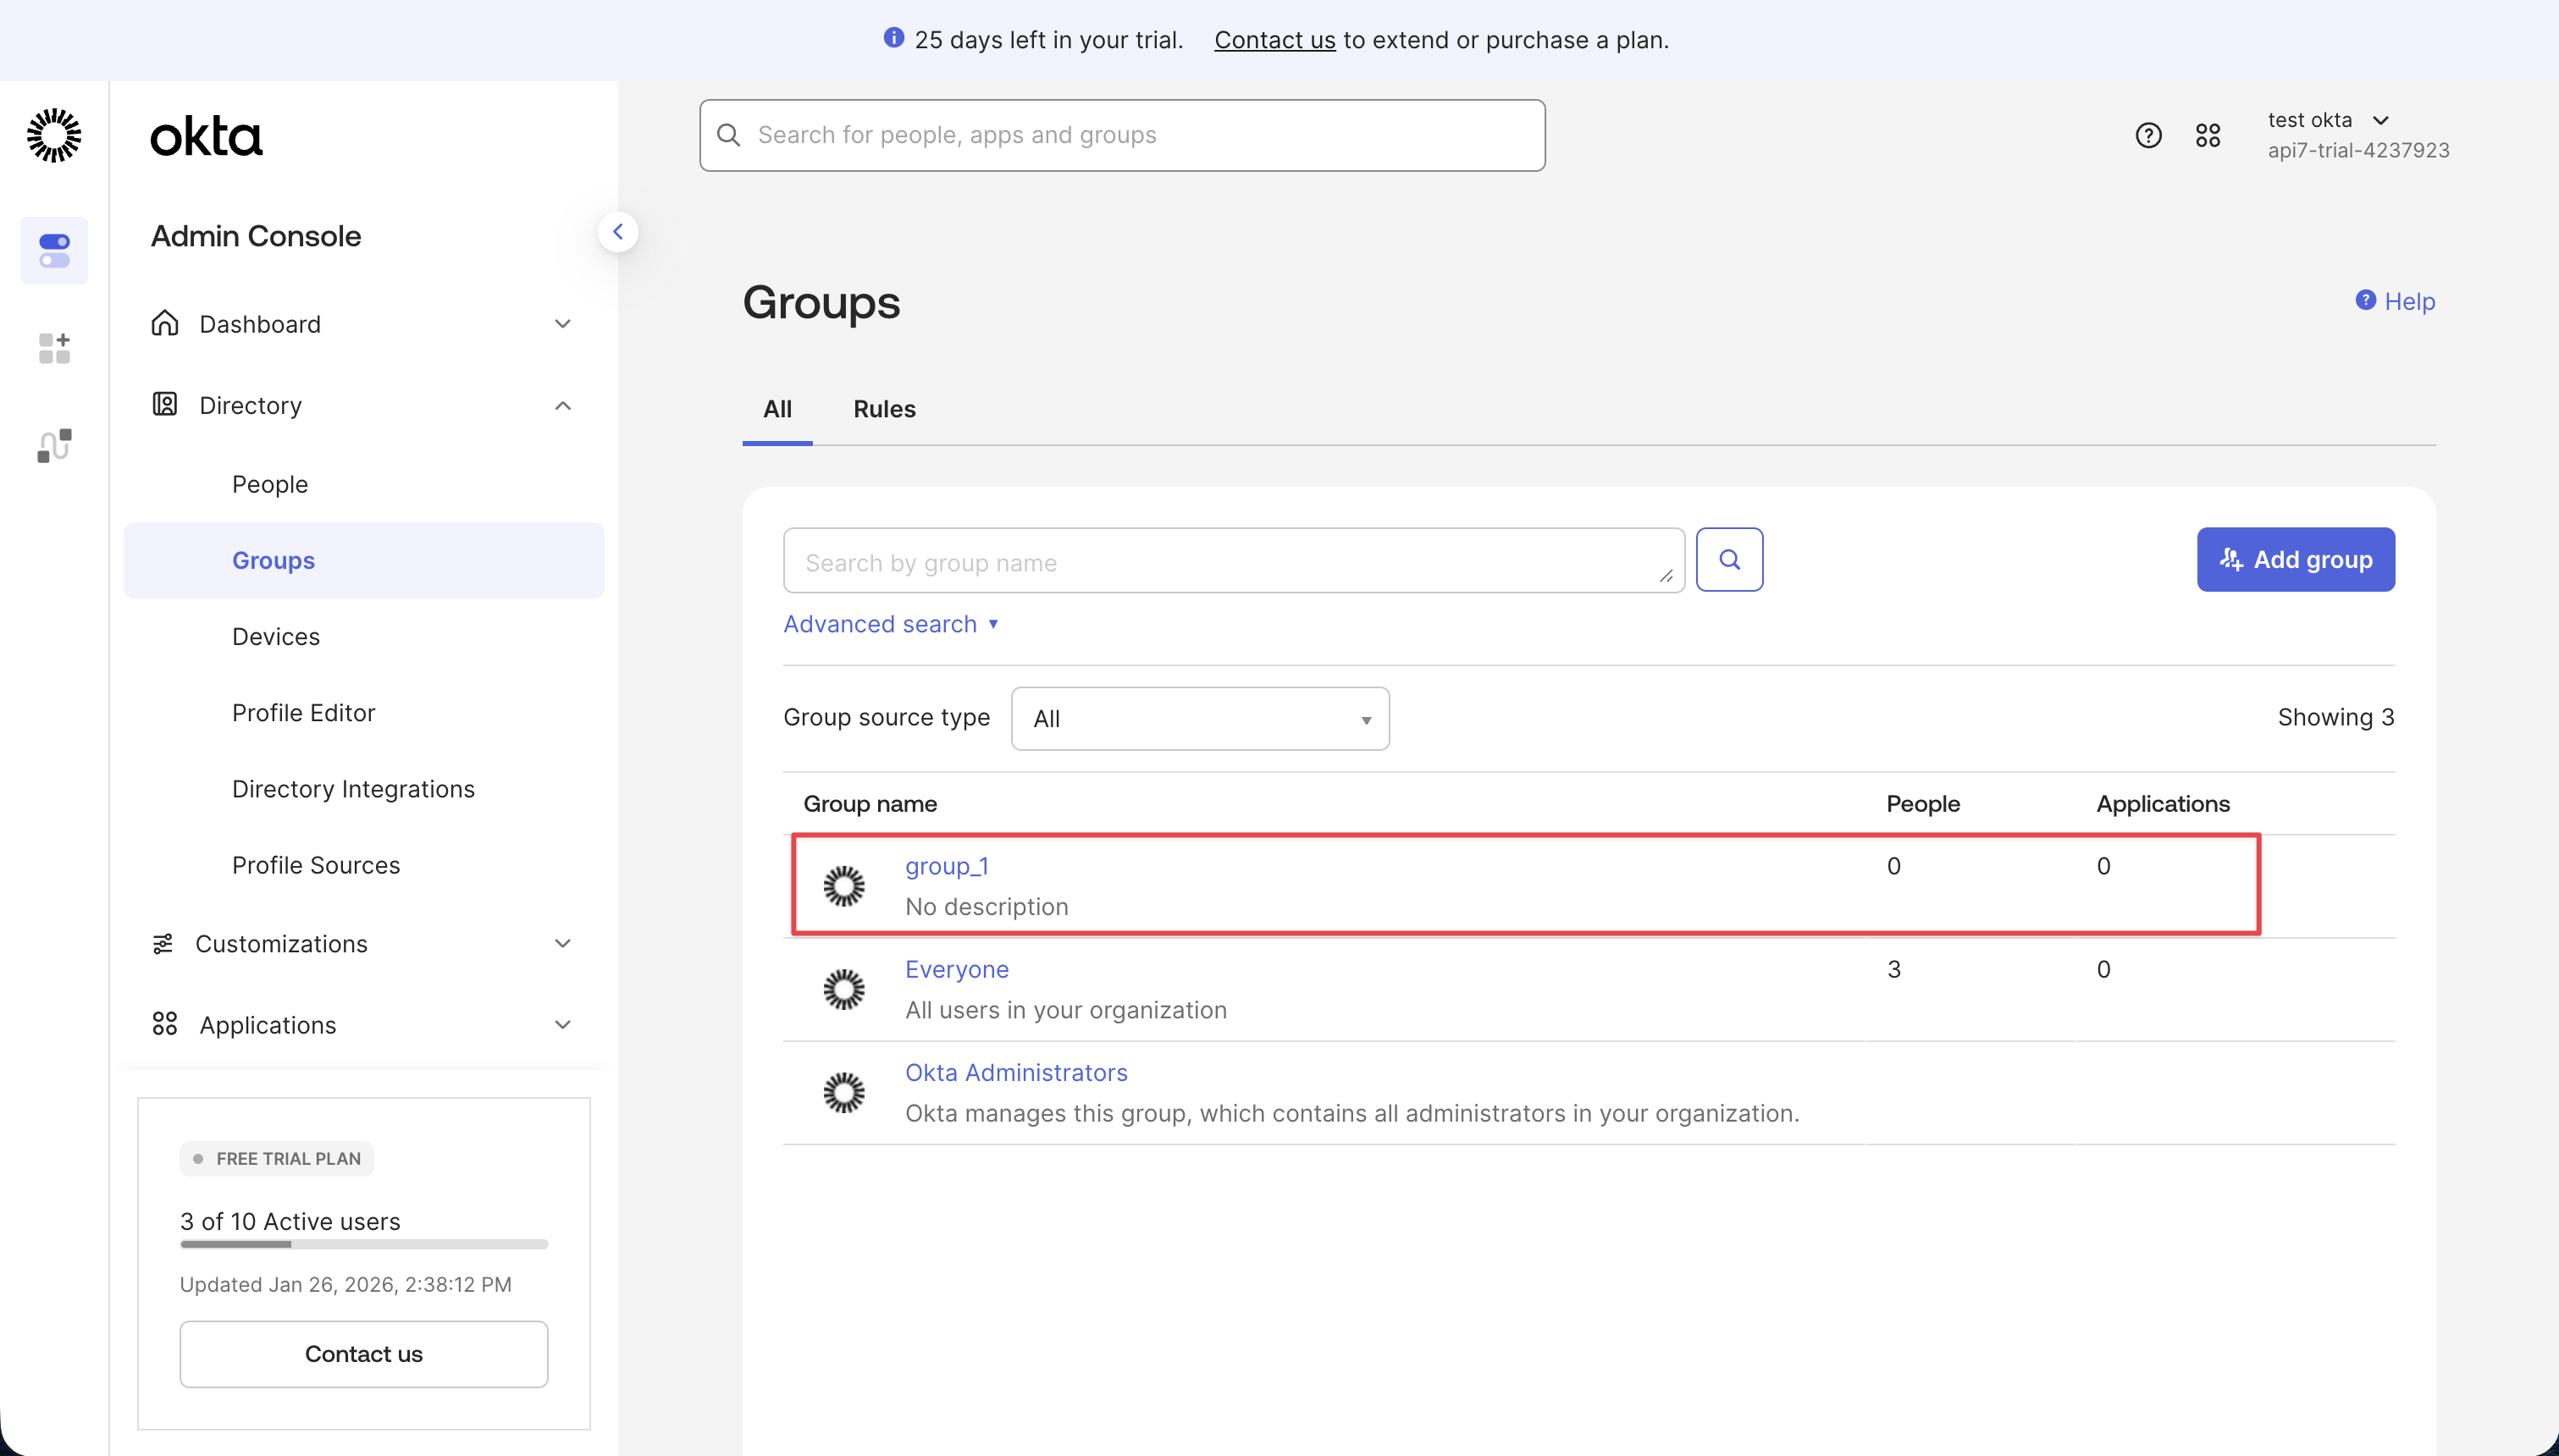
- In Okta Admin Console, navigate to Directory > Groups, click Add Group, and create a group such as
group_1.
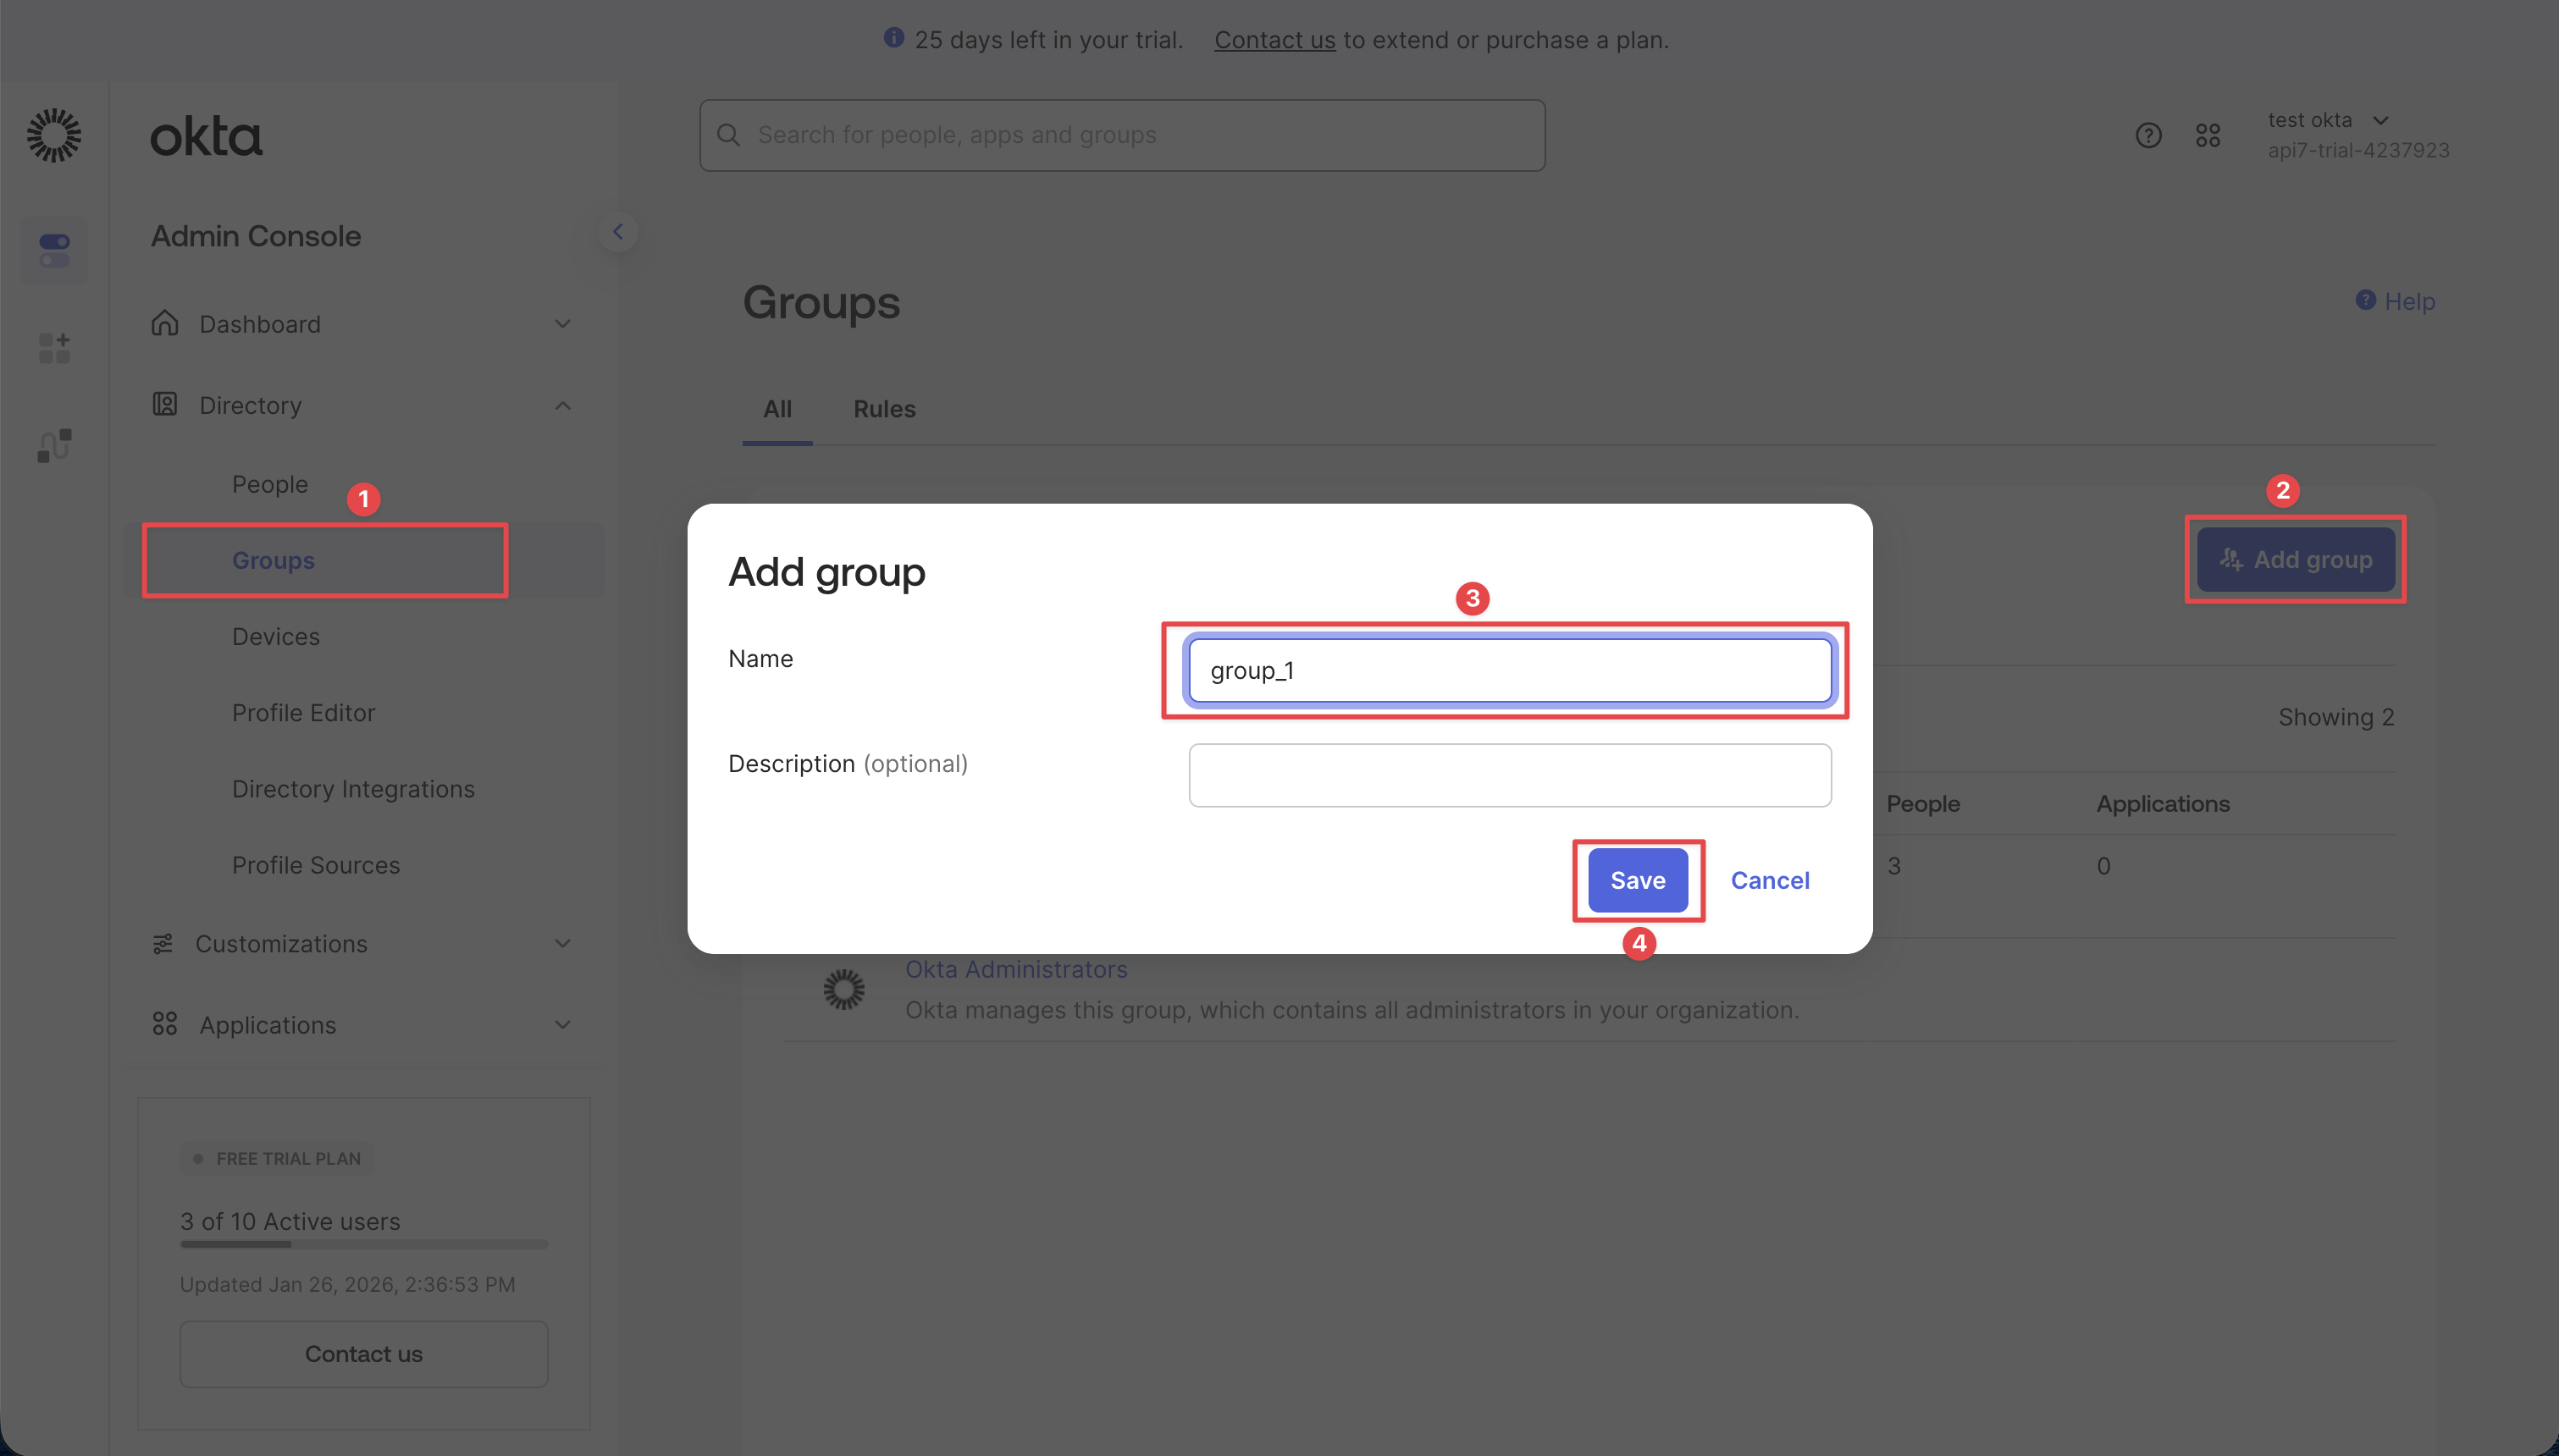
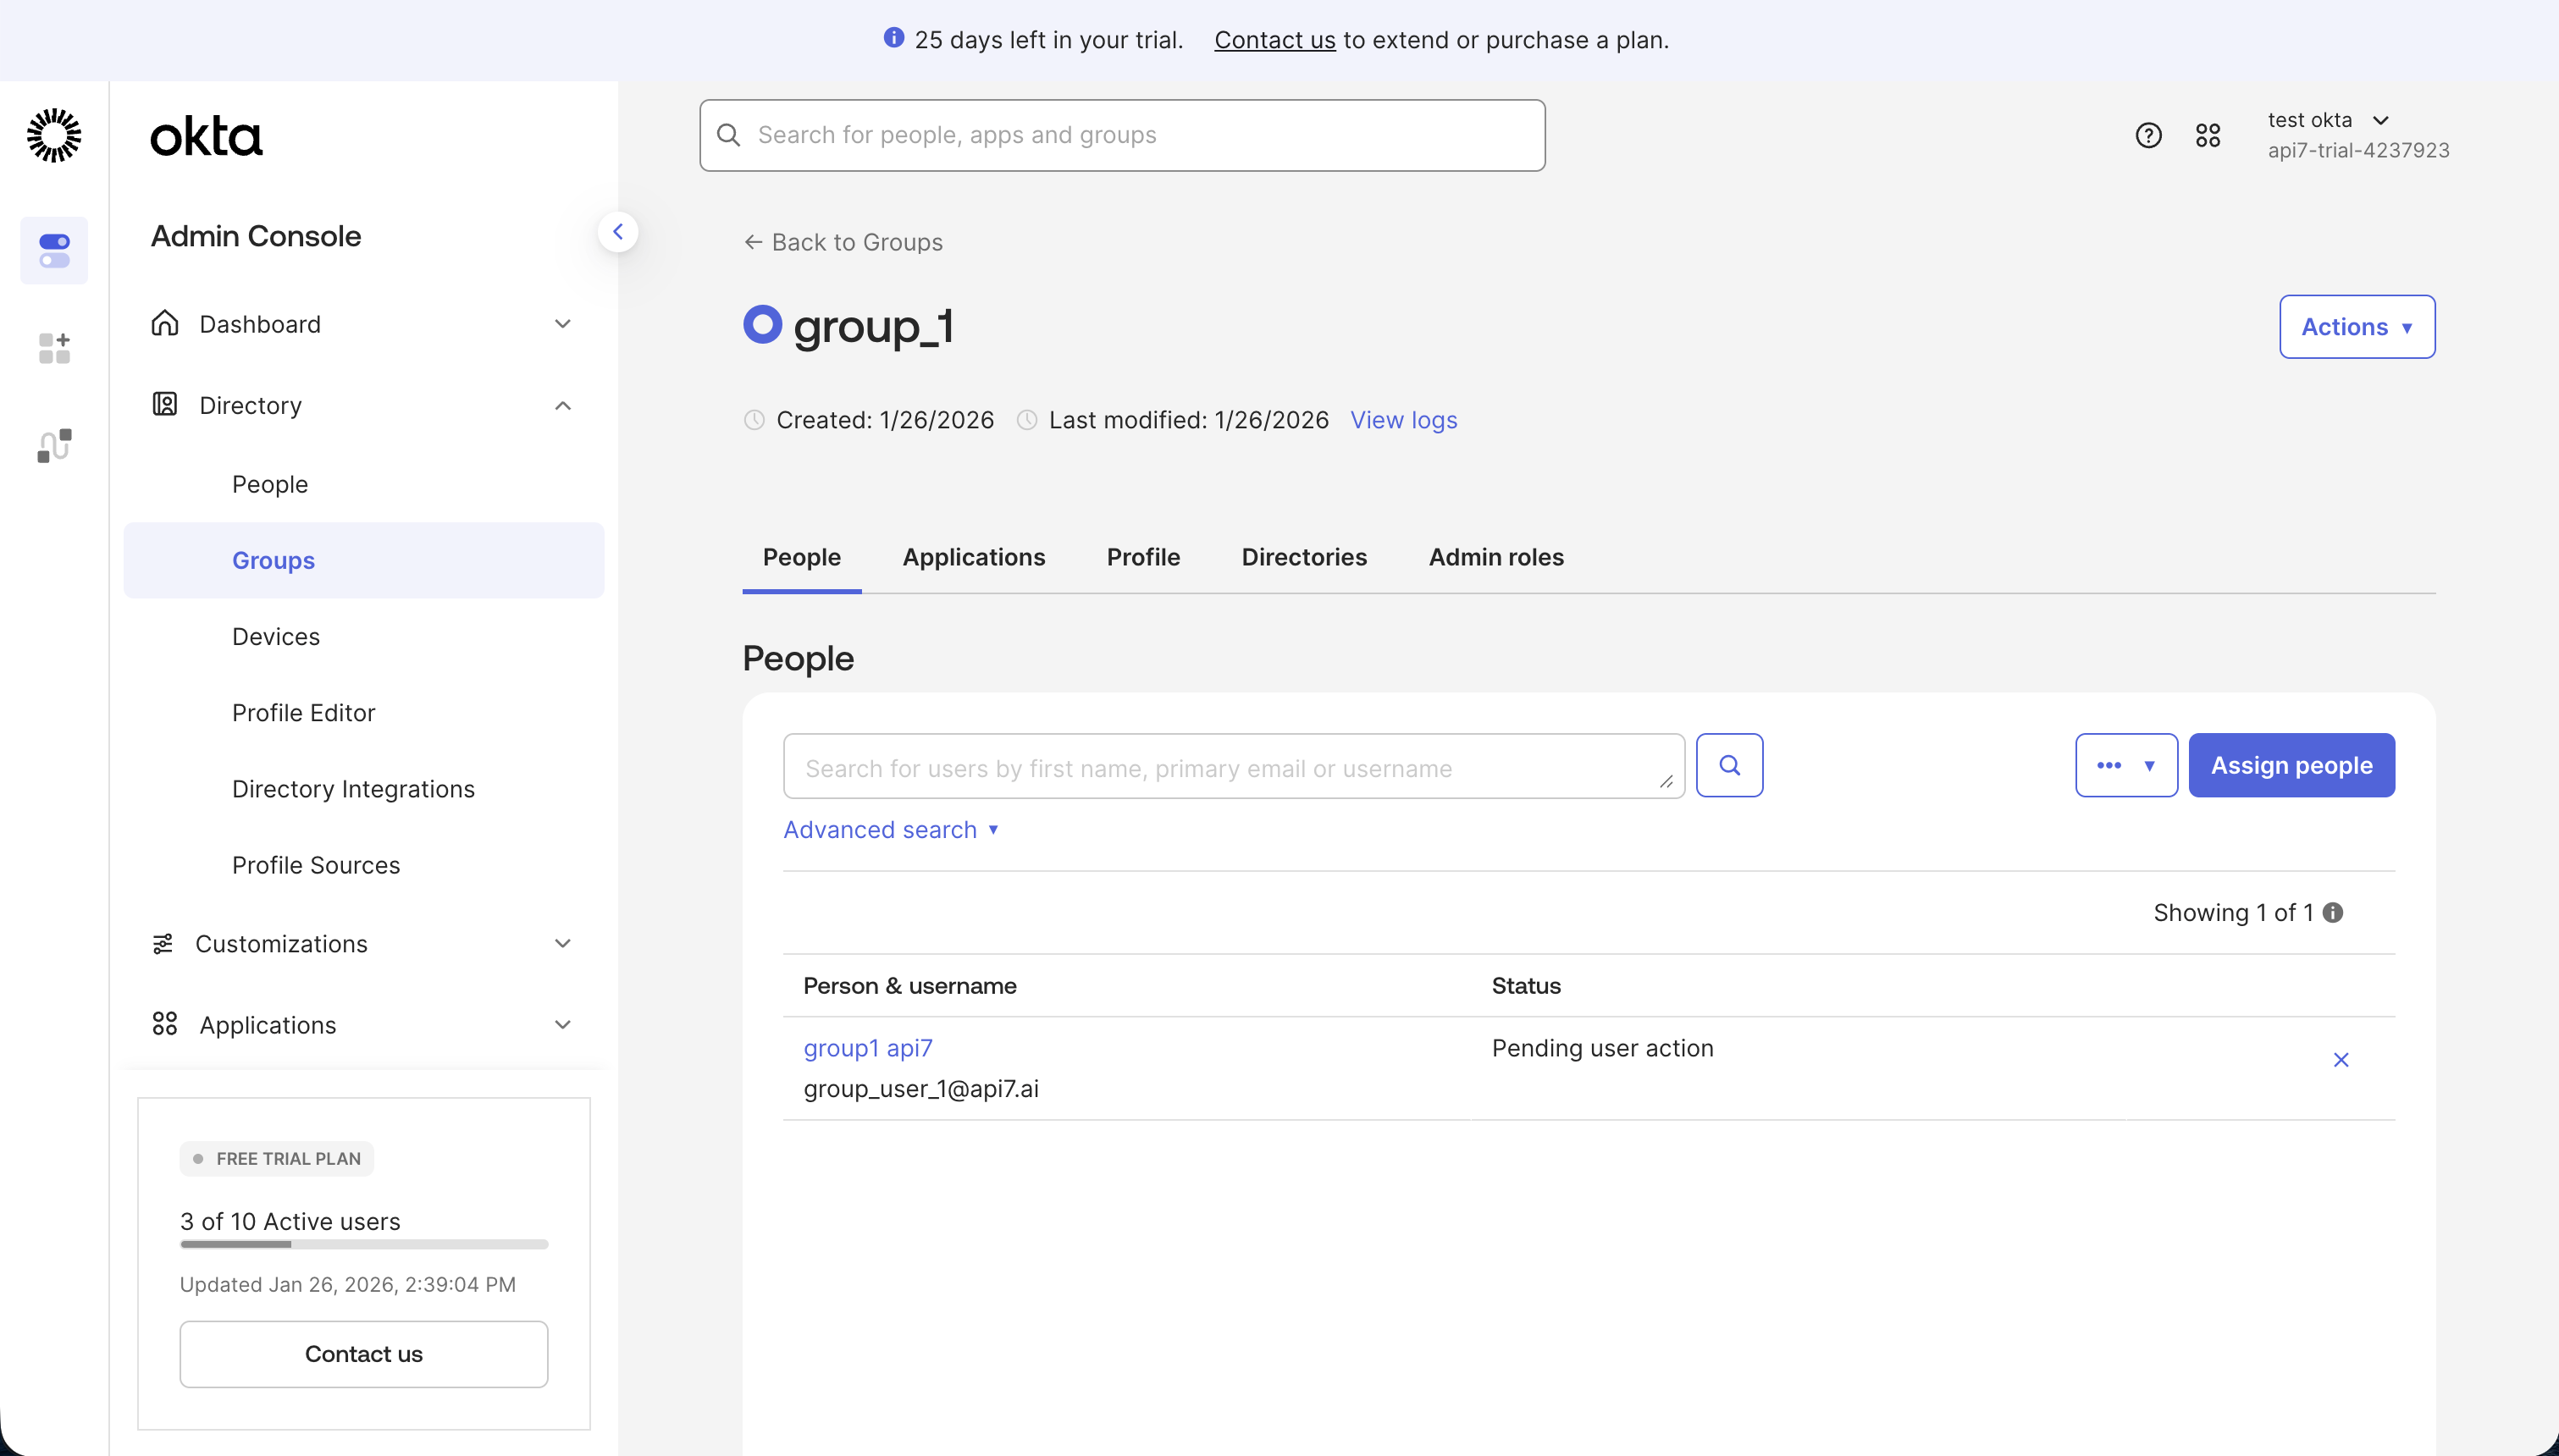
- Confirm the group is created and open the group details.
- Click Add People and add users.
- In the Okta app Assignments tab, click Assign and select Assign to Groups, then assign the
group_1group to the app.

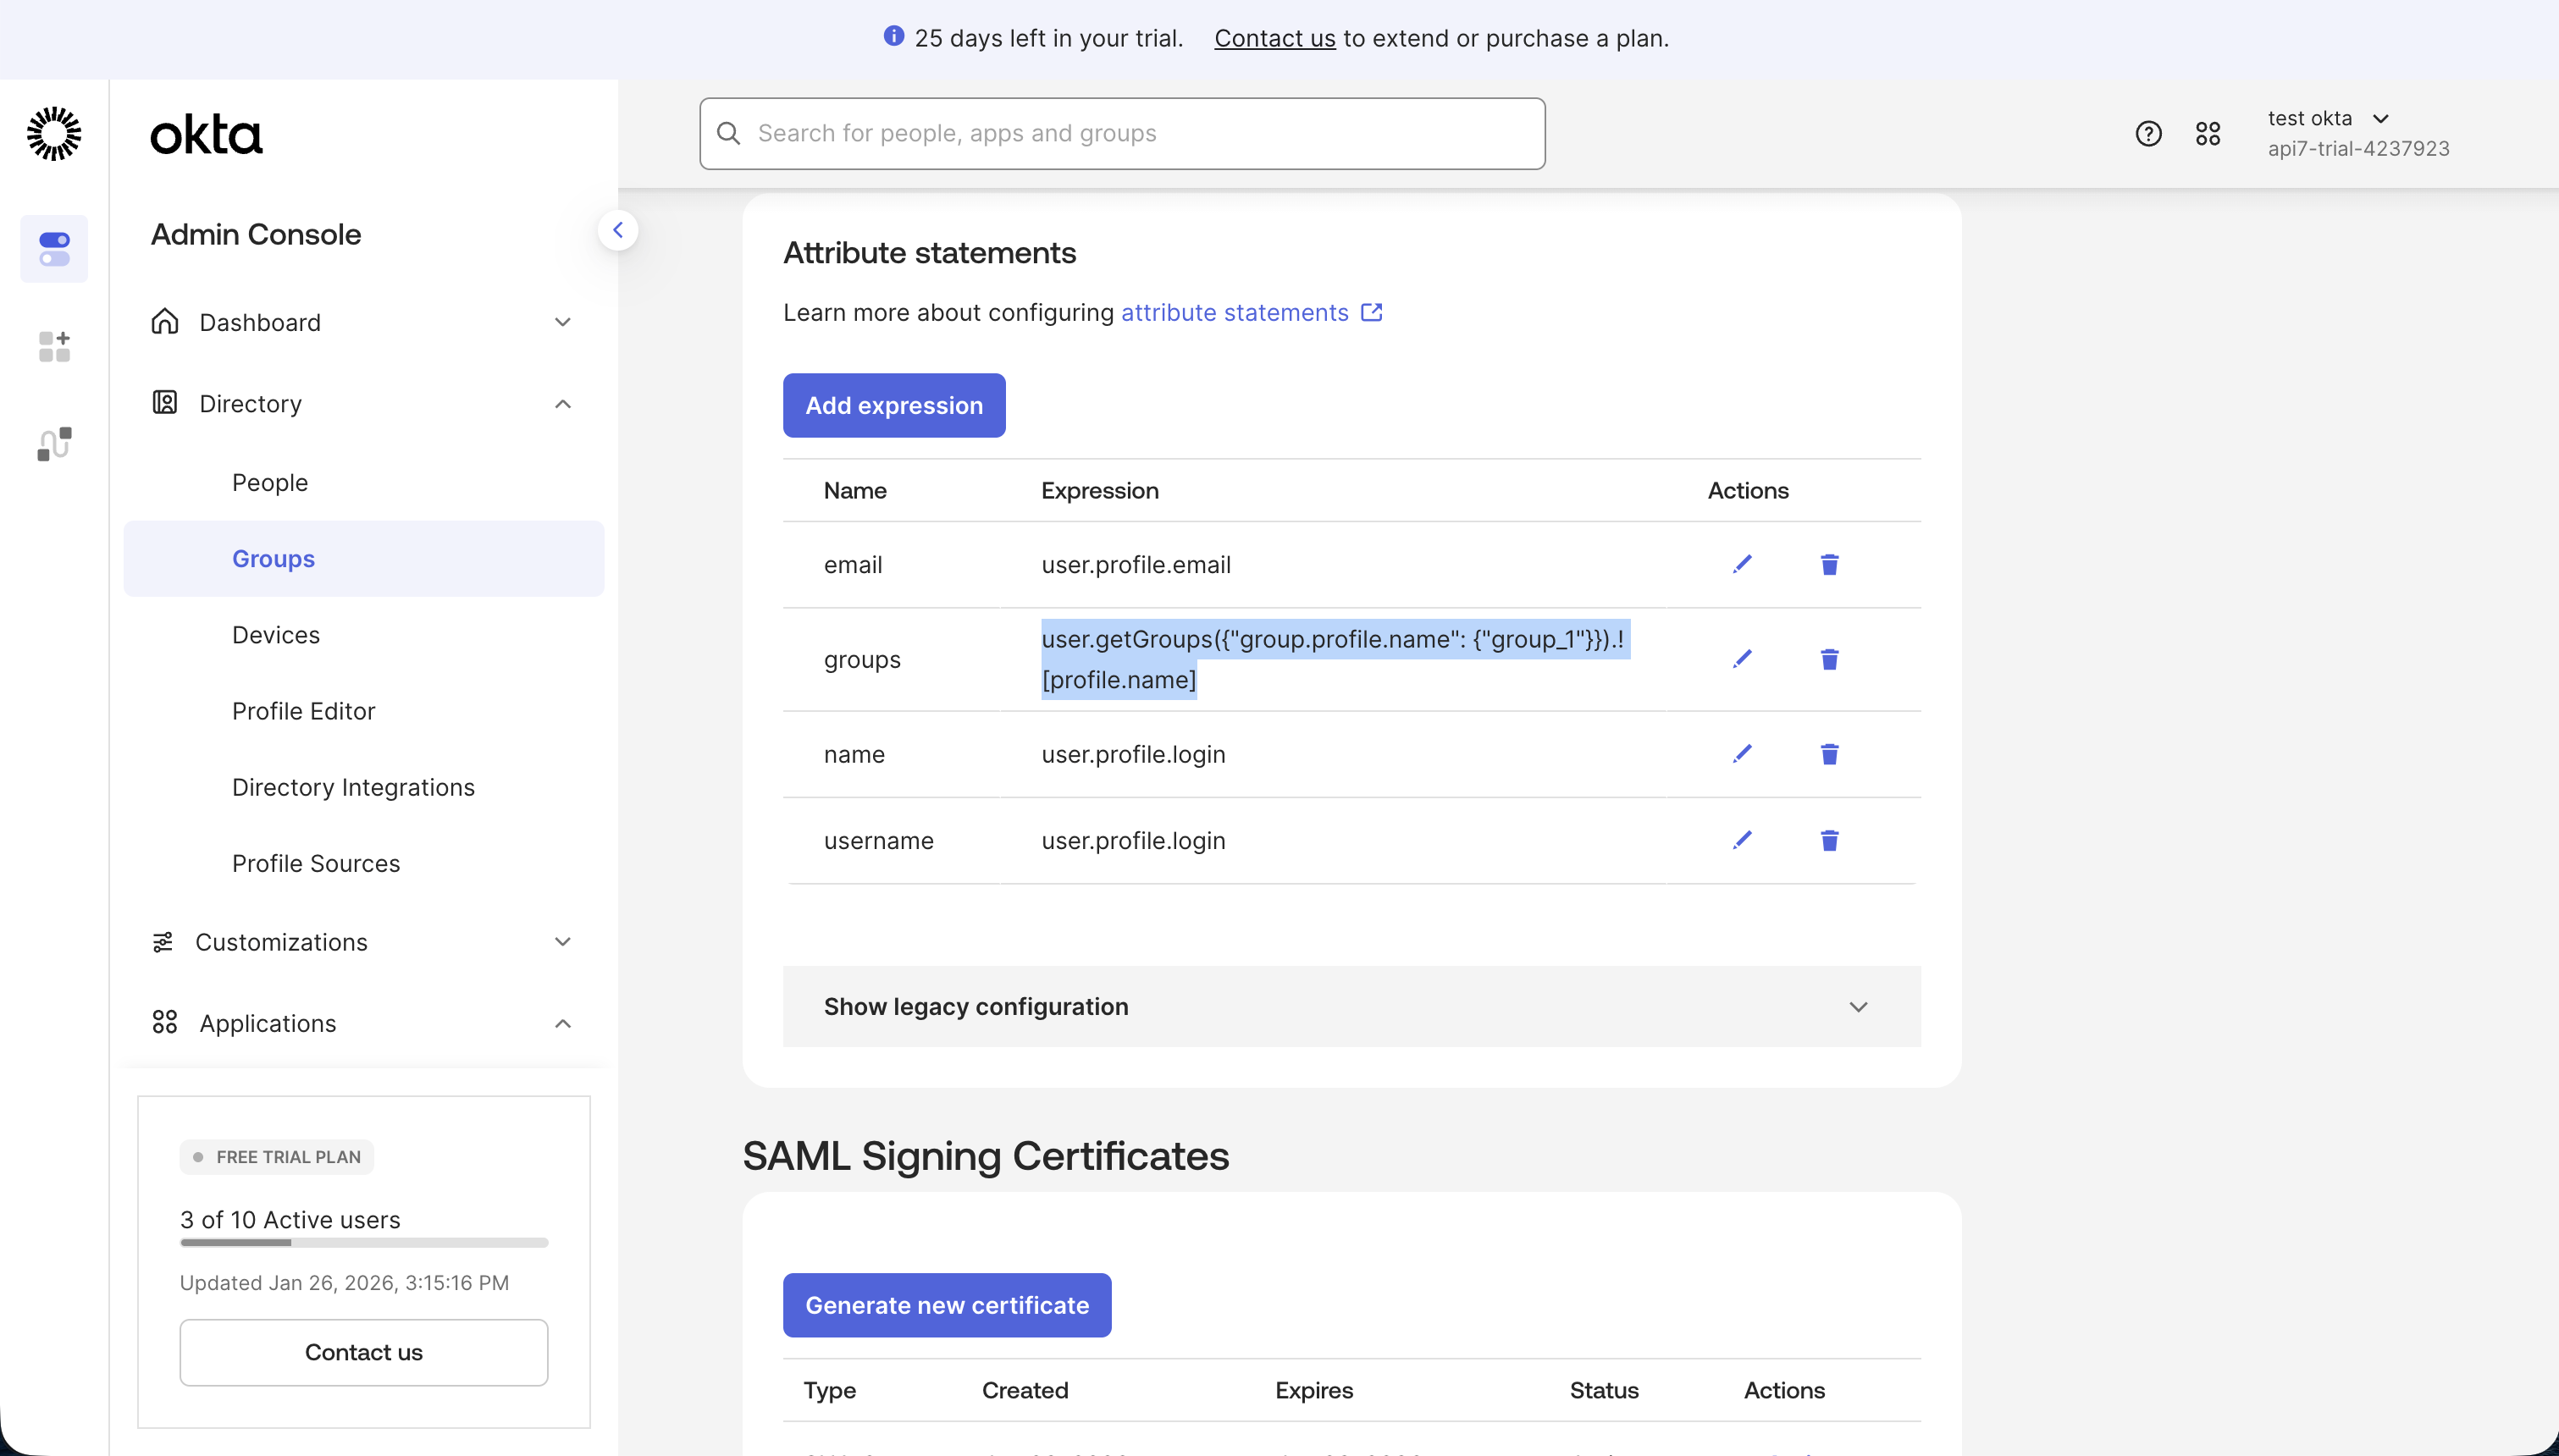
- In the Okta app Sign On tab, edit SAML Settings and add a Groups Attribute Statement:
- Name:
groups - Filter:
user.getGroups({"group.profile.name": {"group_1"}}).![profile.name]. Please refer to Okta Group functions for more details.
- Name:
To inspect the SAML assertion, use a browser SAML tracing extension (for example, SAML-tracer). After you click the SAML login option in API7 Dashboard, capture the POST /xxxx/acs request and view the decoded assertion as shown.
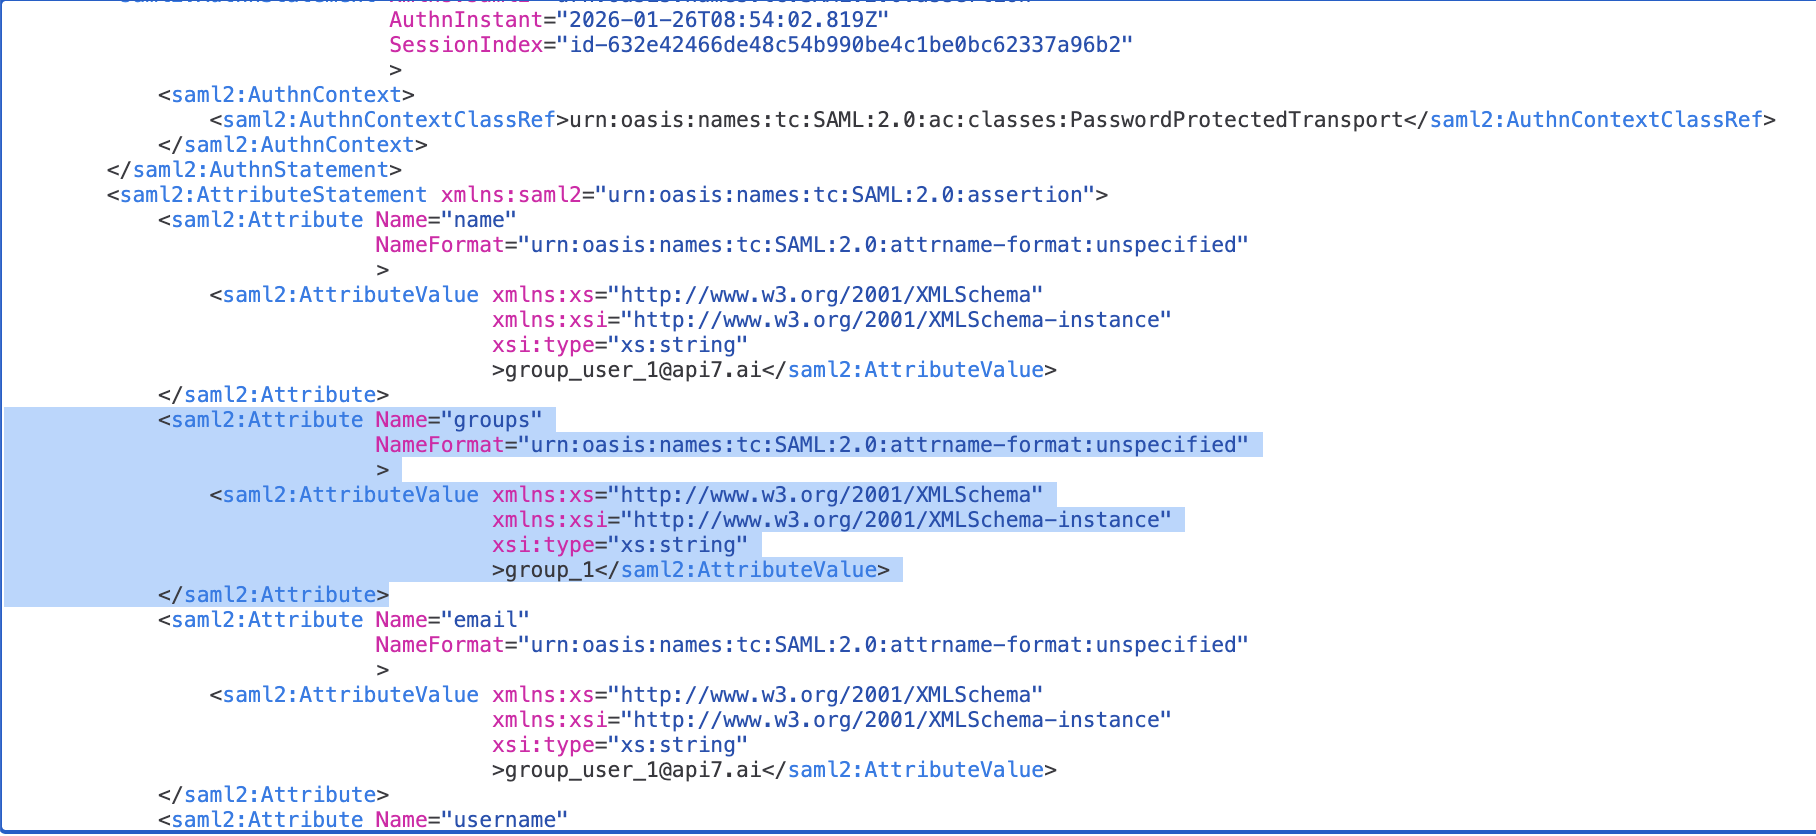
Use the groups value in this payload to configure role mapping in API7 Dashboard.
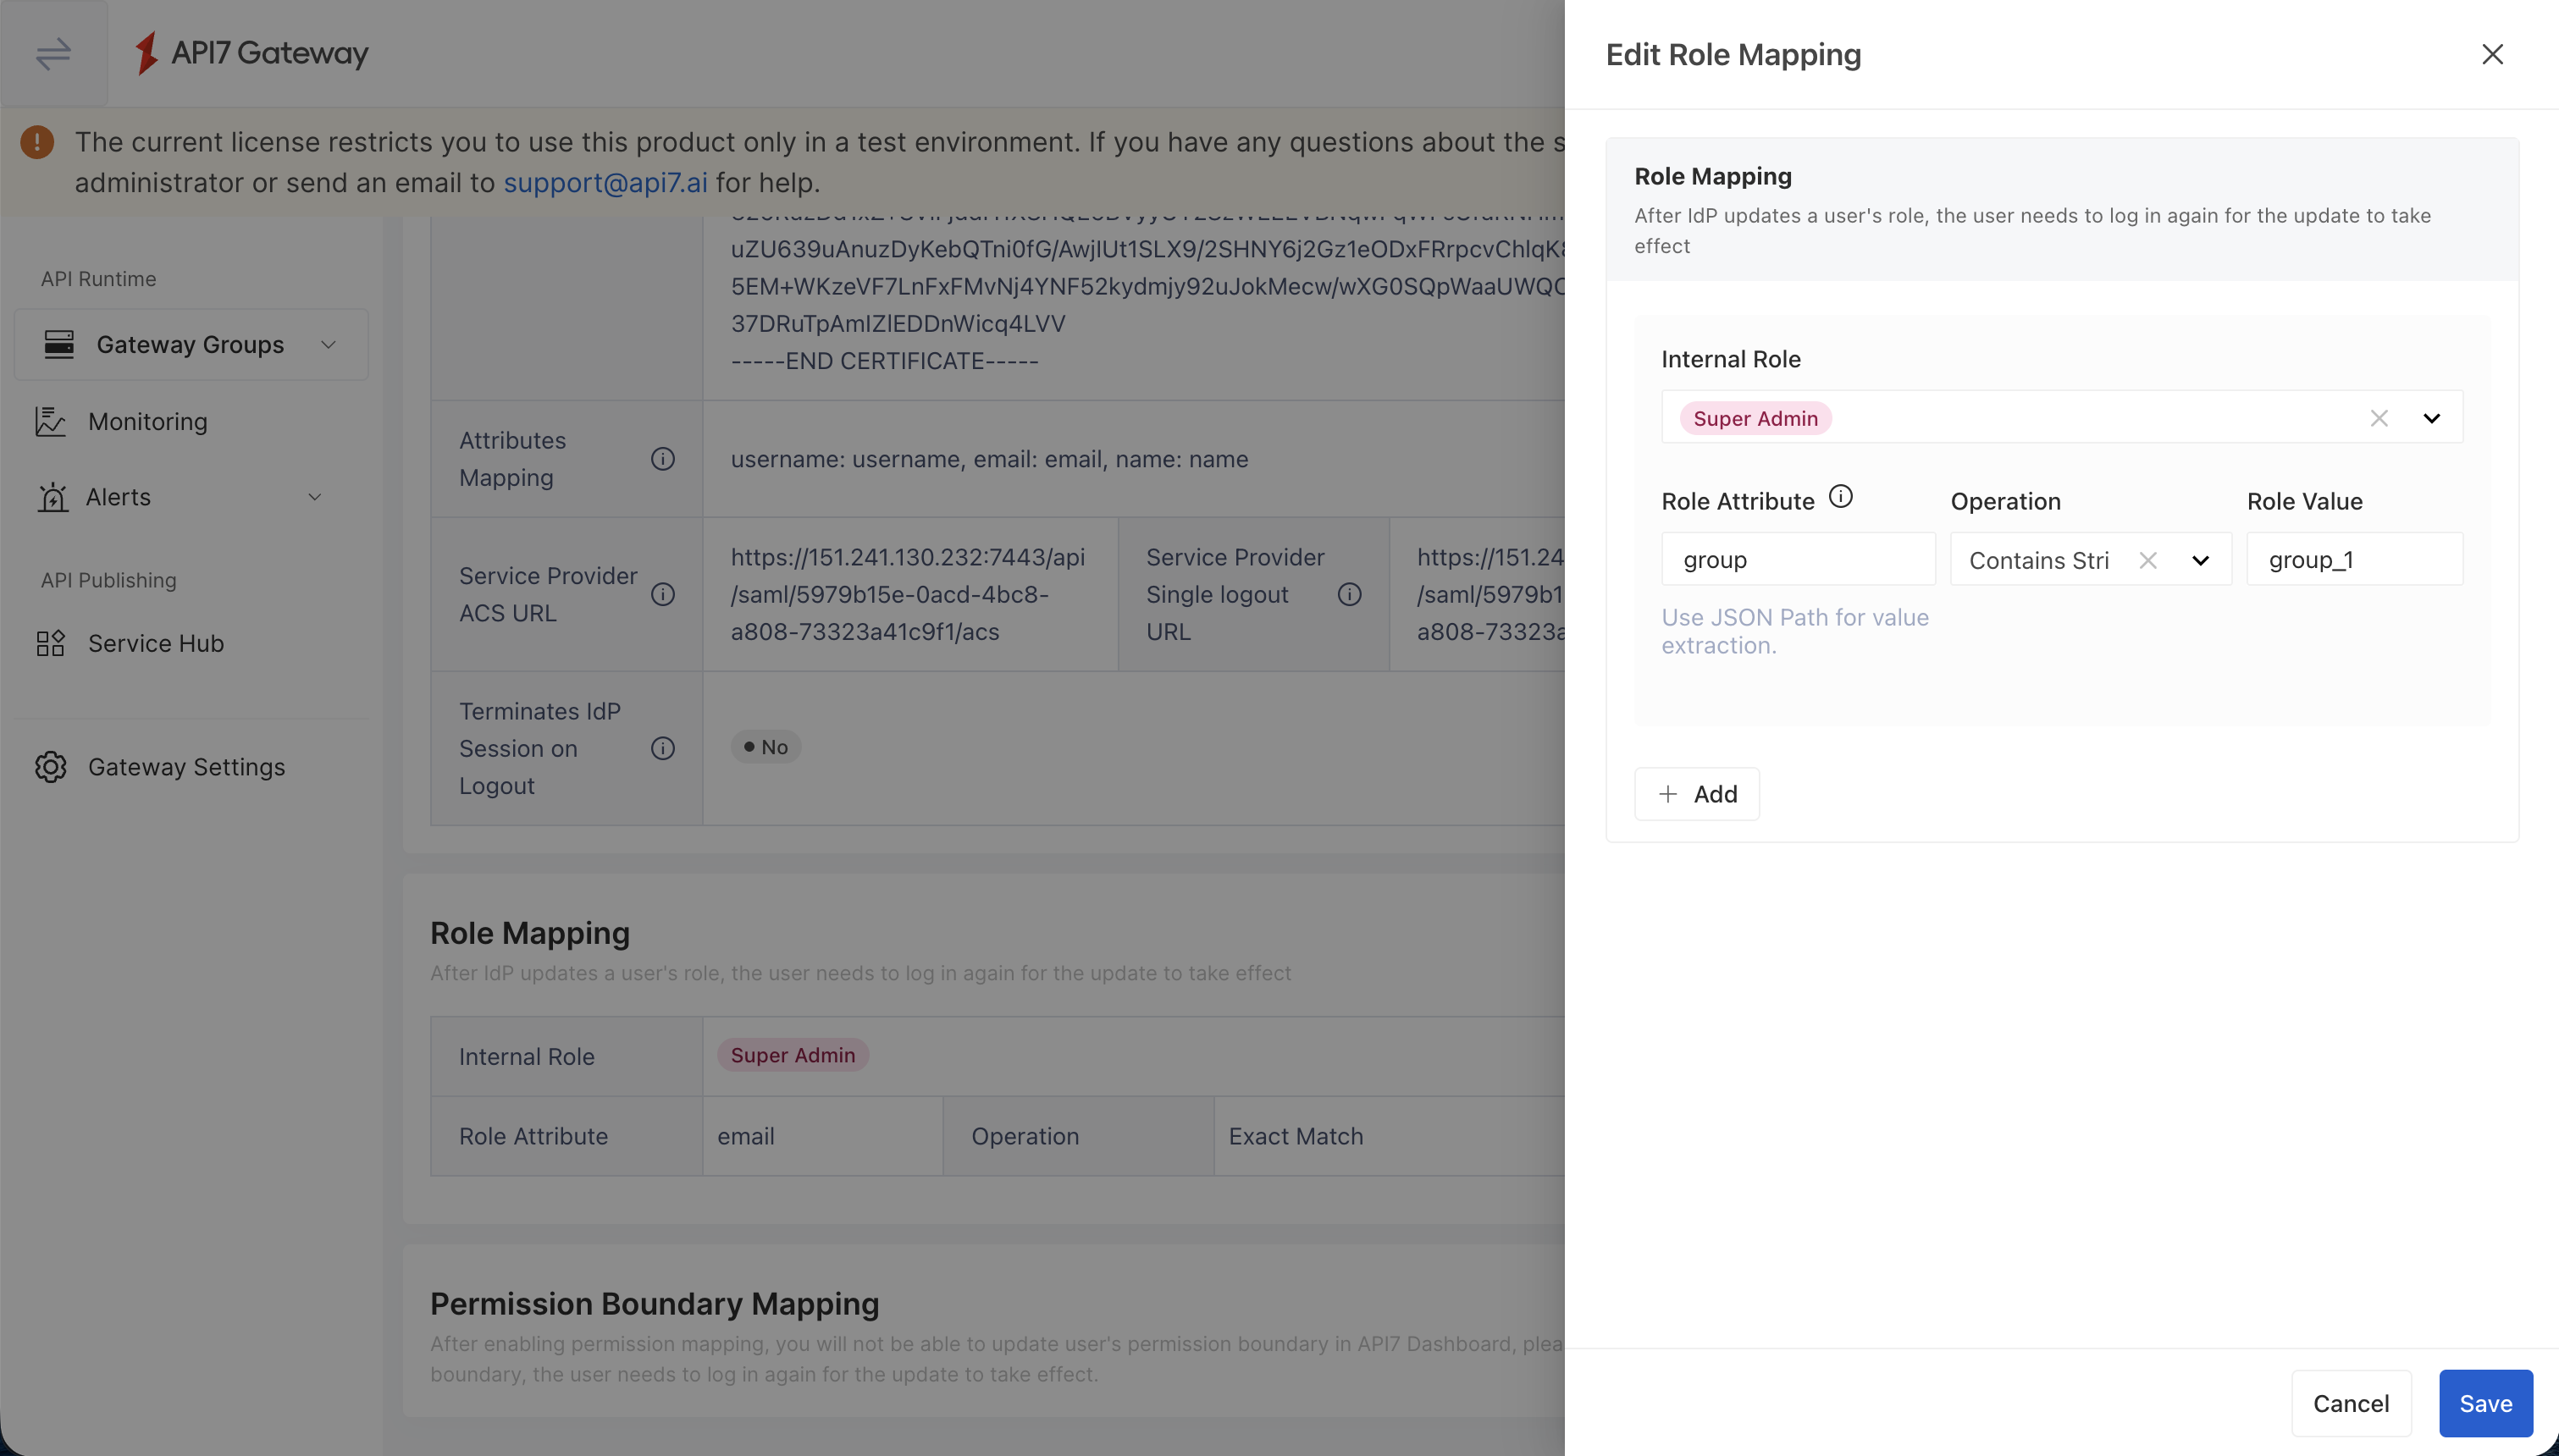
- In API7 Dashboard, open the SAML login option, enable Role Mapping, and add a rule:
- Internal Role:
Super Admin(or another role) - Role Attribute:
groups - Operation:
Exact Match in Array - Role Value:
group_1
- Internal Role:
- Save the login option and confirm the mapping rule is listed.
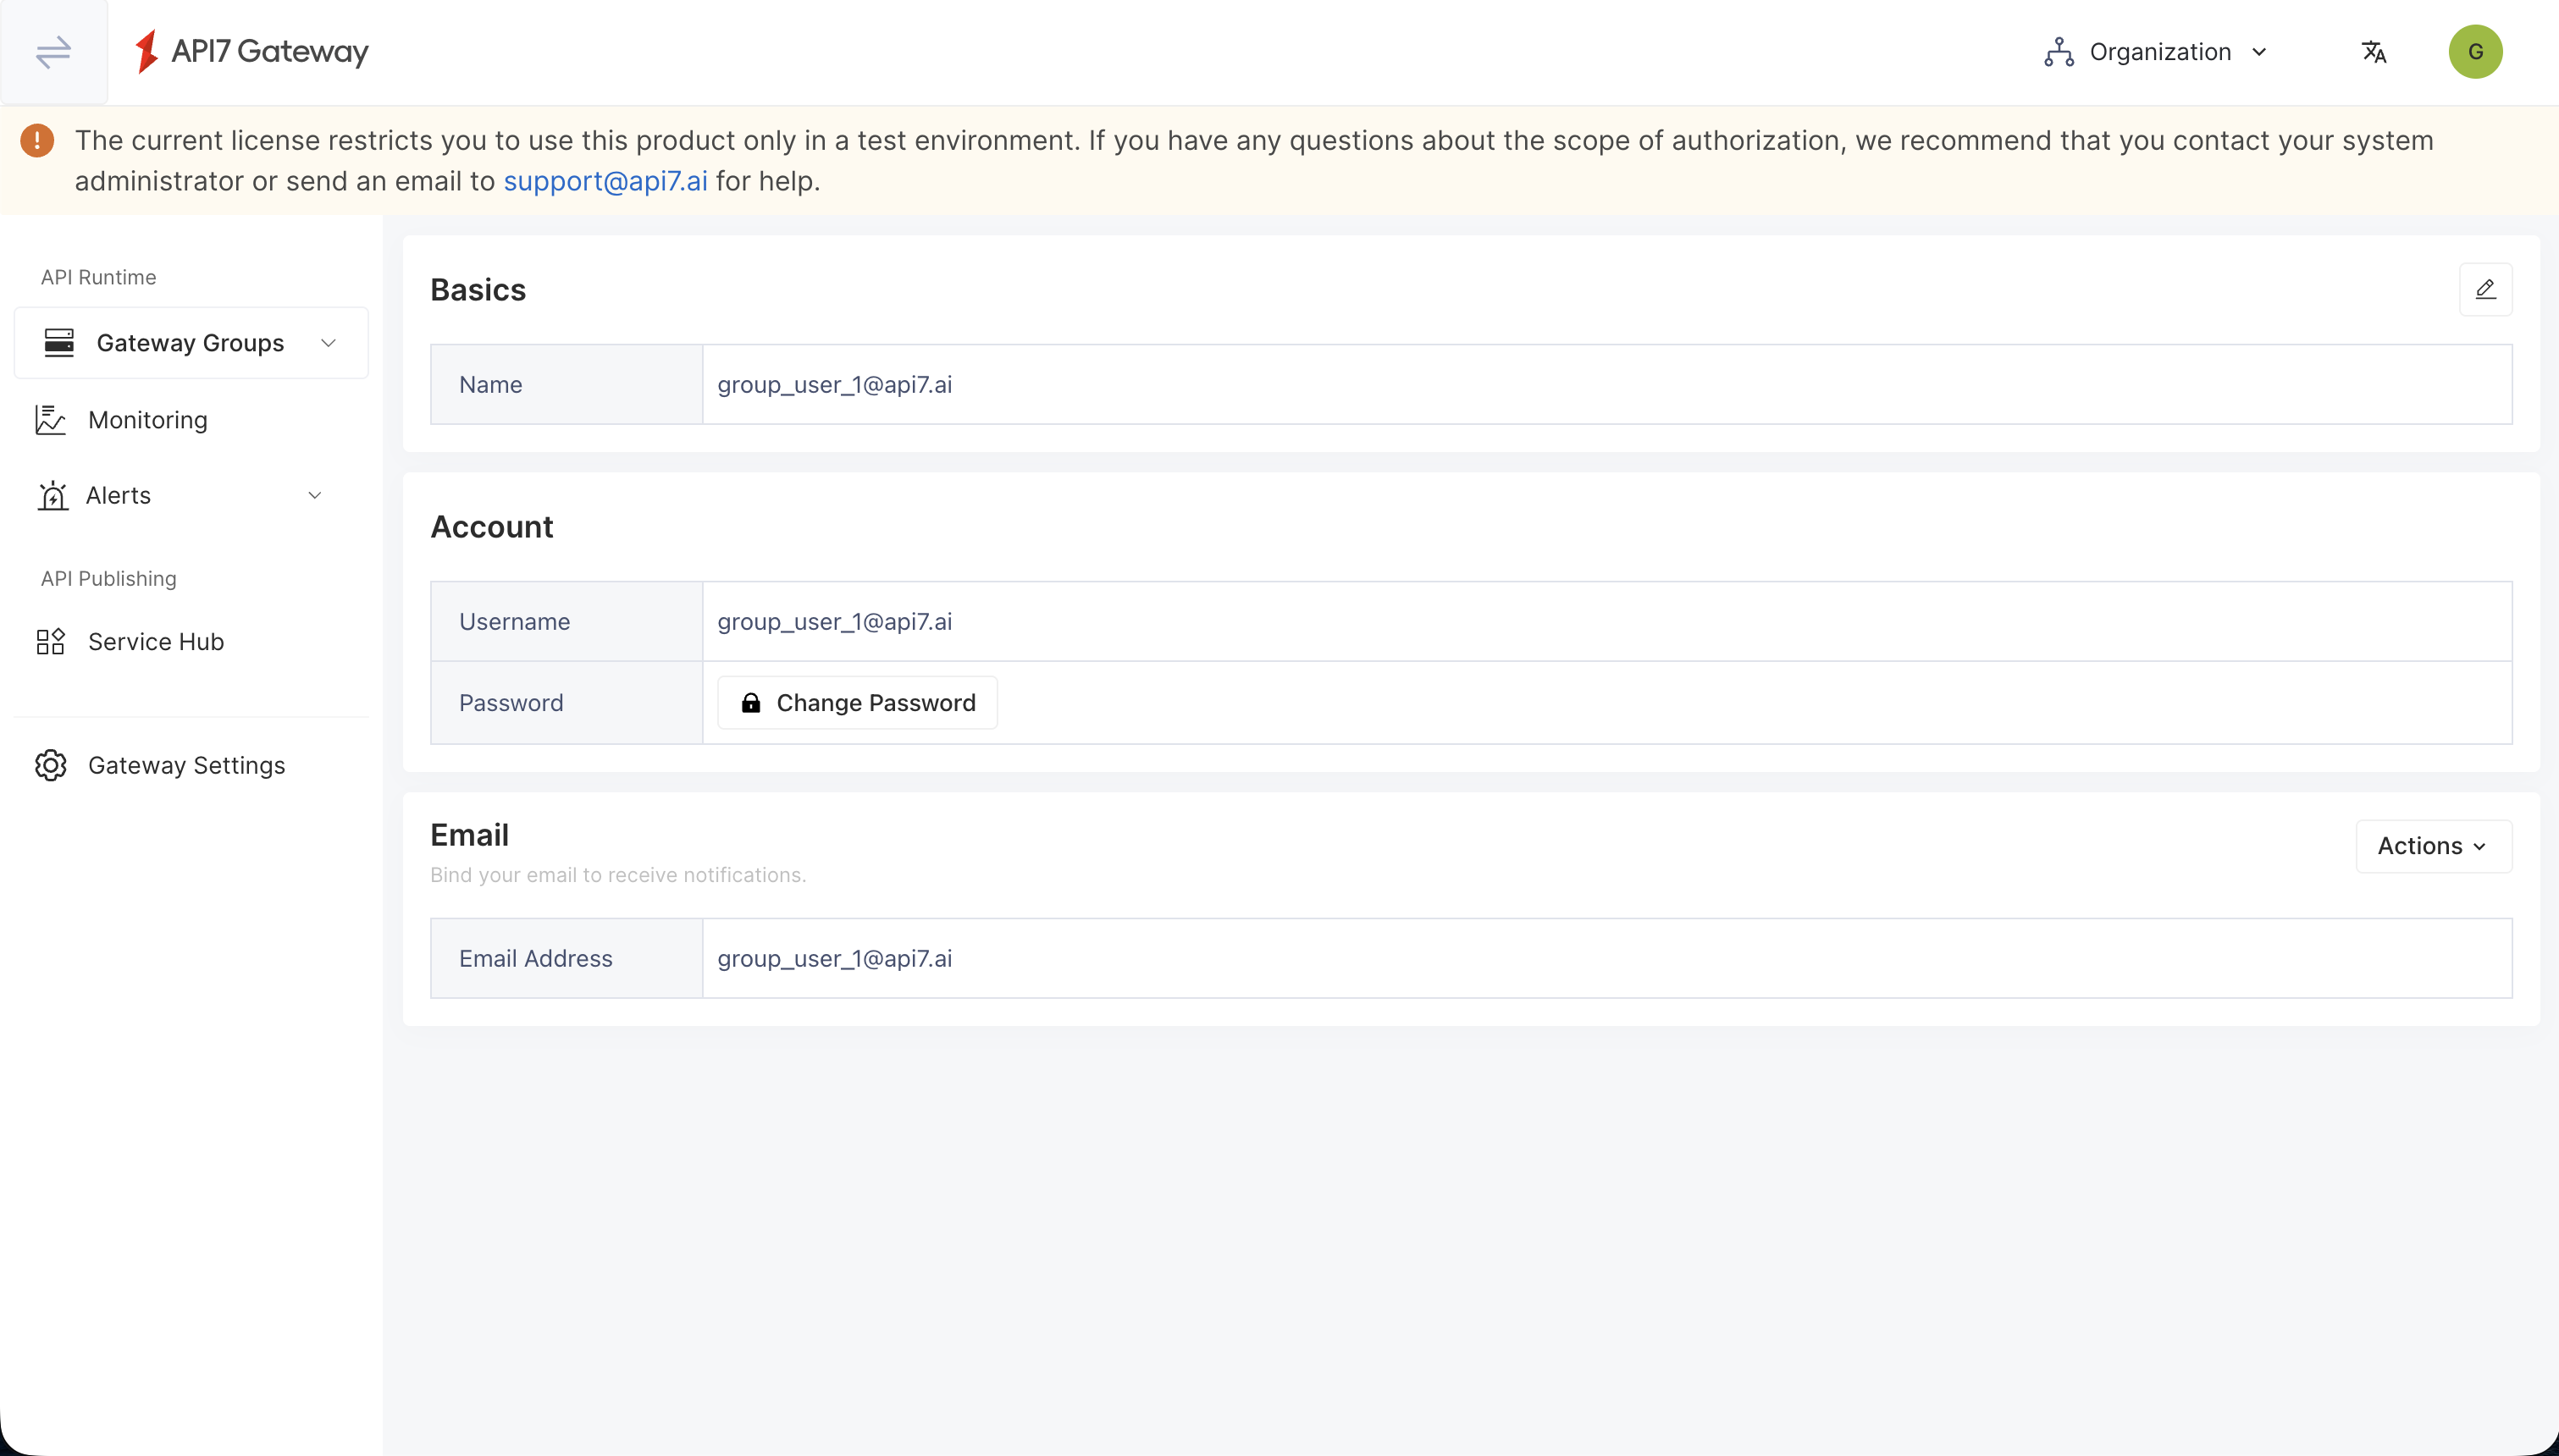
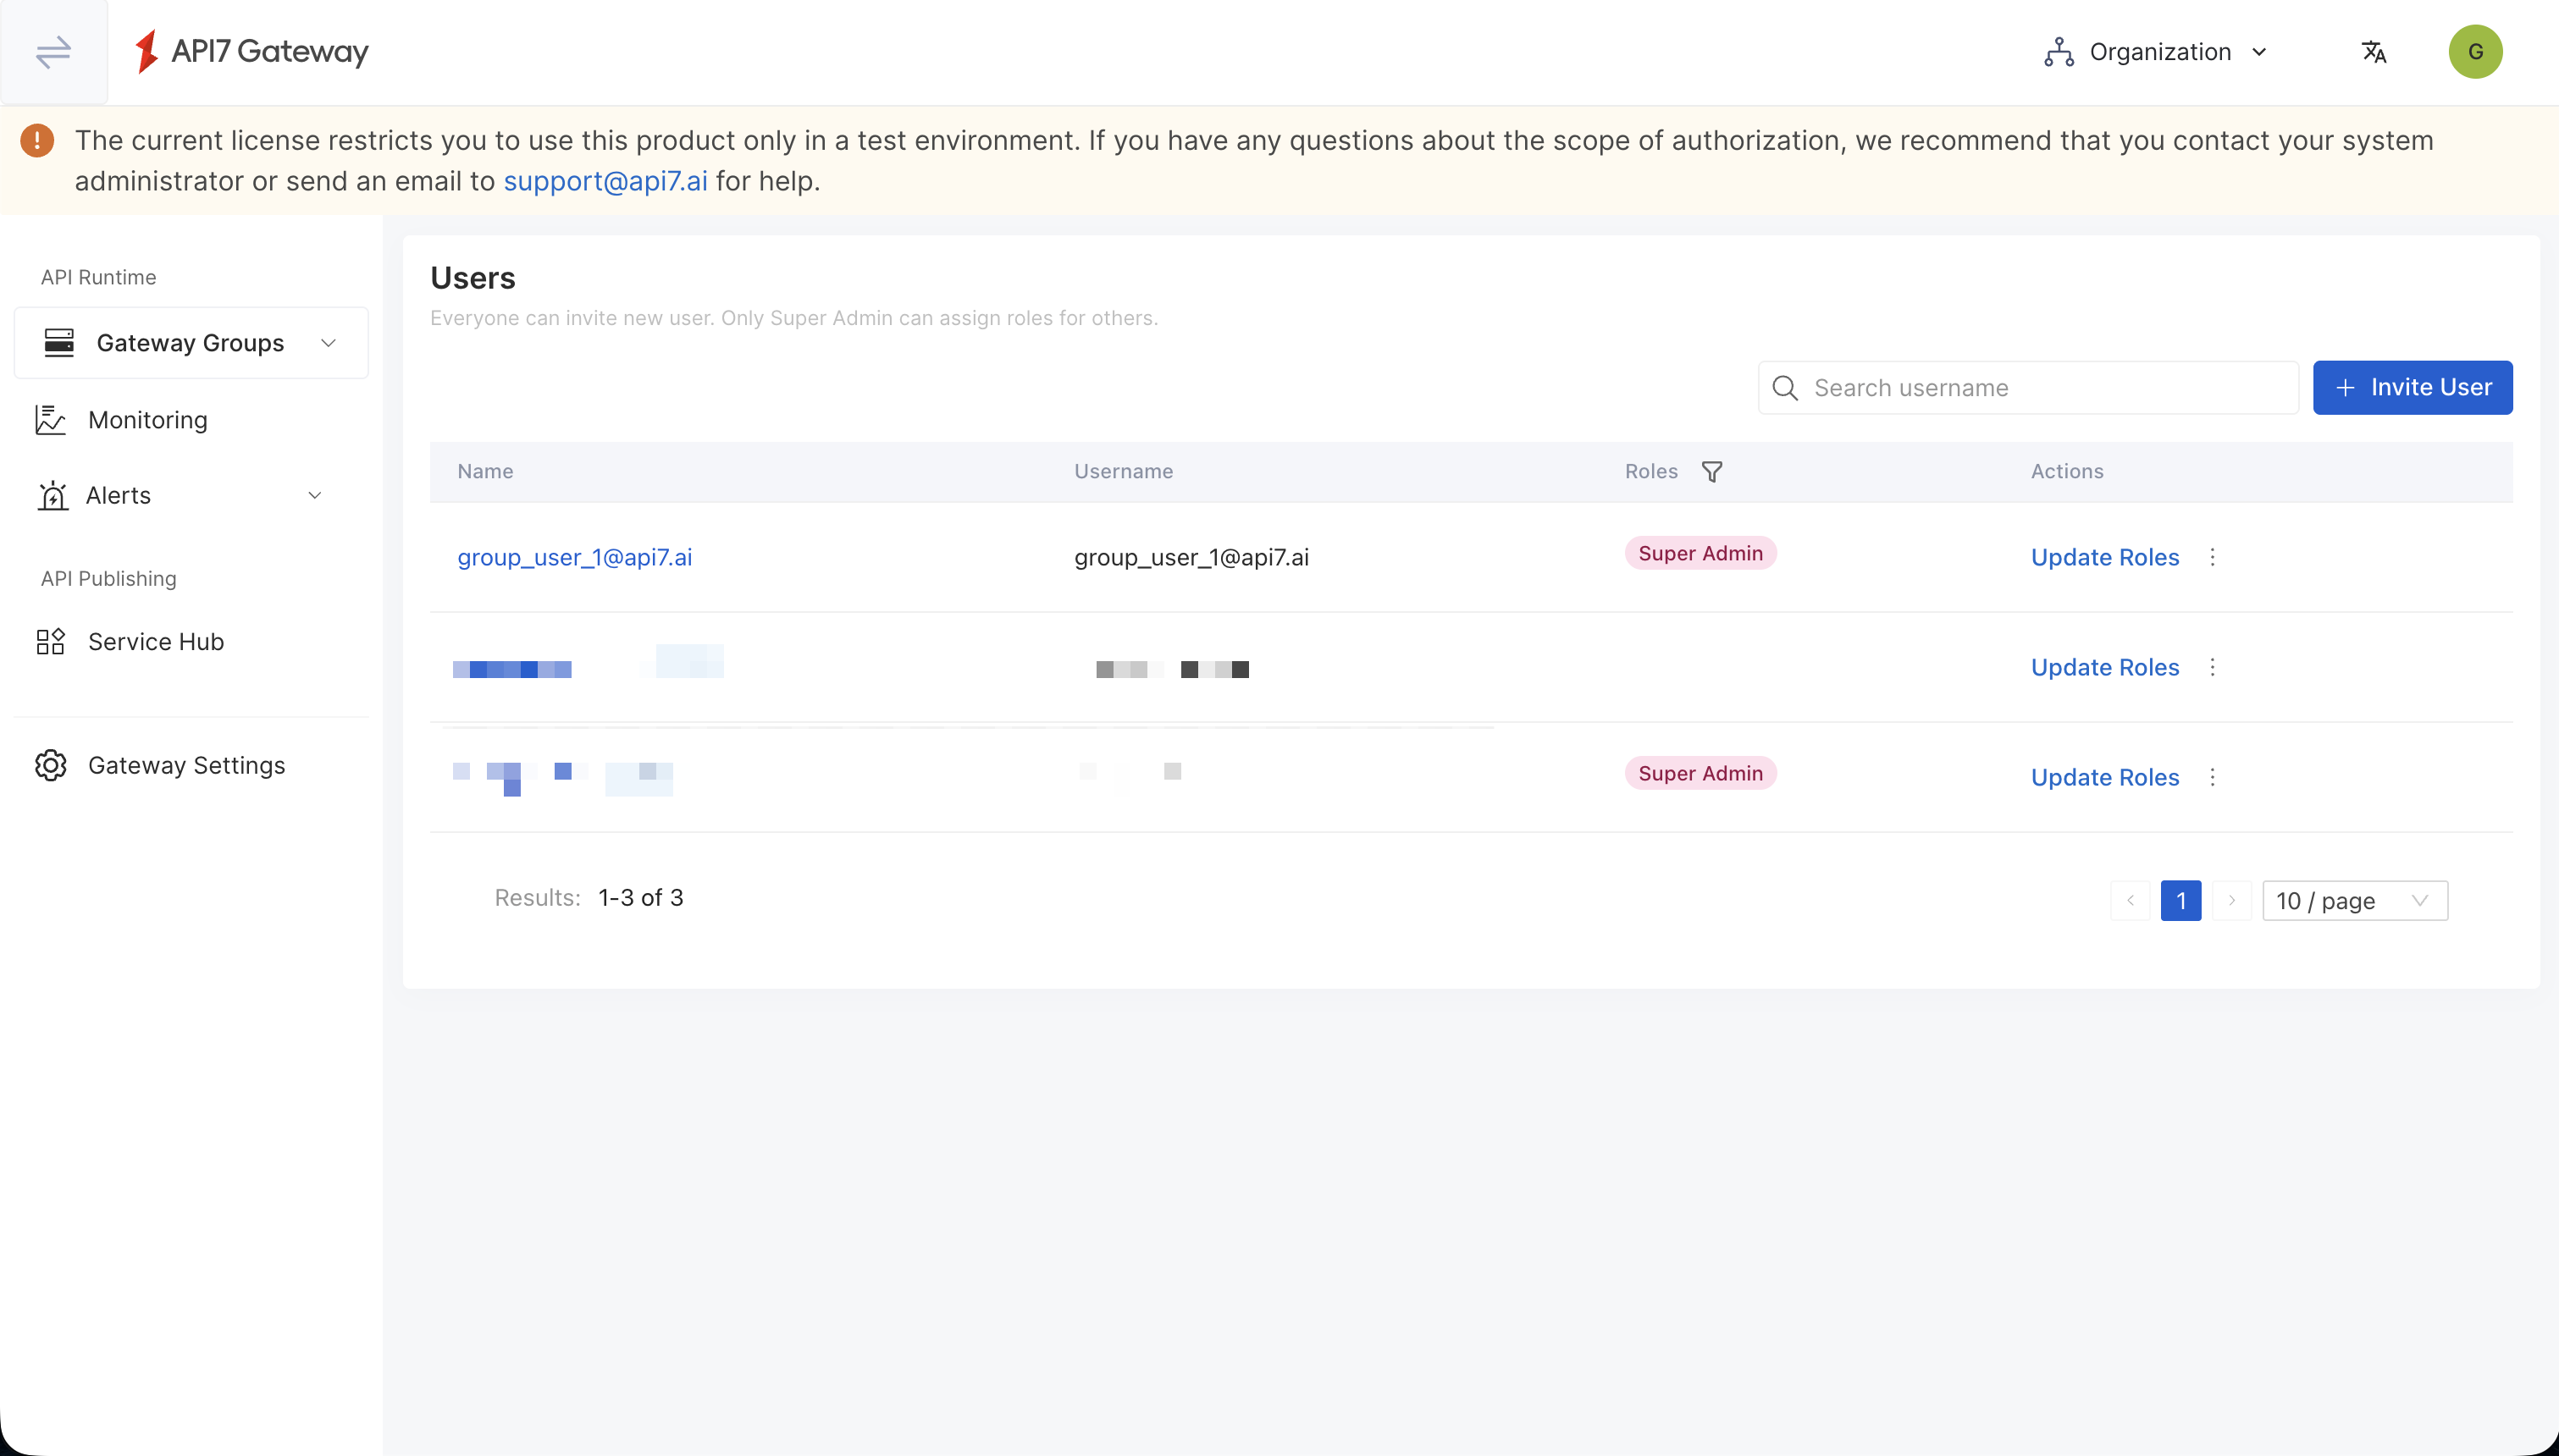
- Log in with a user in the Okta group and confirm the role is applied.
Additional Resources
- Key Concepts
- Getting Started
- Best Practices