Use OpenID Connect to Protect Your APIs
OpenID Connect is an identity layer based on the OAuth 2.0 framework. It allows third-party Service to authenticate the end-user and obtain their basic information.
API7 Cloud supports the OpenID Connect plugin so that you can authenticate your API consumers with well-known providers like Google, Auth0, etc.
This guide will show you how to use the OpenID Connect plugin to integrate the Auth0 service.
Prepare the Environment
Deploy Apache APISIX
Please refer to How to Deploy Apache APISIX to learn how to deploy Apache APISIX and connect it to API7 Cloud. In this guide, we'll deploy an Apache APISIX instance on Docker.
Create Service and Route
We'll create a service with the following details in this guide.
- The service name is
oidc-app. - The path prefix is
/v1. - The HTTP Host is
oidc.httpbin.org. - The upstream URL is
https://httpbin.org.
Besides, we'll create a route inside the oidc-app Service.
- The route name is
anything. - The path is
/anything(prefix match). - Accepted HTTP method is
GET.
If you don't know how to configure a service and route, please refer to the Getting Started guides first
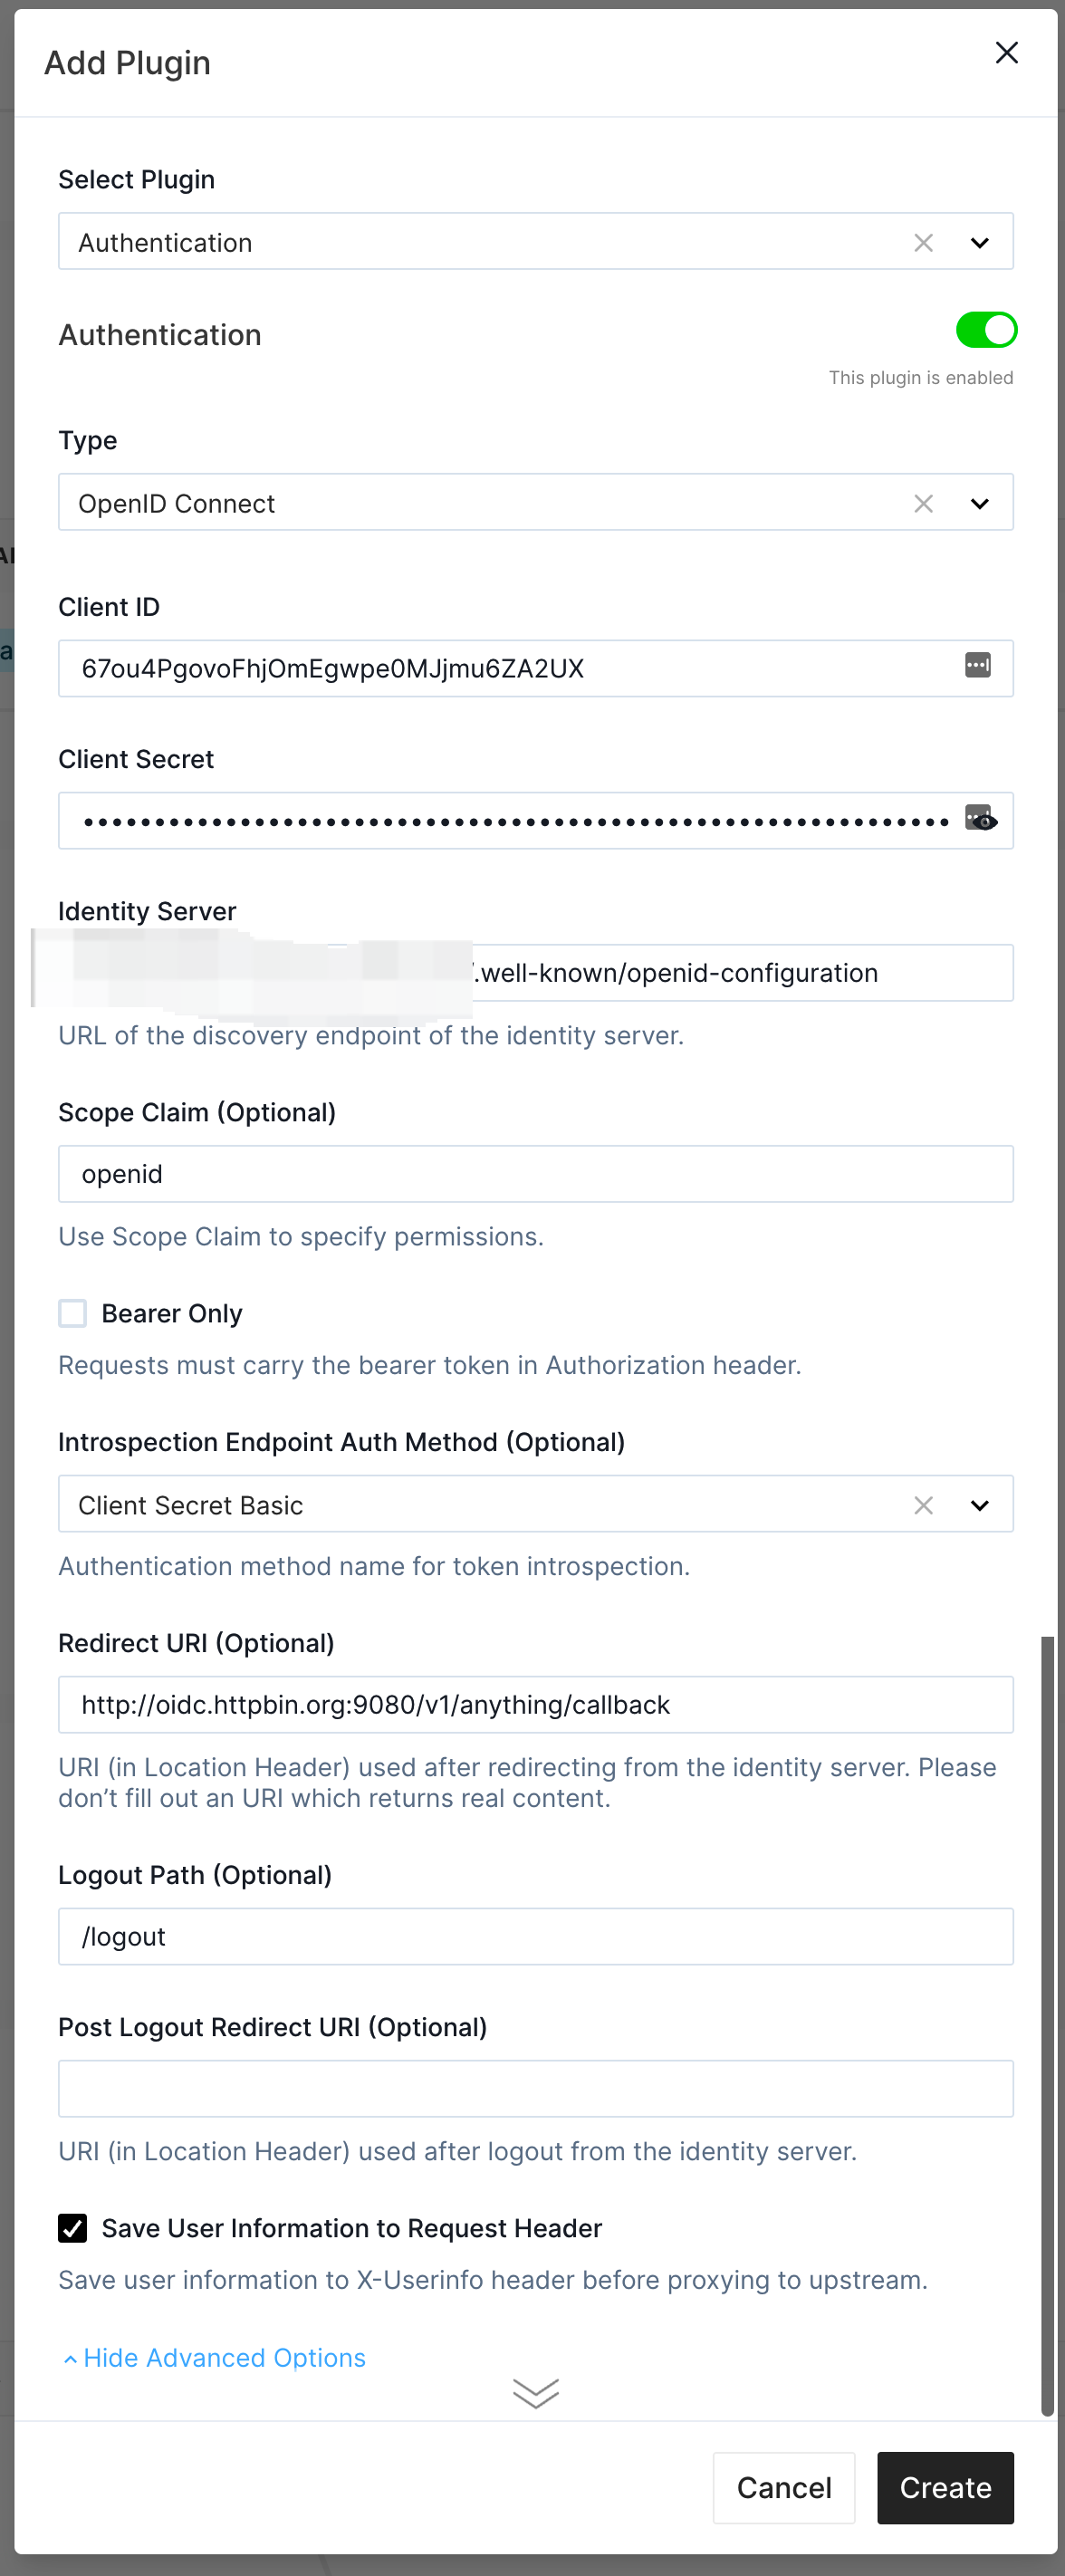
Then, let's add the OpenID Connect plugin to the oidc-app Service.

We create an Application on Auth0 before and fill in its Client ID, Client Secret, and Identity Server here.
You should replace them according to your actual case. Moreover, we fill the Redirect URI to http://oidc.httpbin.org:9080/v1/anything/callback so that the
redirected API call will also match the anything route. You can use any endpoint if you ensure the redirected API call will be handled by the
same route where the OIDC authentication starts.
Please avoid using any meaningful business API endpoint when you design the Redirect URI.
Test the Authentication
We'll use the browser to access the oidc-app Service. The URL is https://oidc.httpbin.org:9080/v1/anything in our case.
Before doing that, please make sure you set the DNS resolution for
odic-app.httpbin.org to your Apache APISIX instance (e.g., change the /etc/hosts file).

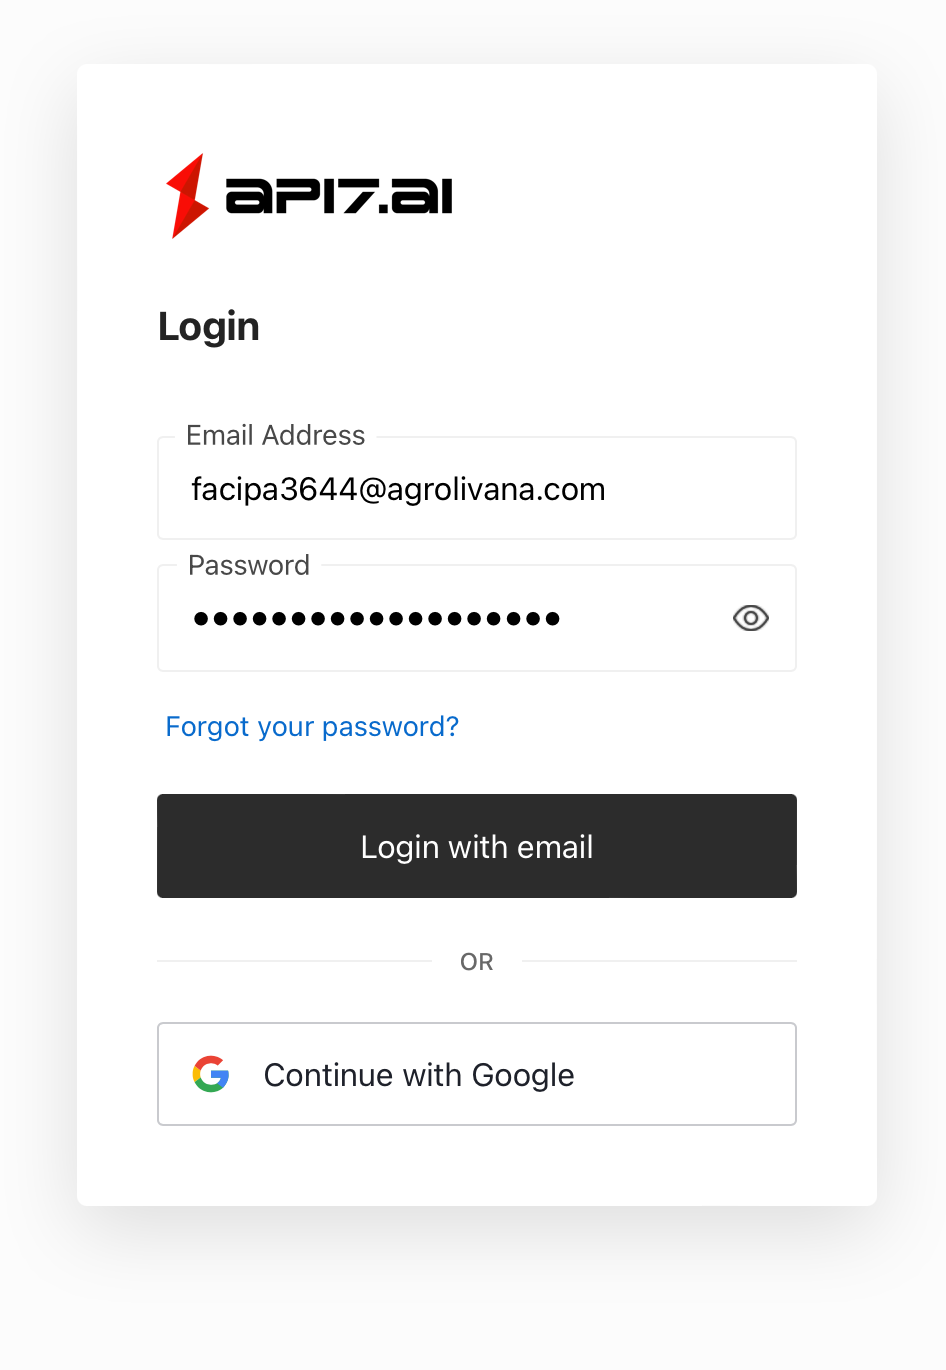
We use a pre-created user account to log in.

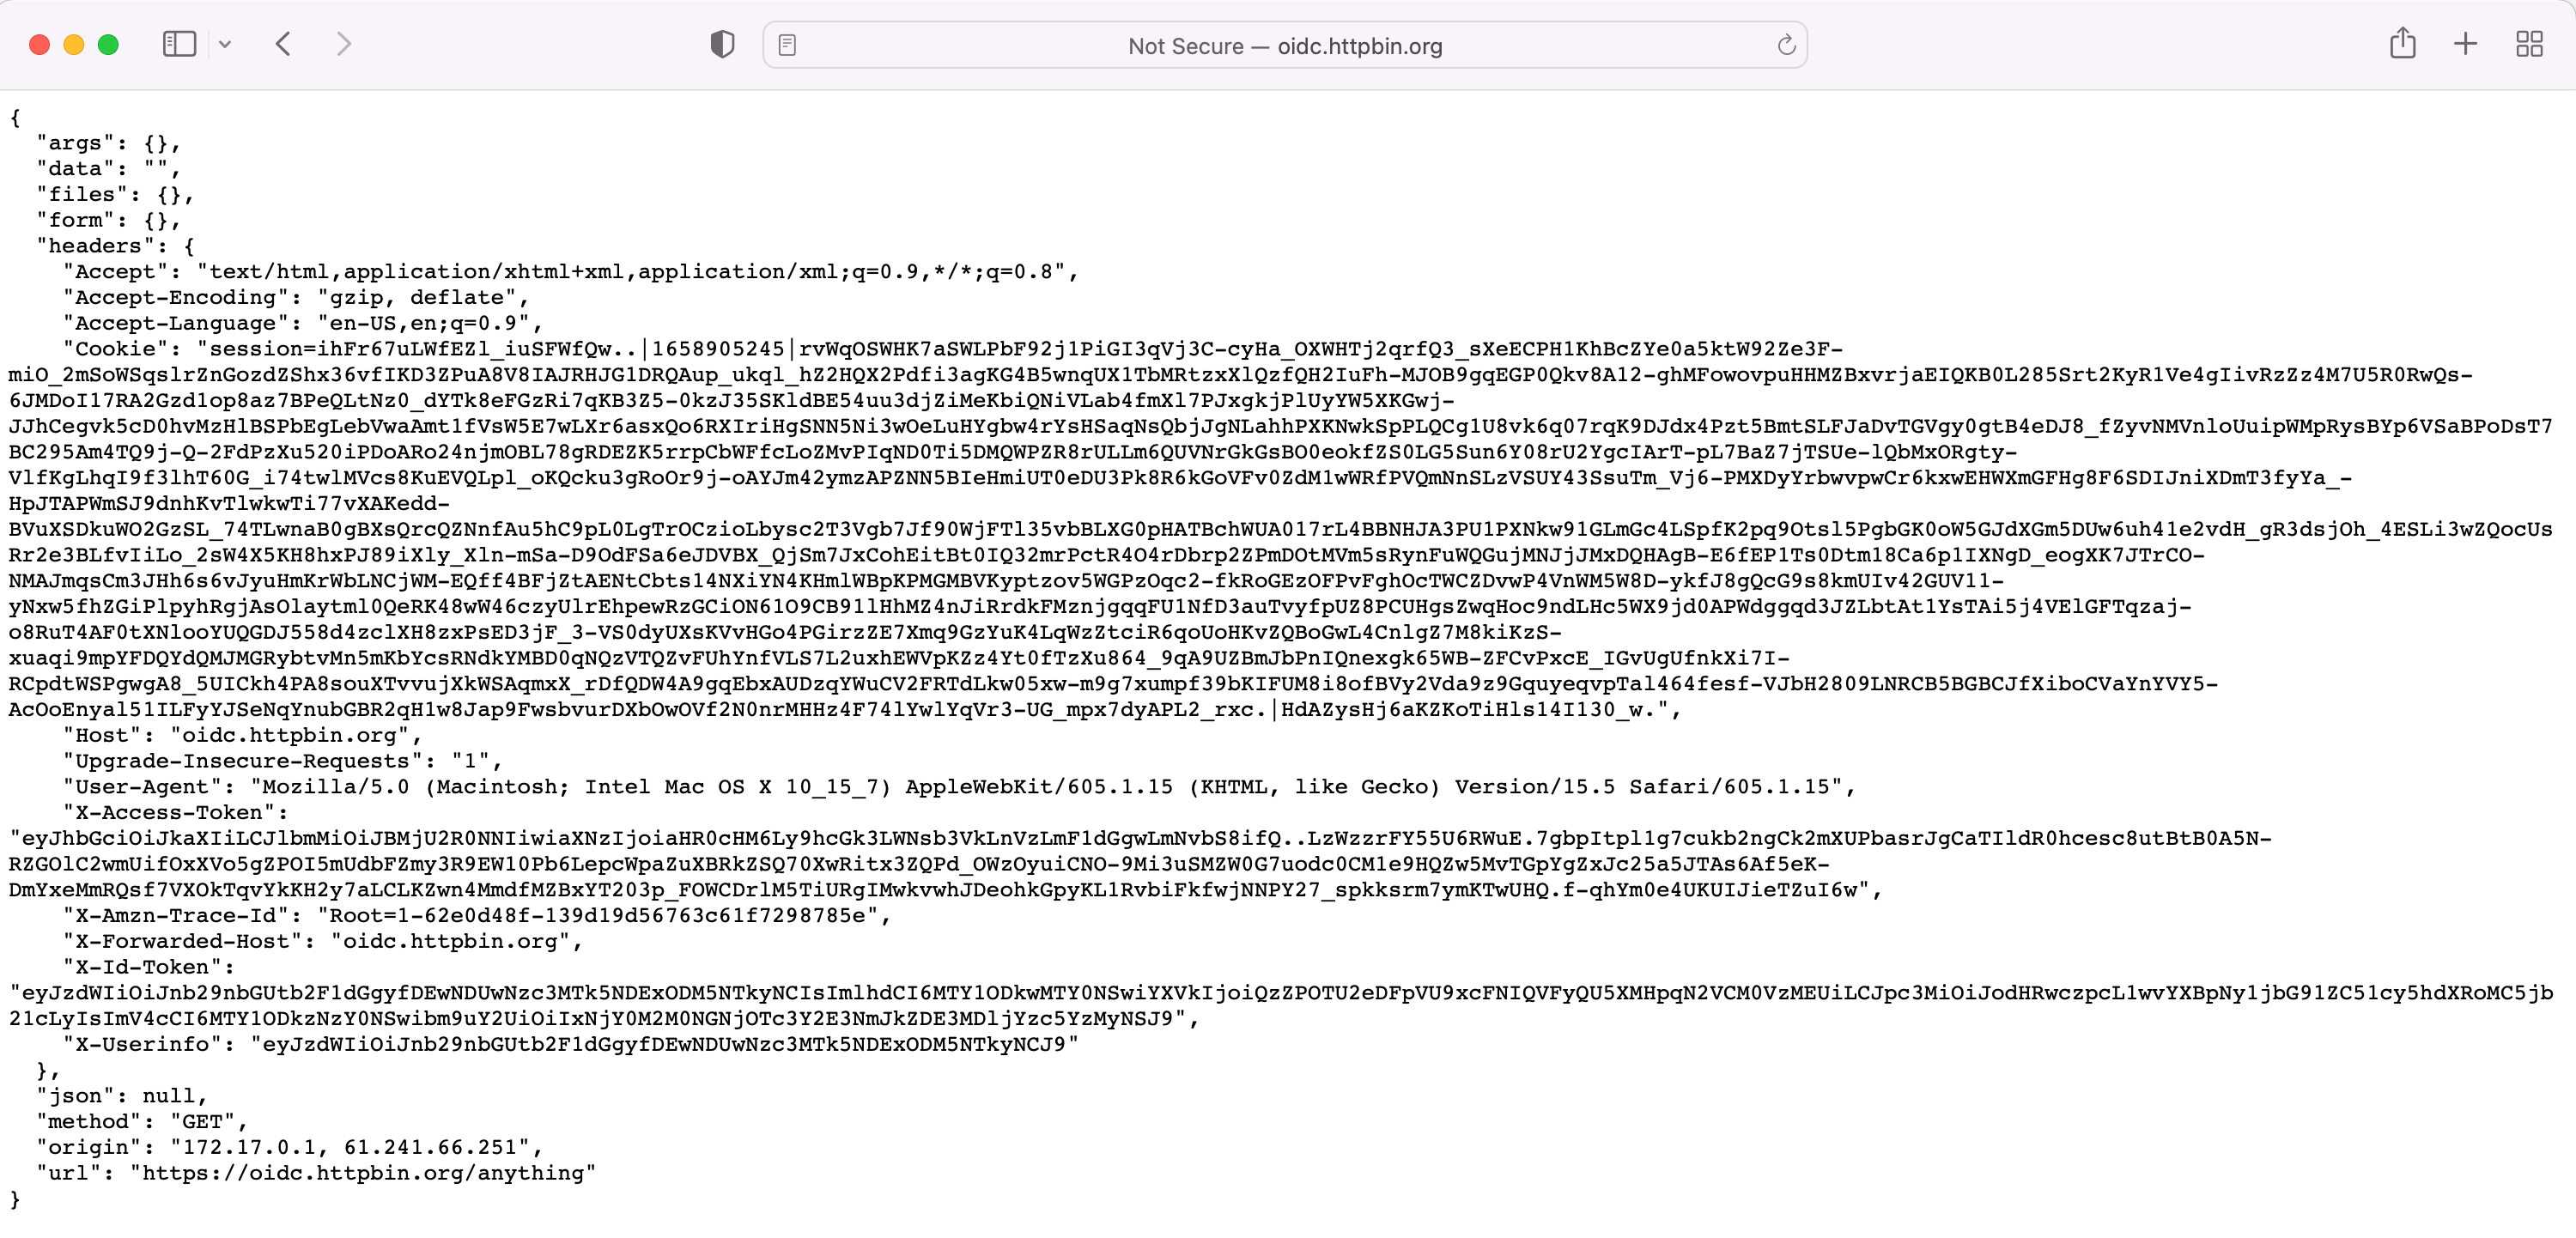
As you can see, we are authenticated by Auth0, and the user information is encoded into the X-Userinfo header. We
can see the user information by decoding it.
echo 'eyJzdWIiOiJhdXRoMHw2MmUwYTcwYzc2MTQxYzVhYmU2NDNmMTIifQ==' | base64 -d
{"sub":"auth0|62e0a70c76141c5abe643f12"}